

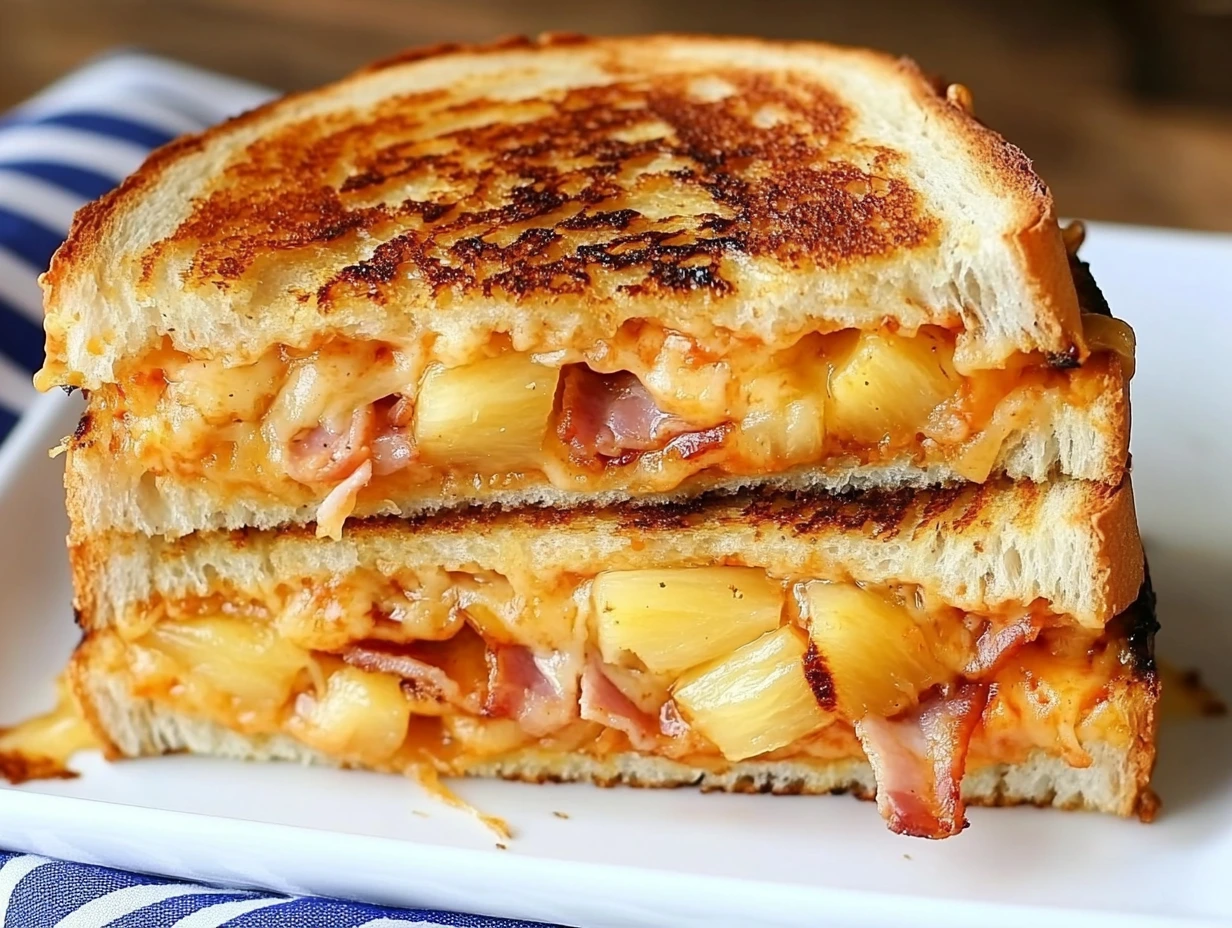
There’s just something about the combination of sweet and savory flavors that makes a dish irresistible. And when it comes to comfort food, grilled cheese is at the top of the list. But what if we took the classic grilled cheese and gave it a Hawaiian pizza-inspired makeover? That’s exactly what this Hawaiian Pizza Grilled Cheese Sandwich does—combining crispy, buttery bread with melty cheese, smoky Canadian bacon, and the tropical sweetness of pineapple.
If you’re a fan of Hawaiian pizza (or even if you’re just looking for a unique twist on a traditional sandwich), this recipe is a must-try. It’s quick, easy, and absolutely packed with flavor. Whether you need a simple lunch, a satisfying dinner, or even a late-night snack, this sandwich delivers big on taste with minimal effort.
So, let’s dive into how to make this delicious Hawaiian Pizza Grilled Cheese Sandwich step by step!
Ingredients You’ll Need
Before we start cooking, here’s everything you’ll need to make two sandwiches:
- 4 slices sourdough or white bread – The sturdy texture of sourdough works great, but classic white bread is just as tasty.
- Butter, for spreading – This gives the sandwich that perfect golden, crispy crust.
- ¼ cup pizza sauce – Adjust the amount to your liking for just the right level of tangy tomato goodness.
- 4 slices Canadian bacon – Adds a savory, smoky flavor that pairs beautifully with the pineapple.
- 4 pineapple rings, patted dry – Drying the pineapple is key to preventing a soggy sandwich.
- 4 slices Cheddar cheese – Cheddar brings a sharp, melty richness, but you could also try mozzarella for a more traditional pizza taste.
Step 1: Prep Your Ingredients
Start by gathering all of your ingredients and prepping them for assembly. Since this sandwich comes together quickly, it helps to have everything ready to go. First, pat your pineapple rings dry using a paper towel—this prevents extra moisture from making the bread soggy. Then, butter one side of each slice of bread. The buttered sides will be on the outside, helping to create that golden, crispy crust when grilled.
Step 2: Assemble the First Sandwich
Heat a skillet or griddle over medium heat. Once hot, place one slice of bread onto the skillet, buttered side down. Spread about 2 tablespoons of pizza sauce evenly over the top. This sauce adds that signature pizza flavor, so feel free to adjust the amount to your preference.
Next, layer on 2 slices of Canadian bacon. These bring a smoky, slightly sweet taste that complements the pineapple perfectly. Follow that with 2 pineapple rings, making sure they’re evenly spaced for a balanced bite. Finally, top it all off with 2 slices of Cheddar cheese, ensuring full coverage for maximum meltiness.

Step 3: Add the Top Slice and Grill
Place another slice of bread on top, this time with the buttered side facing up. This helps ensure that both sides of the sandwich get crispy and golden brown. Now it’s time to let the magic happen on the griddle!

Step 4: Grill to Perfection
Now that your sandwich is fully assembled and on the skillet, it’s time to let the heat work its magic. Cook for about 3-4 minutes on the first side, keeping an eye on the bottom slice of bread. You’re looking for a deep golden brown color and a nice crispy texture.
Once the bottom is perfectly toasted, carefully flip the sandwich using a spatula. This part can be a little tricky, so if anything shifts, just use the spatula to nudge the layers back into place. Let the second side cook for another 3-4 minutes, or until the bread is golden brown and the cheese has melted into a gooey, delicious layer.
If the bread is browning too quickly but the cheese hasn’t melted yet, lower the heat slightly. This allows the cheese to fully melt without burning the outside of the bread.

Step 5: Let It Rest and Serve
Once the sandwich is perfectly crispy and melty, remove it from the skillet and place it on a cutting board. Let it rest for a minute—this helps the cheese set slightly, preventing it from oozing out too much when you cut into it.
Now, slice the sandwich in half if desired, and serve immediately. The combination of flavors—savory Canadian bacon, tangy pizza sauce, sweet pineapple, and rich, melty cheese—creates a perfect balance in every bite.
Repeat the process for the second sandwich, following the same steps.
Tips for the Best Hawaiian Pizza Grilled Cheese
- Use the right bread: Sourdough works great because of its firm structure, but classic white bread gives that nostalgic grilled cheese feel. Whichever you choose, make sure it’s sturdy enough to hold the filling.
- Dry the pineapple thoroughly: Extra moisture from the pineapple can make the bread soggy, so don’t skip this step!
- Adjust the sauce: Love extra sauce? Add more! Prefer a lighter touch? Use less or spread it more thinly.
- Try different cheeses: Cheddar is rich and sharp, but mozzarella will give you that classic Hawaiian pizza flavor. You can even mix both for the best of both worlds.
- Cook on medium heat: Too high, and the bread burns before the cheese melts. Too low, and you won’t get that crispy golden crust. Medium heat is the sweet spot.
Delicious Variations to Try
Want to mix things up? Here are a few fun variations of this sandwich:
- Hawaiian BBQ Grilled Cheese: Swap the pizza sauce for BBQ sauce for a smoky, slightly sweet twist.
- Spicy Hawaiian Grilled Cheese: Add sliced jalapeños or a drizzle of hot honey for a kick of heat.
- Extra Cheesy Version: Layer in a mix of cheeses like mozzarella, provolone, or even Swiss for an ultra-gooey bite.
- Hawaiian Ham & Cheese: Use thinly sliced ham instead of Canadian bacon for a more traditional take.
With so many ways to customize it, this Hawaiian Pizza Grilled Cheese Sandwich is sure to become a favorite in your kitchen.
Frequently Asked Questions
1. Can I use a different type of bread?
Absolutely! While sourdough and white bread work great, you can experiment with other options like whole wheat, brioche, or even ciabatta for a different texture. Just make sure the bread is sturdy enough to hold the fillings.
2. What’s the best cheese for this sandwich?
Cheddar provides a bold, sharp flavor, but mozzarella gives a more classic Hawaiian pizza feel. If you want extra richness, try a blend of both or add a slice of provolone for extra meltiness.
3. How do I prevent the bread from burning before the cheese melts?
Cooking on medium heat is key. If the bread is browning too quickly but the cheese isn’t fully melted, lower the heat slightly and cover the pan for a minute to help the cheese soften without burning the bread.
4. Can I make this sandwich in an air fryer?
Yes! Assemble the sandwich as usual, then air fry at 370°F for 6-8 minutes, flipping halfway through. This method gives you an ultra-crispy exterior without needing as much butter.
5. Can I use fresh pineapple instead of canned?
Definitely! Just make sure to slice it thinly and pat it dry before adding it to the sandwich. Fresh pineapple tends to have more moisture, so drying it is important to prevent sogginess.
6. Is there a way to make this sandwich healthier?
To lighten things up, use whole wheat bread, reduced-fat cheese, and turkey bacon instead of Canadian bacon. You can also use a lighter spread, like olive oil, instead of butter.
7. Can I make this ahead of time?
Grilled cheese is best enjoyed fresh, but if you need to prep ahead, you can assemble the sandwiches and refrigerate them for a few hours before grilling. If reheating, use an oven or air fryer to maintain the crispy texture.
Final Thoughts
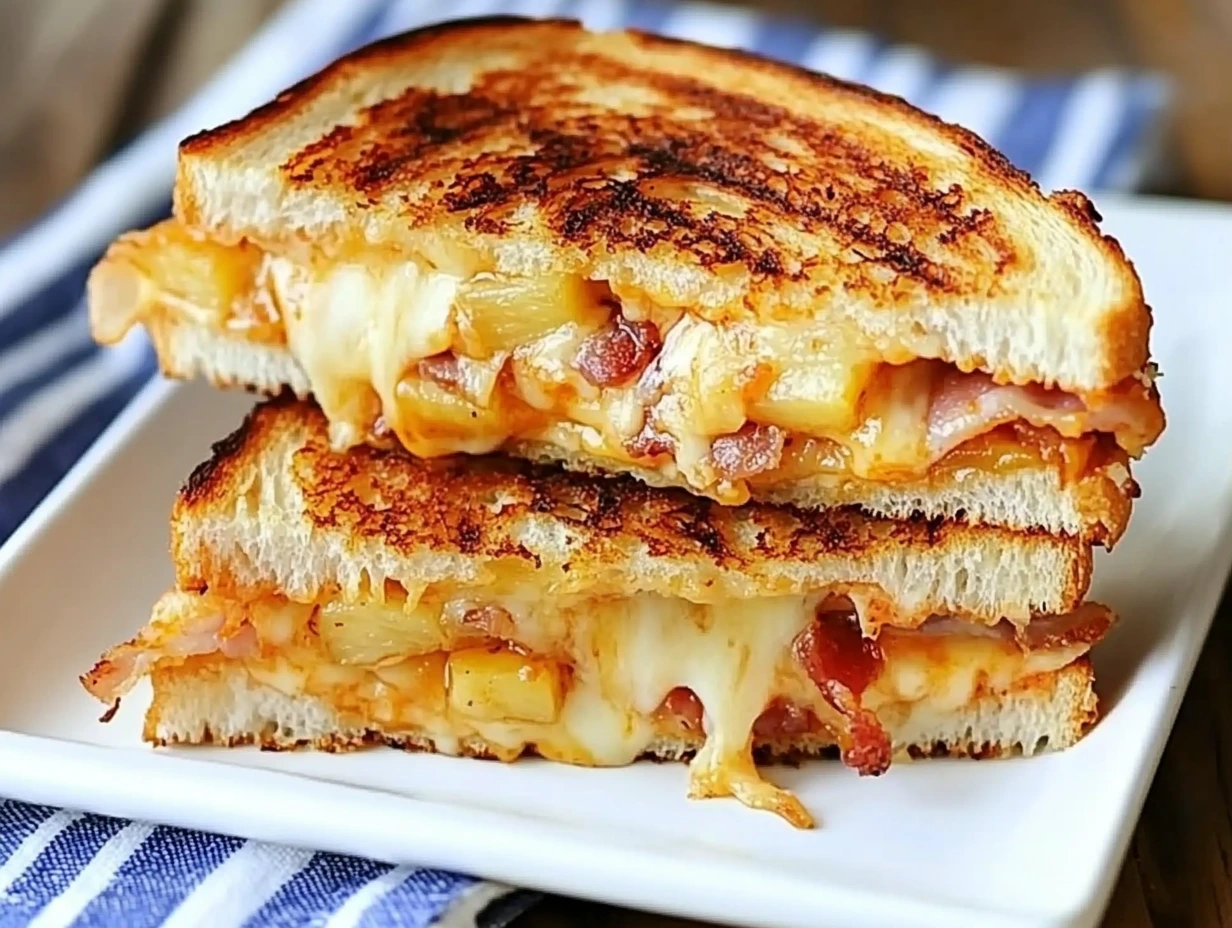
This Hawaiian Pizza Grilled Cheese Sandwich is everything you love about a classic grilled cheese, but with a fun, tropical twist. The combination of buttery crispy bread, gooey melted cheese, smoky Canadian bacon, and sweet pineapple makes for a mouthwatering bite every time.
Whether you’re making it for a quick lunch, an easy dinner, or a late-night craving, this sandwich is simple, satisfying, and packed with flavor. Plus, with so many ways to customize it, you can make it your own with different cheeses, sauces, and add-ins.
Give it a try and let us know how you liked it! Did you stick with the classic recipe, or did you put your own spin on it? Share your thoughts in the comments! Happy cooking!
Print
Hawaiian Pizza Grilled Cheese Sandwich
- Author: David
Description
This sweet and savory twist on a classic grilled cheese combines the flavors of Hawaiian pizza with gooey melted cheese and crispy, buttery bread. Perfect for a quick and satisfying meal!
Ingredients
- 4 slices sourdough or white bread
- Butter, for spreading
- ¼ cup pizza sauce (adjust to taste)
- 4 slices Canadian bacon
- 4 pineapple rings, patted dry
- 4 sandwich slices Cheddar cheese
Instructions
Preheat a griddle or skillet over medium heat. Butter one side of each slice of bread.
Place one slice of bread, buttered side down, onto the griddle. Spread about 2 tablespoons of pizza sauce over the bread.
Layer with 2 slices of Canadian bacon, 2 pineapple rings, and 2 slices of Cheddar cheese.
Top with another slice of bread, buttered side up.
Cook for 3-4 minutes, or until the bottom slice is golden brown and crispy. Carefully flip the sandwich and cook for another 3-4 minutes, until the other side is toasted and the cheese has melted.
Remove from the skillet and repeat the process for the second sandwich.
Let the sandwiches cool slightly, then slice in half if desired. Serve warm and enjoy!
Notes
- Use provolone or mozzarella for a more traditional pizza flavor.
- Pat the pineapple rings dry to prevent excess moisture in the sandwich.
- Add a sprinkle of red pepper flakes or garlic powder for extra flavor.


")

")


")
