

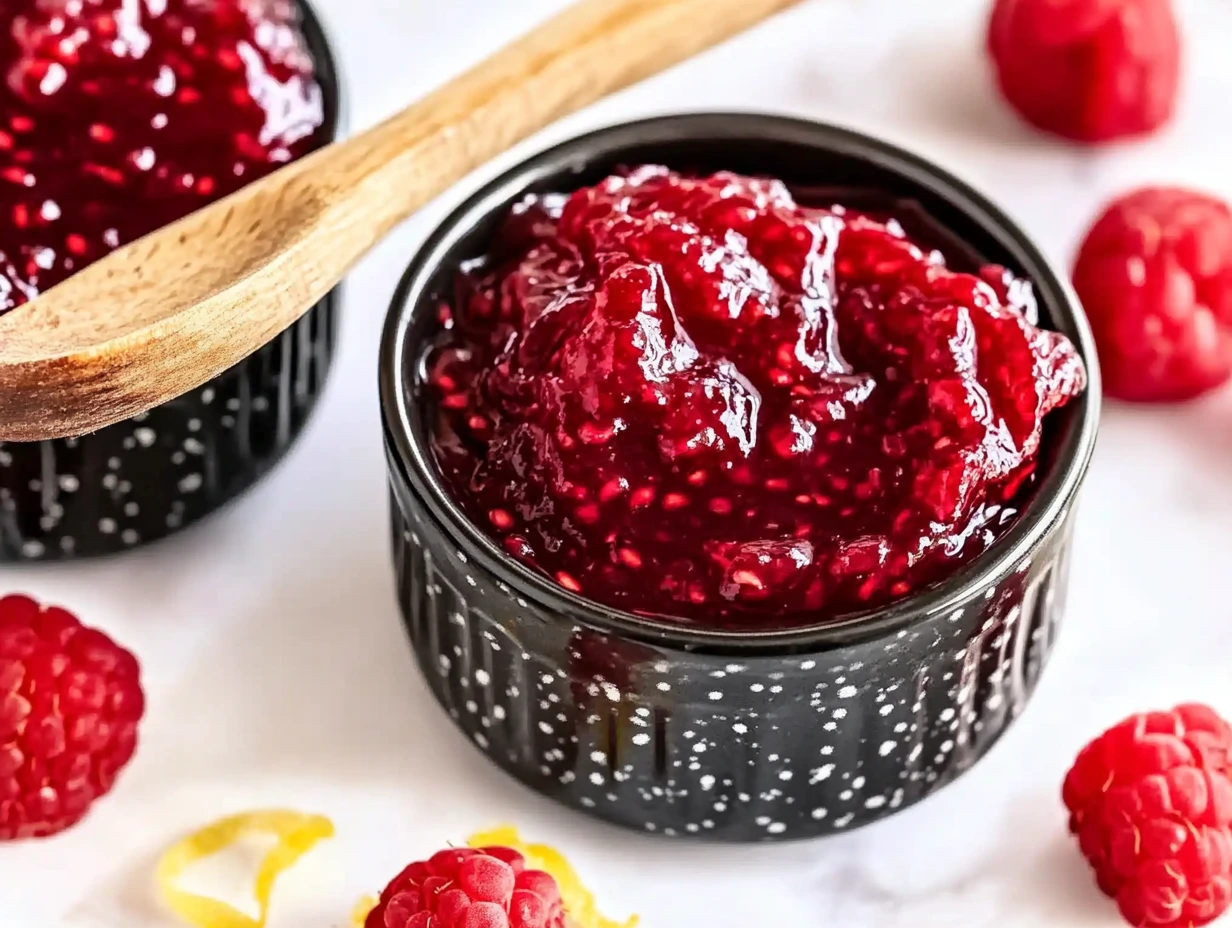
There’s just something magical about a spoonful of homemade raspberry jam. Whether it’s slathered over a warm, buttery piece of toast or stirred into creamy yogurt, it’s one of those simple pleasures that makes every bite feel like a hug. And let me tell you—once you’ve made your own jam from scratch, there’s no going back to store-bought.
I’ve been making jam for years now, and raspberry is hands-down one of my absolute favorites. It’s sweet, tangy, and oh-so-vibrant. And the best part? It only takes a few ingredients and less than 40 minutes from start to finish. You don’t need to be a canning pro or have a pantry full of supplies to pull this off. Just fresh berries, sugar, a little lemon, and a sturdy saucepan will do the trick.
This recipe is one I go back to every summer when berries are bursting with flavor. And when you taste that first spoonful, you’ll understand why. Whether you’re stocking your own pantry or making a few jars to gift, this jam is a little jar of sunshine you’ll want to have on hand all year round.
Let’s dive right in and start crafting this easy and delicious homemade raspberry jam together.

Ingredients You’ll Need
To make about 2 cups of jam, gather the following:
500 g fresh raspberries (about 4 cups)
400 g granulated sugar (roughly 2 cups)
2 tablespoons fresh lemon juice
1 teaspoon finely grated lemon zest (optional but recommended)
¼ teaspoon salt
That’s it—just five basic ingredients, and you’re on your way to making something really special.
STEPS: Getting Started With the Jam
Step 1: Let the Berries Rest With Sugar
Start by placing your raspberries and granulated sugar in a heavy-bottomed saucepan. Give them a gentle stir to combine, then let them sit at room temperature for about 10 minutes. This short rest allows the raspberries to release some of their natural juices and helps the sugar start to dissolve.
This little pause might seem unnecessary, but trust me—it makes a difference in both texture and flavor. The sugar pulls the juices from the fruit, which helps the jam start cooking evenly from the get-go.
Step 2: Warm It Up Slowly
Once your berries have released their juices, place the saucepan over medium heat. Stir gently as the sugar continues to dissolve and the mixture starts to bubble. This step is important—take your time here to make sure the sugar is fully dissolved before cranking up the heat.
You’ll notice the fruit breaking down as it heats. Don’t worry about mashing the berries too much unless you prefer a smoother jam. I personally love leaving some whole bits in there—it gives the finished jam a beautiful texture.
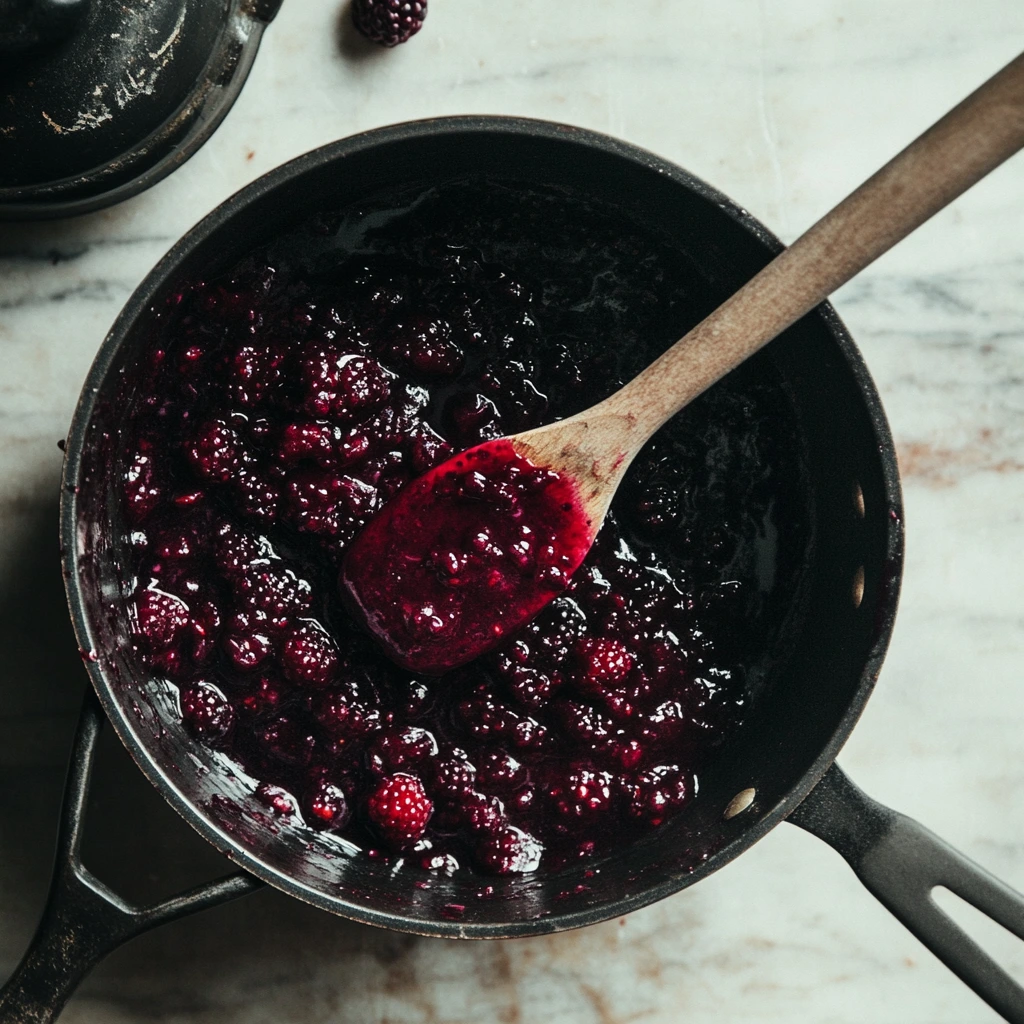
Step 3: Cook Until It Sets
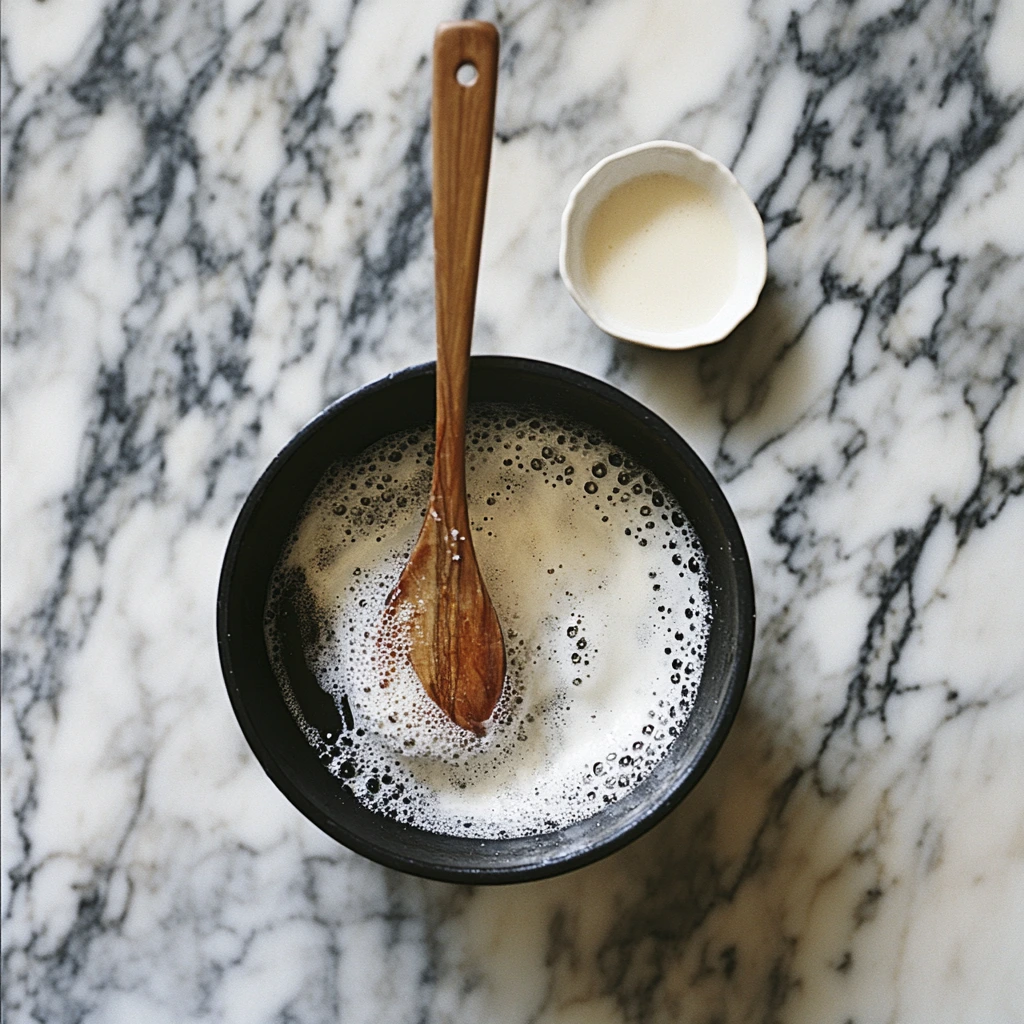
Now it’s time to bring the heat up to medium-high. Stir the mixture frequently, and be sure to skim off any foam that rises to the top. This helps give the jam a clearer, cleaner appearance, though it’s totally optional if you don’t mind a more rustic look.
Cook the jam until it reaches 104°C on a candy thermometer. If you don’t have a thermometer, you can use the good old “wrinkle test”: drop a small spoonful of jam onto a chilled plate, wait a few seconds, then nudge it with your finger. If the surface wrinkles, you’re good to go.
This usually takes about 15 to 20 minutes depending on your stove and the water content in the berries.
How to Finish and Store Homemade Raspberry Jam
Now that you’ve cooked your jam to the perfect consistency, it’s time to wrap things up and get it ready for jars. This part of the process always feels a little exciting—there’s something so satisfying about filling warm jars with a jam you made from scratch. Whether you’re planning to enjoy it right away or preserve it for later, these final steps are where everything comes together.
If you’ve never canned anything before, don’t worry. This recipe is super beginner-friendly. In fact, you can skip the traditional canning process altogether and just refrigerate the jam for up to three weeks. But if you’re in the mood to make it shelf-stable, I’ve included a simple water-bath method too.
Let’s pick up right where we left off and bring this jam to the finish line.
STEPS: Finalizing Your Jam
Step 4: Stir in the Final Ingredients
Once the jam reaches that magic 104°C mark (or passes the wrinkle test), turn the heat down and stir in the lemon juice, lemon zest (if you’re using it), and salt.
The lemon juice not only adds brightness and balances the sweetness, but it also helps the jam set properly because of its natural pectin content. If your raspberries are especially sweet, the optional lemon zest gives it a slightly tangy kick that really makes the flavor pop. And don’t skip the salt—it’s just a tiny bit, but it subtly enhances the overall flavor.
Let the mixture simmer for one more minute so everything blends together nicely, then remove it from the heat.
Step 5: Ladle into Jars
While your jam is still hot, ladle it into sterilized jars, leaving about 6 mm (or ¼ inch) of headspace at the top. This little bit of space is important, especially if you’re planning to process the jars in a boiling water bath.
Make sure to wipe the rims of the jars with a clean, damp cloth to remove any stray jam. This helps create a proper seal. Add the lids and twist on the bands until they’re fingertip-tight.
Step 6: Let It Cool or Process for Storage
If you’re not canning your jam, simply let the jars cool undisturbed at room temperature. Once they’ve cooled completely, pop them into the fridge. The jam will thicken as it chills, and you can enjoy it for up to three weeks.
If you want your jam to be shelf-stable, process the jars in a boiling-water bath for 10 minutes. Just make sure the jars are completely submerged, and start the timer once the water returns to a full boil. After 10 minutes, carefully remove the jars and let them cool on a towel or cooling rack. You’ll know the jars have sealed when you hear that satisfying “pop” sound.
Tips for Jam-Making Success
Before you finish your batch, here are a few tried-and-true tips to help your jam turn out perfect every time:
Don’t skip the resting time at the start. Letting the sugar draw out the fruit juices helps create a smoother cooking process and a more even texture.
Use a heavy-bottomed saucepan. This helps prevent scorching, which is especially important since the sugar content is high.
Stir often and watch the heat. Sugar can burn quickly if left unattended. Keep a close eye and stir regularly.
Foam is harmless but optional to remove. Some people prefer a crystal-clear jam, while others (like me!) don’t mind a little foam—it all depends on how you like your presentation.
Sterilize your jars properly. Even if you’re not canning for long-term storage, clean, sterilized jars are key for keeping your jam fresh and safe to eat.
Fun Variations to Try
Once you’ve nailed the classic version, don’t be afraid to experiment a little! Here are a few easy ways to mix things up:
Vanilla Raspberry Jam: Add ½ teaspoon of vanilla extract just before ladling the jam into jars for a slightly floral, comforting flavor.
Raspberry-Lime Twist: Swap lemon juice and zest for lime to give your jam a bright, tropical edge.
Spiced Raspberry Jam: Stir in a pinch of ground cinnamon or cardamom while cooking for a cozy twist, perfect for fall baking.
Berry Blend Jam: Mix in a handful of blackberries or blueberries for a mixed-berry version that still keeps raspberries as the star.
Homemade Raspberry Jam: FAQs and Final Thoughts
You’ve made it to the final part of our raspberry jam journey—and by now, your kitchen probably smells amazing, and your jars are cooling beautifully on the counter. Whether this is your first time making jam or you’re a seasoned pro, I hope this guide has made the process feel approachable and, most importantly, fun.
Before we wrap up, let’s go over a few frequently asked questions. These are the ones I get the most when friends and family ask about homemade jam, and they might help you troubleshoot or plan your next batch.
FAQ: Your Raspberry Jam Questions Answered
1. Do I need a candy thermometer to make this jam?
Nope! While a thermometer is helpful for accuracy (especially if you’re new to jam-making), it’s not essential. The wrinkle test—chilling a small spoonful of jam on a cold plate and seeing if it wrinkles when nudged—is a perfectly reliable method.
2. Can I use frozen raspberries instead of fresh?
Yes, you can! Just thaw them completely and drain any excess liquid before starting. Keep in mind that frozen berries might release a bit more moisture, so your jam may need a few extra minutes of cooking to reach the right consistency.
3. How long does homemade raspberry jam last in the fridge?
If you’re storing it in the refrigerator without canning, it will last for about three weeks once the jar is opened. Make sure the jar is clean, sealed properly, and always use a clean spoon when serving to help it stay fresh.
4. Can I double this recipe?
You can, but jam sets best in smaller batches. If you’re making a double batch, use a large enough saucepan to prevent splattering, and be prepared to adjust the cooking time slightly. I recommend making two separate batches if you’re new to jam-making for the best results.
5. My jam turned out too runny—what can I do?
If your jam didn’t set properly, don’t worry. You can reheat it, bring it back to a boil, and cook it for a few more minutes until it reaches 104°C or passes the wrinkle test. Stir in a bit of extra lemon juice if needed to help it set.
6. Can I reduce the sugar in this recipe?
Traditional jam relies on sugar not only for sweetness but also for setting and preservation. Reducing the sugar may result in a softer set and shorter shelf life. If you’d like a lower-sugar option, consider using a low-sugar pectin product or a tested recipe designed for sugar-free jams.
7. Is it safe to can raspberry jam without pectin?
Yes! This recipe doesn’t require added pectin because raspberries naturally contain enough pectin to set on their own—especially when combined with lemon juice. As long as you follow safe water-bath canning practices, your jam will be perfectly shelf-stable.
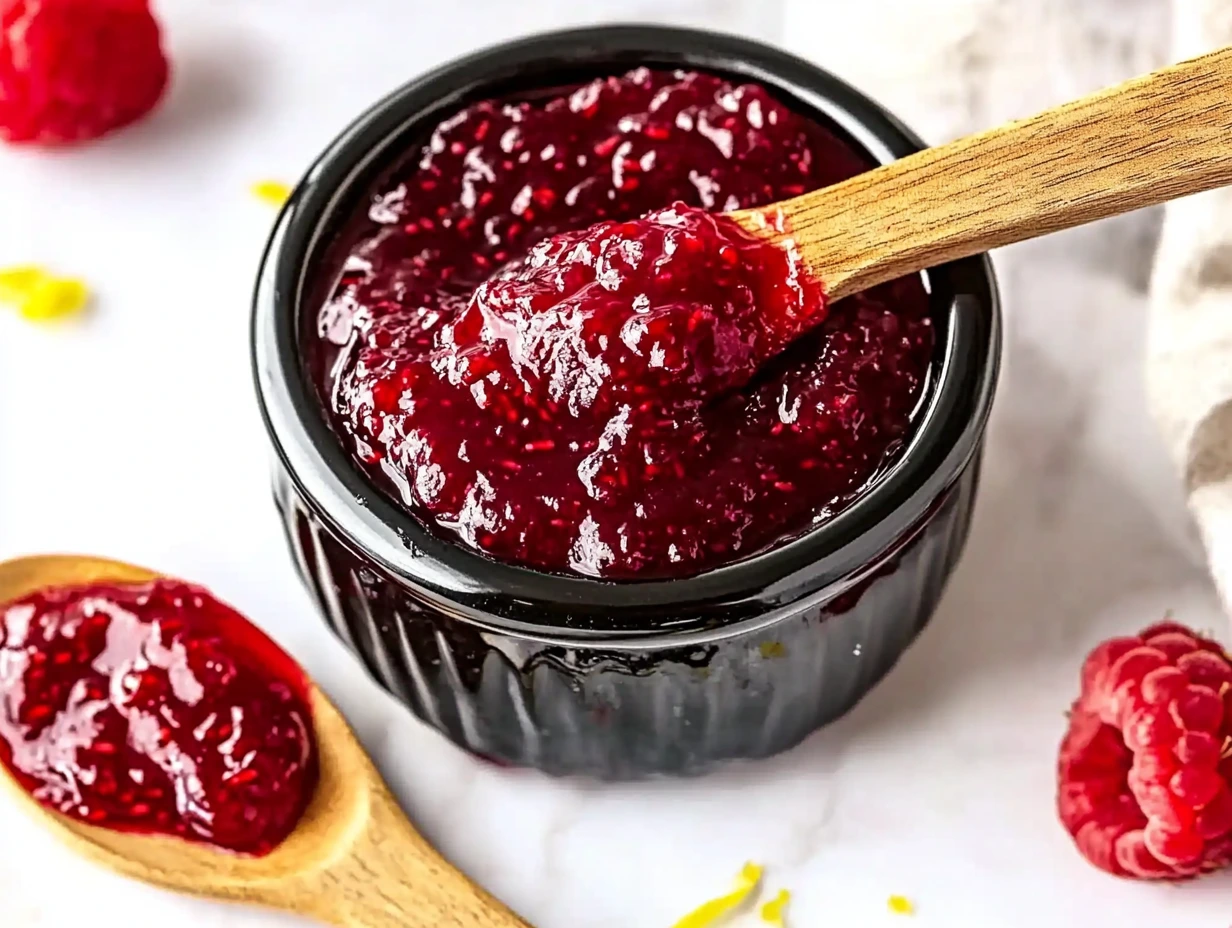
Final Thoughts: Why This Raspberry Jam Belongs in Your Pantry
There’s a kind of joy that comes from creating something homemade, especially when it’s as simple and satisfying as this raspberry jam. The vibrant color, the sweet-tart flavor, the way it makes even a plain piece of toast feel like something special—it’s pure comfort in a jar.
I always say that homemade jam is a little gift you can give yourself (and others). It’s a lovely way to use up fresh summer fruit, and it makes a thoughtful homemade present any time of year. Wrap up a jar with some fresh bread or scones, and you’ve got a heartfelt, hand-crafted gift that anyone would love.
So if you’ve never tried making jam before, this is your sign to go for it. It’s simple, quick, and the payoff is big. And if you’re already a jam-making fan, I hope this raspberry version becomes a go-to in your recipe rotation.
Print
Homemade Raspberry Jam
- Author: David
Description
This vibrant raspberry jam captures the sweet-tart flavor of ripe berries in a simple, classic preserve. Perfect on warm toast, stirred into yogurt or swirled into desserts, it brings a burst of summer to any table.
Ingredients
500 g fresh raspberries
400 g granulated sugar
2 tablespoons fresh lemon juice
1 teaspoon finely grated lemon zest (optional)
¼ teaspoon salt
Instructions
In a heavy-bottomed saucepan combine raspberries and sugar and let rest for about 10 minutes so the fruit releases its juices.
Place the pan over medium heat and stir gently until the sugar fully dissolves and the mixture starts to bubble.
Increase heat to medium-high and cook, stirring frequently and skimming off any foam, until the mixture reaches 104 °C on a candy thermometer or until a small spoonful chilled on a plate wrinkles when nudged, about 15–20 minutes.
Stir in lemon juice, zest if using, and salt, then simmer for an additional minute to integrate the flavors.
Remove from heat and immediately ladle the hot jam into sterilized jars, leaving about 6 mm of headspace. Wipe the rims clean and seal with lids.
Allow jars to cool undisturbed at room temperature. Once cooled, refrigerate for up to three weeks or process in a boiling-water bath for 10 minutes for shelf-stable storage.
Notes
Using a sugar thermometer ensures a reliable set; alternatively, test by chilling a spoonful on a plate. Removing foam produces a clearer jam but is optional. Lemon zest brightens the flavor and is recommended when berries are particularly sweet. Once opened, store in the refrigerator and enjoy within three weeks.


")

")


")
