

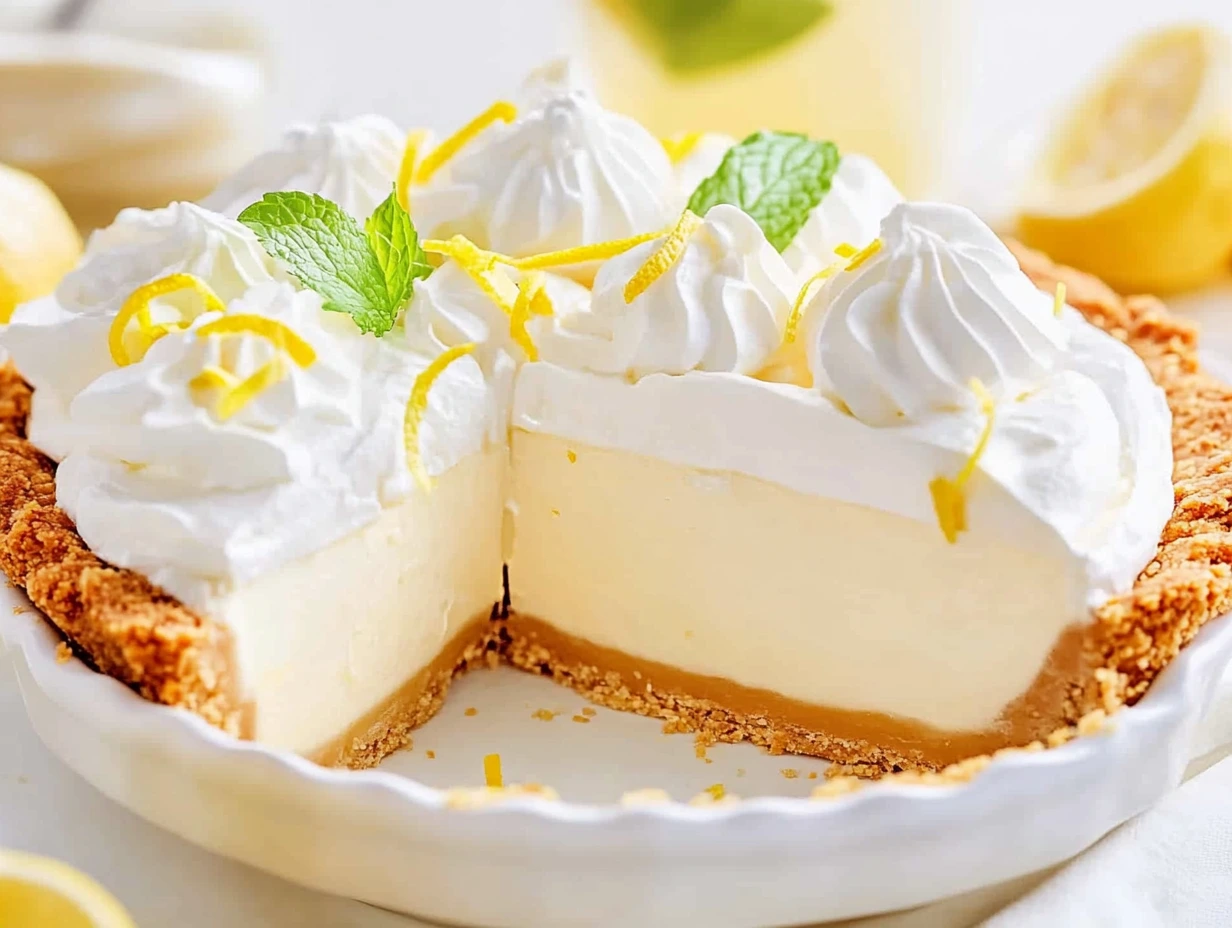
There are some desserts that just scream summer, and this Lemonade Pie is definitely one of them. It’s light, citrusy, and chilled to perfection—exactly what you want on a hot day when turning on the oven is the last thing on your mind. And the best part? You only need a handful of ingredients and zero baking skills to whip this one up.
I’ve been making versions of this pie for years, and it never fails to impress. I first tried a lemonade pie at a family BBQ when I was a kid, and I’ve been obsessed ever since. There’s just something nostalgic about the creamy, tart-sweet filling nestled in a crumbly graham cracker crust. It’s got that classic, old-fashioned charm—but it’s incredibly simple and quick to make. Win-win!
Whether you’re planning a summer cookout, need a last-minute dessert for a potluck, or just want to cool off with something sweet and tangy, this pie fits the bill. It’s also super customizable, which I’ll get into later—but for now, let’s talk about how ridiculously easy it is to make.
Ingredients You’ll Need
Here’s all you need to pull this together:
1 graham cracker crust (9-inch) – You can go store-bought to save time or make your own if you’re feeling fancy.
1 can (14 oz) sweetened condensed milk – This adds the rich, creamy base for the filling.
1 container (8 oz) whipped topping, thawed – Lightens up the texture and makes it fluffy.
1/2 can (6 oz) frozen lemonade concentrate, thawed – The star of the show, bringing that bold citrus punch.
1 tablespoon lemon juice (optional) – For extra tang if you love a strong lemony flavor.
Lemon zest for garnish (optional) – Adds a pop of color and a little zing right before serving.
STEP 1: Mix the Lemonade and Condensed Milk
Start by grabbing a large mixing bowl and pouring in your sweetened condensed milk. Add in the thawed frozen lemonade concentrate and give it a good stir. It’ll look a little loose at first, but it will thicken up as you mix. The combination of these two creates the dreamy base that’s sweet with just enough citrus to wake up your taste buds.
If you’re someone who likes a more intense lemon flavor (I’m right there with you), this is the time to add that optional tablespoon of lemon juice. Totally not necessary, but it does bump up the tartness in the best way.

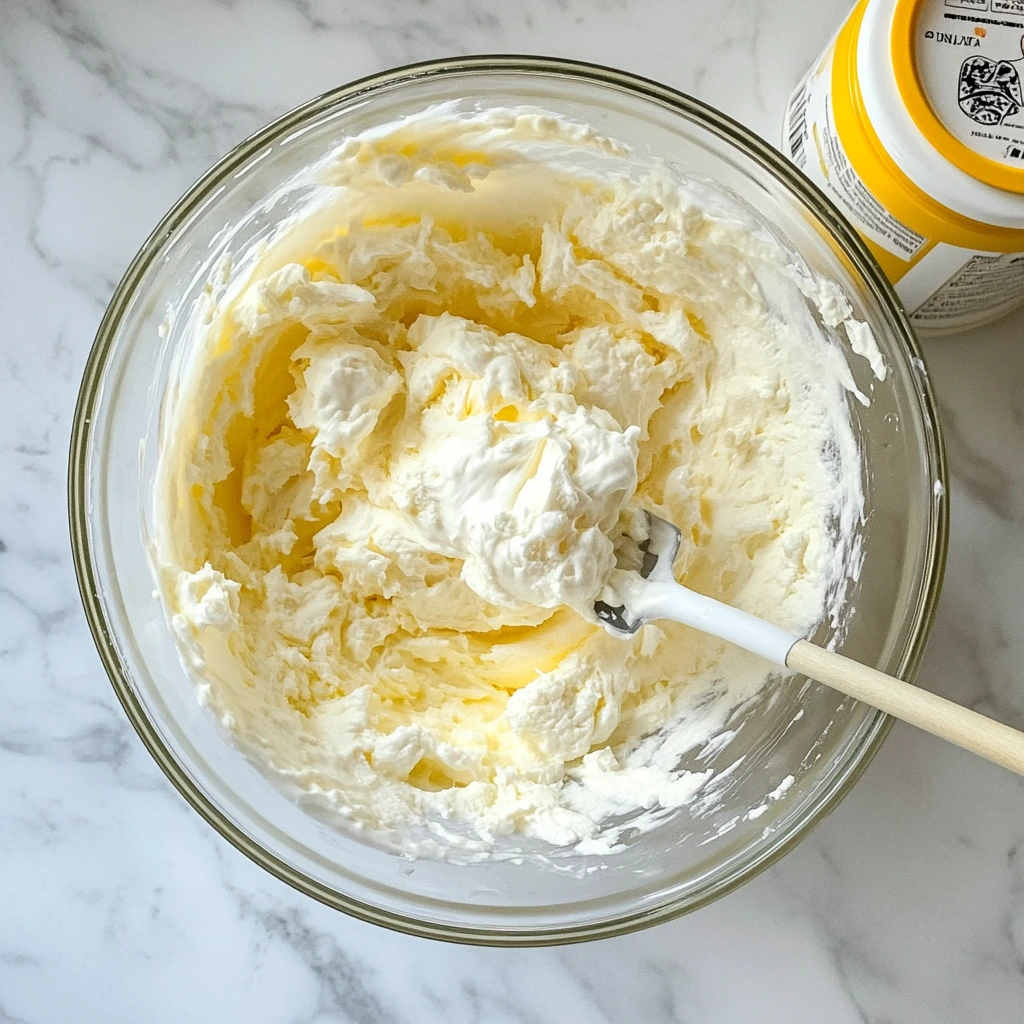
STEP 2: Fold in the Whipped Topping
Next up, grab your thawed whipped topping and gently fold it into the lemonade mixture. You don’t want to stir too aggressively here—folding gently helps keep the mixture nice and airy. The filling will look creamy, smooth, and slightly fluffy, kind of like a mousse.
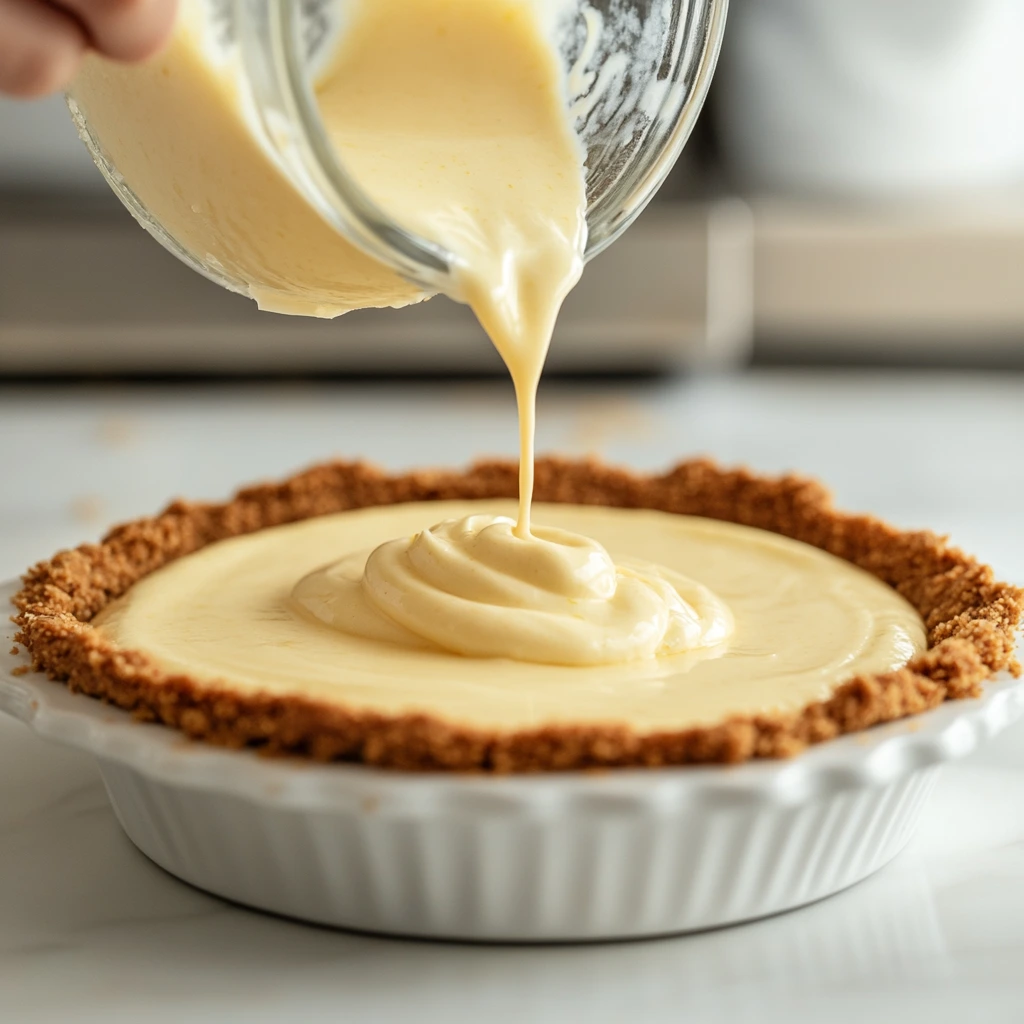
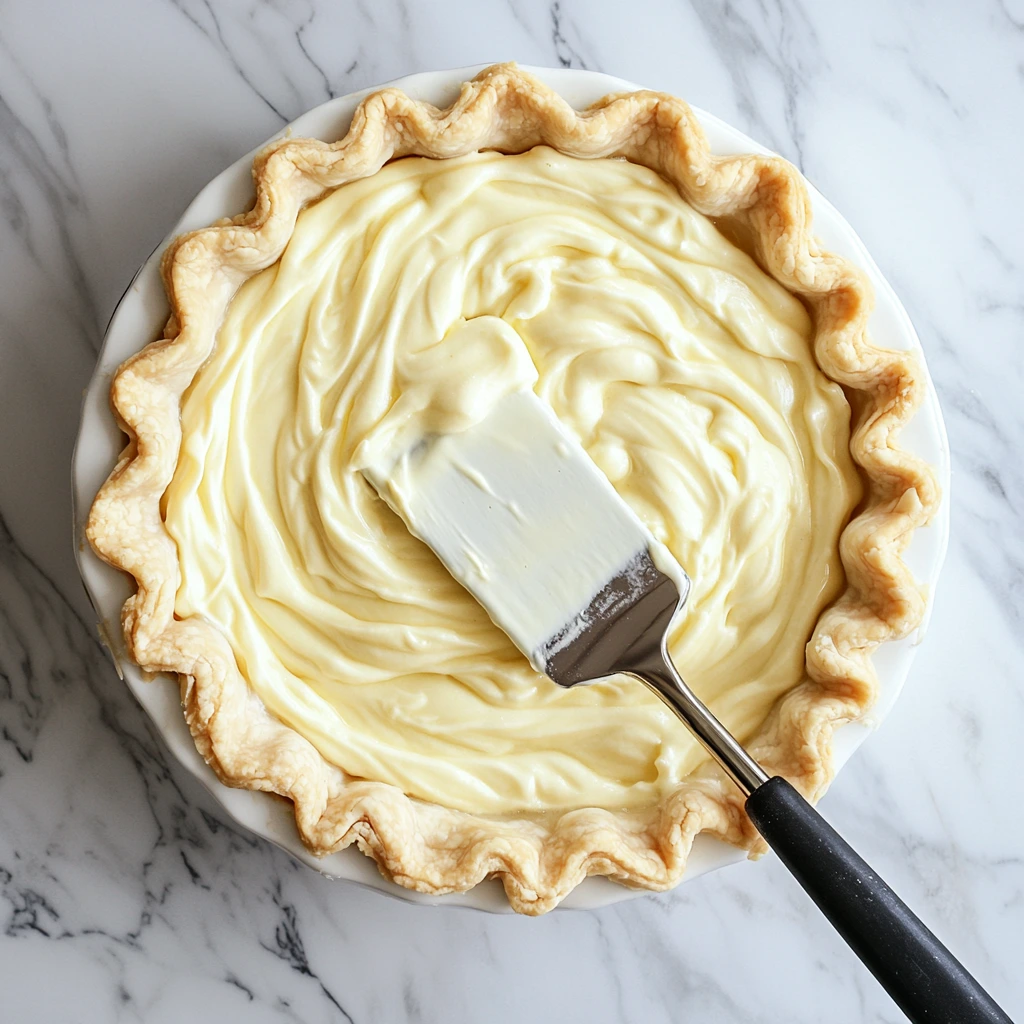
STEP 3: Pour into the Crust
Once your filling is ready, pour it right into the graham cracker crust. Use a spatula to smooth out the top, making sure it’s evenly distributed. It won’t look super firm at this stage, but don’t worry—it’ll set up beautifully once it’s chilled.
Chilling, Serving, and Sweet Success: Bringing Your Lemonade Pie to Life
So now that your creamy, lemony filling is nestled perfectly into its graham cracker crust, it’s time for the easiest—but most important—step: chilling. This is where the magic happens. No baking. No complicated techniques. Just a simple trip to the fridge (or freezer), and your dreamy dessert will be ready before you know it.
This part of the process is also where you can get a little creative. From switching up the crust to adding fruity garnishes or even trying out a pink version, there are so many ways to personalize this pie. But first, let’s get it set just right so each slice holds up like a charm.
STEP 4: Chill Until Set
Once the pie is filled and smoothed out, cover it loosely with plastic wrap or foil and place it in the refrigerator. Let it chill for at least 4 hours. This gives it time to firm up to that perfectly sliceable, silky-soft consistency.
If you’re in more of a rush (or just like a firmer pie), you can stick it in the freezer for 1 to 2 hours, then transfer it to the fridge until you’re ready to serve. It’s a great trick when you need to speed things up a bit, especially on hot days when you want something super refreshing and cold.
STEP 5: Garnish and Serve
When you’re ready to serve, it’s time for the finishing touch. You can keep things simple and elegant with just a little lemon zest sprinkled over the top, or add a few thin lemon slices or even a sprig of mint if you’re feeling a little fancy.
Want to turn this into a showstopper? Try topping the pie with extra dollops of whipped cream or a few fresh berries like blueberries or raspberries. They add a lovely burst of color and flavor that complements the lemony base beautifully.
Then slice it up and serve chilled. It’s light, it’s creamy, and every bite is like a burst of sunshine.
Tips and Tricks for the Best Lemonade Pie
Here are a few of my favorite tips that make this already-easy recipe even more foolproof (and fun to experiment with):
Crust Options: A graham cracker crust is classic, but if you’re feeling adventurous, try a crushed vanilla wafer, gingersnap, or shortbread cookie crust. Each one gives a different twist to the flavor.
Flavor Variations: Not in the mood for plain lemonade? Swap the concentrate for pink lemonade for a fun color, or try limeade for a tarter twist. Orange juice concentrate works too for a creamsicle-inspired vibe.
Make Ahead: This pie is a lifesaver when you need something you can make ahead of time. It holds up beautifully in the fridge for several days and even better in the freezer. Just thaw slightly before serving.
Mini Pies: Want to make individual portions? Divide the filling into mini graham cracker crusts (they usually come in packs of 6) for cute, personal-sized desserts that are perfect for parties or BBQs.
Texture Control: If you like a super firm pie, lean toward freezing it longer. If you prefer something a little softer and more mousse-like, the fridge alone will do the trick
Chilling, Serving, and Sweet Success: Bringing Your Lemonade Pie to Life
Now that your creamy, lemony filling is perfectly poured into that graham cracker crust, the next step is all about letting it set just right. This is the no-bake magic part where patience pays off—and trust me, it’s worth the wait.
STEP 4: Refrigerate Until Set
After smoothing the filling evenly in your crust, cover the pie loosely with plastic wrap or foil and place it in the refrigerator. Let it chill for at least 4 hours. This resting time allows the pie to firm up to the ideal texture—silky, creamy, and easy to slice without losing its shape.
If you’re short on time or prefer a firmer texture, pop the pie into the freezer for 1 to 2 hours instead. After freezing, transfer it back to the fridge until you’re ready to serve. This method gives a slightly more solid consistency that some folks love, especially when the weather is warm.
STEP 5: Garnish and Serve
Before serving, add your finishing touches. A little lemon zest sprinkled on top brightens the flavor and adds a fresh pop of color. You can also add thin lemon slices or even a sprig of fresh mint for a beautiful presentation.
If you want to get a bit creative, try topping the pie with extra whipped topping or some fresh berries—blueberries, raspberries, or strawberries make lovely, colorful companions to that tangy lemon flavor.
Tips and Variations
Crust Choices: While graham cracker crusts are classic and easy, you can mix it up with a vanilla wafer, shortbread, or even a gingersnap crust for a different twist. Each option brings a unique flavor and texture to the dessert.
Flavor Swaps: Want to change up the citrus vibe? Substitute the lemonade concentrate with pink lemonade for a fun color and slightly sweeter taste. Limeade concentrate is another great alternative that gives a sharper tang.
Make Ahead: This pie is perfect for preparing in advance. It holds up well in the fridge for several days and can even be frozen for up to a week. Just thaw it slightly before serving for the best texture.
Mini Pies: If you’re serving a crowd or want individual portions, try dividing the filling into mini graham cracker crusts. They’re adorable, portable, and perfect for parties.
Texture Preferences: Freeze for a firmer pie, or stick to refrigeration for a softer, mousse-like consistency. Either way, it’s delicious.
Lemonade Pie FAQ and Final Thoughts: Everything You Need to Know
By now, you’ve got a beautifully set, tangy, and creamy Lemonade Pie ready to impress. But before you dive into your first slice, I want to answer some of the most common questions that pop up when making this simple but delicious dessert. Hopefully, these tips will give you even more confidence in the kitchen and inspire you to make this pie your new go-to treat.
Frequently Asked Questions
1. Can I use a homemade graham cracker crust instead of store-bought?
Absolutely! A homemade crust made with crushed graham crackers, melted butter, and a bit of sugar will work beautifully. It adds a fresh, buttery flavor that pairs perfectly with the lemon filling.
2. How long can I store Lemonade Pie?
You can keep it refrigerated for up to 3-4 days. If you freeze it, it will last for about a week. Just remember to thaw it in the fridge for a few hours before serving to get the best texture.
3. Can I make this pie vegan or dairy-free?
This recipe relies on sweetened condensed milk and whipped topping, which usually contain dairy. However, there are vegan versions of condensed milk and whipped topping available that you can experiment with. Just keep in mind that texture and flavor might be slightly different.
4. Is there a way to make this pie more tart?
Yes! Adding an extra tablespoon or two of fresh lemon juice will brighten the flavor and give it a more pronounced tartness. You can also add a bit of lemon zest into the filling for an extra zing.
5. Can I use fresh lemon juice instead of frozen lemonade concentrate?
Using fresh lemon juice alone won’t quite work the same way because the frozen lemonade concentrate contains sweeteners and other flavorings that balance the pie. If you want to use fresh lemon juice, you’d need to adjust the sugar content and possibly thicken the filling differently.
6. How can I prevent the crust from getting soggy?
If you’re worried about a soggy crust, especially with homemade crusts, try brushing the inside with a thin layer of melted butter or a light coating of melted white chocolate before adding the filling. This acts as a barrier and keeps the crust crisp longer.
7. Can I add other flavors or mix-ins?
Definitely! A handful of finely chopped fresh berries or shredded coconut folded into the filling can add a nice twist. Just be careful not to add too much extra moisture.
Final Thoughts
Lemonade Pie is one of those simple desserts that feel like a special treat but take almost no time or effort to make. It’s perfectly balanced with just the right mix of creamy sweetness and bright citrus tang, making it a refreshing dessert option for warm weather and beyond.
What I love most about this pie is how versatile it is—whether you stick to the classic graham cracker crust or try a cookie crust, use regular or pink lemonade concentrate, or jazz it up with extra garnishes, it always turns out delicious.
Print
Lemonade Pie
- Author: David
Description
Lemonade Pie is a refreshingly simple, no-bake dessert that’s perfect for warm days. With its creamy texture and bright citrus flavor, this pie is both light and indulgent. Made with just a few ingredients and minimal prep, it’s an ideal treat for picnics, potlucks, or any occasion that calls for a cool and tangy dessert.
Ingredients
1 graham cracker crust (9-inch)
1 can (14 oz) sweetened condensed milk
1 container (8 oz) whipped topping, thawed
1/2 can (6 oz) frozen lemonade concentrate, thawed
1 tablespoon lemon juice (optional for extra tartness)
Lemon zest for garnish (optional)
Instructions
In a large bowl, combine the sweetened condensed milk and thawed lemonade concentrate. Stir until smooth and well blended.
Fold in the whipped topping gently until the mixture is light and creamy. If desired, stir in lemon juice for a more intense flavor.
Pour the filling into the graham cracker crust and smooth the top with a spatula.
Refrigerate for at least 4 hours or until the pie is set. For a firmer texture, freeze for 1–2 hours and then transfer to the fridge until ready to serve.
Garnish with lemon zest or slices just before serving if desired.
Notes
You can use a homemade graham cracker crust if preferred, or switch to a cookie crust like vanilla wafers or shortbread for a twist. For a pink version, substitute with pink lemonade concentrate. This pie can also be made ahead and stored in the freezer for up to a week—just thaw slightly before serving.


")

")


")
