

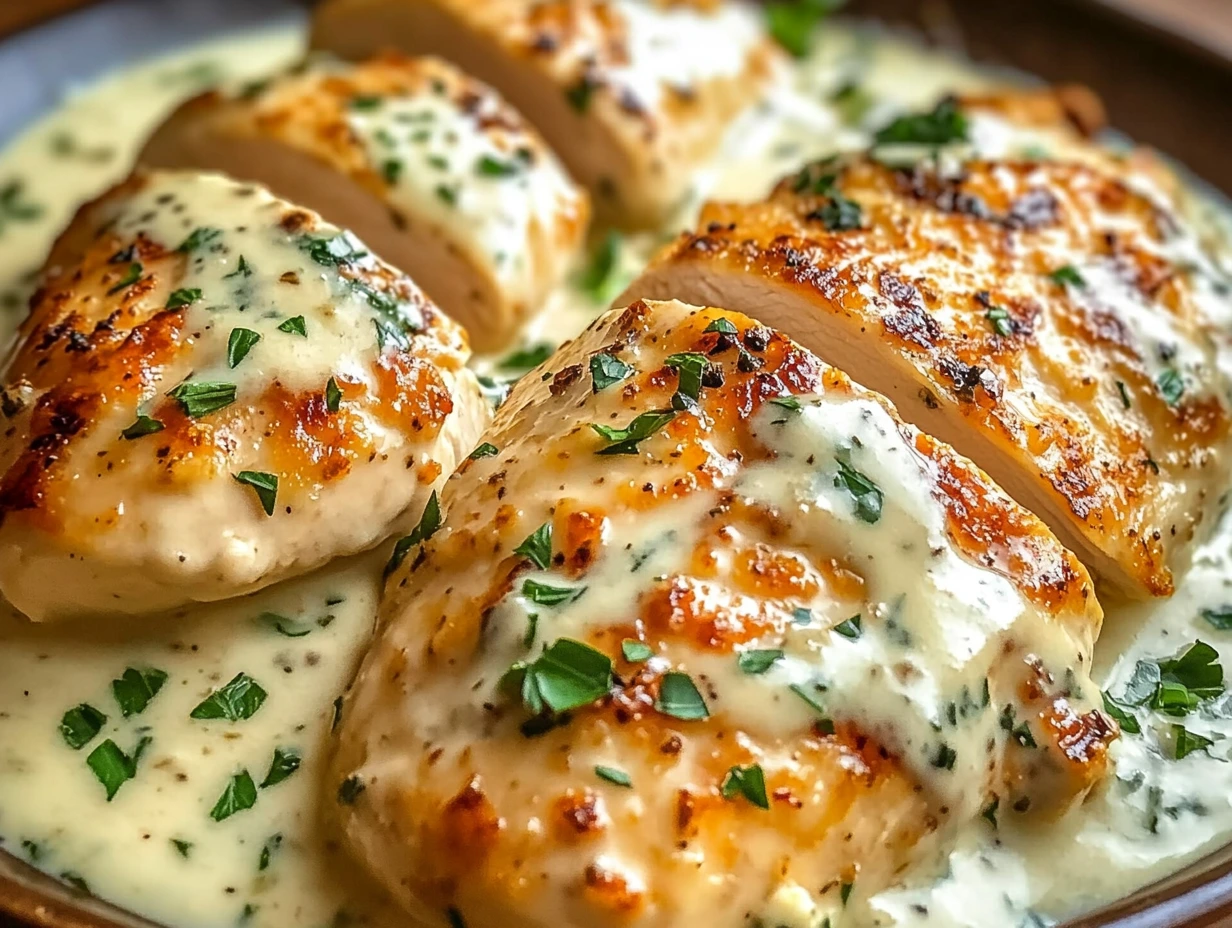
If you’re looking for an easy, no-fuss dinner that delivers big on flavor, this Melt-In-Your-Mouth Caesar Chicken is about to become your new go-to recipe. It’s creamy, cheesy, and packed with bold, savory goodness—all with just a handful of ingredients and minimal prep time.
There’s something magical about the way Caesar dressing, Parmesan cheese, and a blend of aromatic herbs come together to create a rich, melt-in-your-mouth texture. The chicken stays incredibly juicy, soaking up every bit of that flavorful sauce while baking to golden perfection. Whether you’re feeding a hungry family or just want a comforting meal without spending hours in the kitchen, this recipe checks all the boxes.
Why You’ll Love This Caesar Chicken Recipe
- Easy to Make: With just a few ingredients and simple steps, this is a stress-free recipe perfect for weeknights.
- Incredibly Flavorful: The combination of Caesar dressing, Parmesan, and herbs gives the chicken a deep, rich taste.
- Minimal Cleanup: Everything bakes in one dish, making cleanup a breeze.
- Family Favorite: Even picky eaters love this creamy, cheesy chicken dish!
Now, let’s get cooking!
Step 1: Preheat the Oven
First things first, set your oven to 375°F (190°C). This temperature is perfect for baking chicken without drying it out. While the oven heats up, lightly grease a baking dish with a little oil or non-stick spray to prevent sticking.
Step 2: Prepare the Chicken
Grab four boneless, skinless chicken breasts and arrange them in a single layer in your prepared baking dish. If your chicken breasts are on the thicker side, consider pounding them to an even thickness—this helps them cook evenly and absorb more of that delicious flavor.
Pro Tip: If you have extra time, you can marinate the chicken in the dressing mixture for 30 minutes before baking. This will infuse even more flavor into every bite!

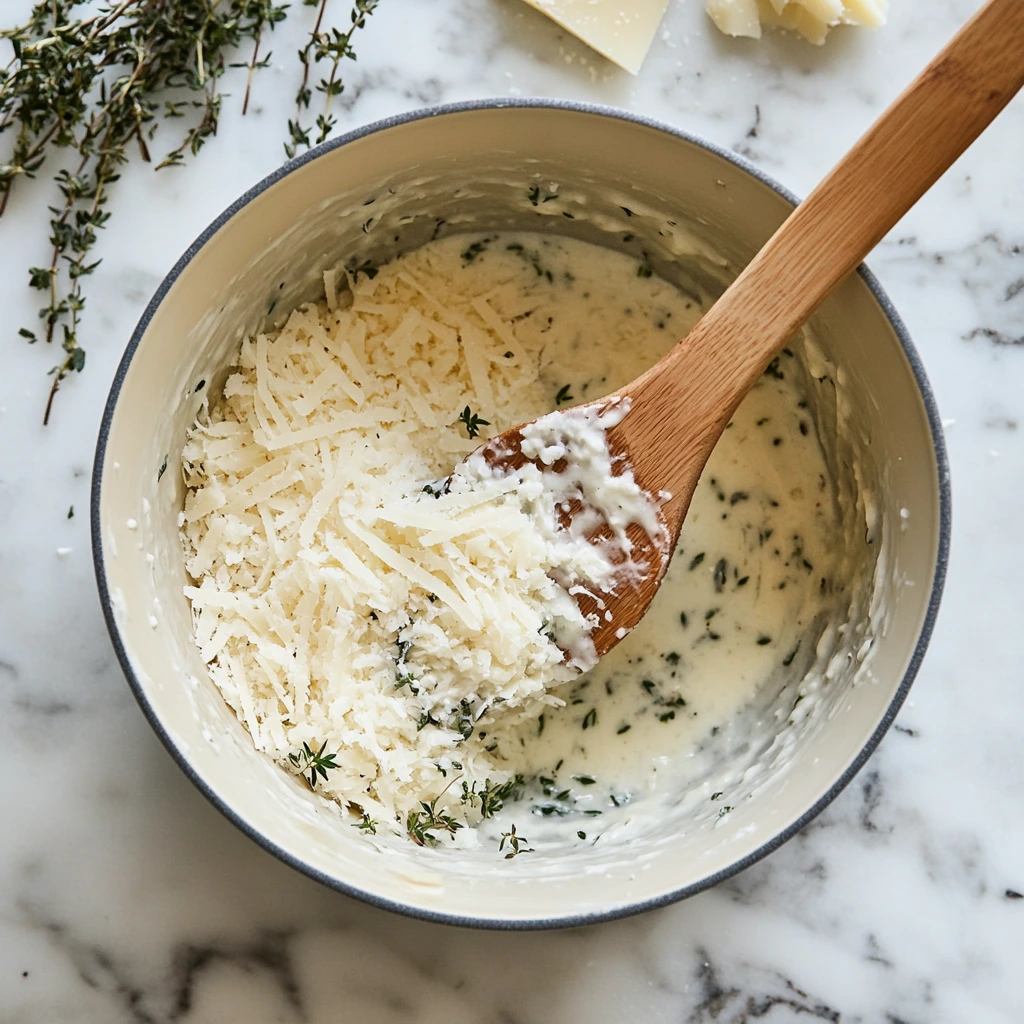
Step 3: Make the Creamy Caesar Sauce
Now for the magic ingredient—the sauce! In a mixing bowl, combine:
- 1 cup Caesar dressing (store-bought or homemade)
- 1 cup shredded Parmesan cheese
- 1 teaspoon garlic powder
- 1 teaspoon onion powder
- 1 teaspoon dried oregano
- 1 teaspoon dried basil
- Salt and black pepper to taste
Give everything a good stir until it’s well combined. The Parmesan will add a rich, nutty flavor while the seasonings enhance the savory notes of the Caesar dressing.
At this point, your kitchen is already starting to smell amazing, and we haven’t even put the chicken in the oven yet!
Step 4: Coat the Chicken
Pour the creamy dressing mixture evenly over the chicken, making sure each piece is fully coated. You want every bite to be packed with flavor, so don’t be shy—spread it on thick!
Once your chicken is completely covered in that delicious sauce, it’s ready to go in the oven.
Step 5: Bake the Chicken to Perfection
Now that your chicken is coated in that rich, creamy Caesar sauce, it’s time to bake. Place the dish in the preheated oven and bake for 25-30 minutes, or until the internal temperature of the chicken reaches 165°F (74°C).
Cooking times may vary depending on the thickness of your chicken breasts, so using a meat thermometer is the best way to ensure they’re perfectly cooked—moist and tender, never dry.
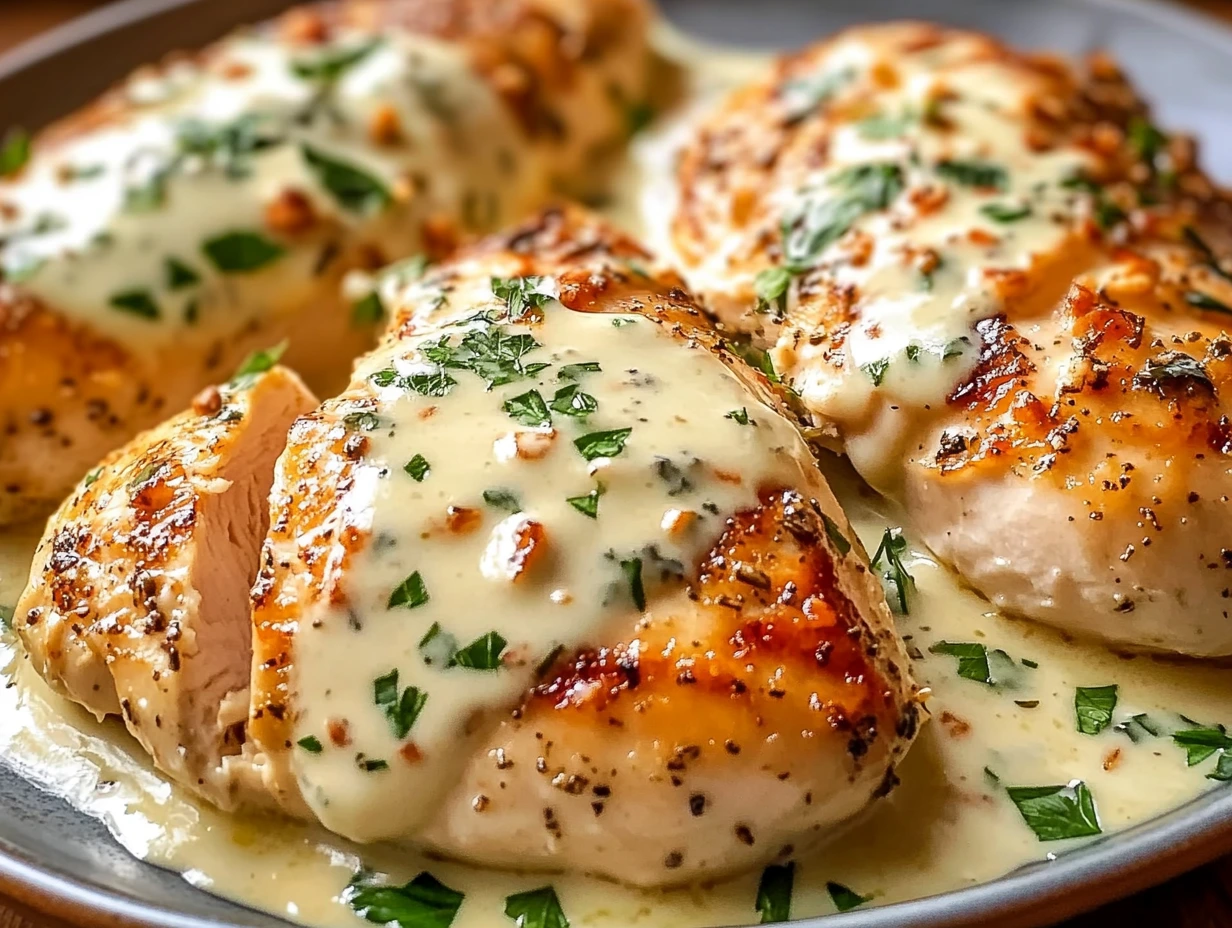
As the chicken bakes, the Caesar dressing and Parmesan cheese create a luscious sauce that keeps the chicken juicy while forming a slightly crispy, cheesy crust on top. The aroma filling your kitchen at this point? Absolutely irresistible.

Step 6: Broil for a Golden, Crispy Finish
If you love a little extra crispiness, this next step is a game-changer. Once the chicken is fully cooked, switch the oven to broil and cook for an additional 2-3 minutes. This helps brown the top, giving the cheese a golden, slightly crispy finish.
Just be sure to keep a close eye on it—broiling can go from perfect to burnt very quickly! A light golden brown is what you’re aiming for, adding texture and even more flavor to the dish.
Step 7: Garnish and Serve
Once out of the oven, let the chicken rest for a few minutes before serving. This allows the juices to redistribute, keeping the chicken extra tender.
For a pop of color and freshness, sprinkle some chopped fresh parsley over the top. While optional, the parsley adds a bright contrast to the rich, creamy sauce, making the dish look just as good as it tastes.
Now it’s time to serve!
What to Serve with Caesar Chicken
This Caesar Chicken pairs beautifully with a variety of sides. Here are a few ideas to complete your meal:
- Roasted Vegetables – Roasted broccoli, asparagus, or Brussels sprouts complement the creamy chicken perfectly.
- Mashed Potatoes – Creamy mashed potatoes soak up all that delicious sauce for a comforting, hearty meal.
- Rice or Quinoa – A simple side of rice or quinoa balances the rich flavors and adds a nice texture.
- Garlic Bread – A warm, crispy slice of garlic bread is perfect for scooping up the creamy sauce.
If you’re looking for a low-carb option, serve the chicken over a bed of sautéed spinach or cauliflower rice for a lighter twist.
Tips for the Best Caesar Chicken
- Use a Good Quality Caesar Dressing: Since the dressing is a key ingredient, using a high-quality store-bought or homemade version makes a big difference.
- Shred Your Own Parmesan Cheese: Pre-shredded Parmesan often contains anti-caking agents that prevent it from melting as well. Freshly grated cheese will create a smoother, richer sauce.
- Don’t Skip the Broil Step: That final few minutes under the broiler adds the perfect golden crust, taking this dish to the next level.
- Let the Chicken Rest: Allowing the chicken to sit for a few minutes after baking keeps it juicy and tender.
Frequently Asked Questions
When making Caesar Chicken, a few common questions often come up. Here are the answers to help you get the best results every time.
1. Can I use chicken thighs instead of chicken breasts?
Absolutely! Chicken thighs are a great alternative because they stay even juicier when baked. Just keep in mind that bone-in, skin-on thighs may take a few extra minutes to cook, so check the internal temperature to ensure they reach 165°F (74°C).
2. What’s the best Caesar dressing to use?
Any high-quality store-bought Caesar dressing works well, but if you have the time, making a homemade Caesar dressing will take this dish to the next level. Look for a dressing that’s rich and creamy with bold flavors.
3. Can I prepare this dish ahead of time?
Yes! You can assemble the dish a few hours ahead and store it covered in the fridge until you’re ready to bake. If marinating, let the chicken sit in the dressing mixture for up to 12 hours for even more flavor.
4. How do I store and reheat leftovers?
Store leftover Caesar Chicken in an airtight container in the refrigerator for up to 3 days. To reheat:
- Oven: Bake at 350°F (175°C) for about 10 minutes until warmed through.
- Microwave: Heat in 30-second intervals until hot, but be careful not to overcook and dry out the chicken.
5. Can I freeze Caesar Chicken?
Yes! This dish freezes well. Let the cooked chicken cool completely, then store it in a freezer-safe container for up to 3 months. Thaw overnight in the fridge and reheat in the oven or microwave before serving.
6. Can I make this dish low-carb or keto-friendly?
Yes! Most Caesar dressings are already low in carbs, so just pair the chicken with a keto-friendly side like cauliflower mash or zucchini noodles for a delicious low-carb meal.
7. How can I make this dish even more flavorful?
For an extra flavor boost, try:
- Adding a squeeze of fresh lemon juice before serving for brightness.
- Mixing in a little Dijon mustard into the dressing for extra depth.
- Using homemade Caesar dressing for fresher, more intense flavor.
Final Thoughts
This Melt-In-Your-Mouth Caesar Chicken is the ultimate creamy, cheesy, and flavorful dinner that’s as easy as it is delicious. Whether you’re cooking for a busy weeknight meal or hosting a casual dinner, this dish is always a crowd-pleaser.
With just a handful of ingredients and a simple prep process, you’ll have a meal that tastes like it took hours to make—but in reality, it comes together in under an hour. Pair it with your favorite side dishes, and you’ve got a satisfying, comforting meal that everyone will love.
Try this recipe tonight, and don’t forget to share your experience! Did you make any fun twists? Let us know in the comments—we love hearing how you make it your own!
Print
Melt-In-Your-Mouth Caesar Chicken
- Author: David
Description
This Caesar Chicken is rich, creamy, and packed with bold flavors. The combination of Caesar dressing, Parmesan cheese, and aromatic herbs creates a juicy and tender chicken dish that practically melts in your mouth. It’s an easy, one-pan meal perfect for busy weeknights or when you need a comforting, flavorful dish with minimal effort.
Ingredients
- 4 boneless, skinless chicken breasts
- 1 cup Caesar dressing
- 1 cup shredded Parmesan cheese
- 1 teaspoon garlic powder
- 1 teaspoon onion powder
- 1 teaspoon dried oregano
- 1 teaspoon dried basil
- Salt and black pepper to taste
- Fresh parsley for garnish (optional)
Instructions
Preheat the Oven
Set your oven to 375°F (190°C). Lightly grease a baking dish to prevent sticking.
Prepare the Chicken
Arrange the chicken breasts in the baking dish in a single layer.
Make the Sauce
In a mixing bowl, combine the Caesar dressing, Parmesan cheese, garlic powder, onion powder, oregano, basil, salt, and black pepper. Stir until well blended.
Coat the Chicken
Pour the dressing mixture over the chicken, ensuring each piece is evenly coated.
Bake the Chicken
Place the dish in the oven and bake for 25-30 minutes, or until the internal temperature of the chicken reaches 165°F (74°C).
Broil for a Golden Finish
For a crispier, golden crust, turn the oven to broil and cook for an additional 2-3 minutes. Keep an eye on it to prevent burning.
Garnish and Serve
Sprinkle with fresh parsley before serving for a pop of color and freshness.
Notes
- For extra flavor, marinate the chicken in the dressing mixture for 30 minutes before baking.
- Serve with roasted vegetables, mashed potatoes, or a side of rice for a complete meal.
- Try using homemade Caesar dressing for a fresher taste.
- Leftovers can be stored in an airtight container in the fridge for up to 3 days and reheated in the oven or microwave.


")

")


")
