

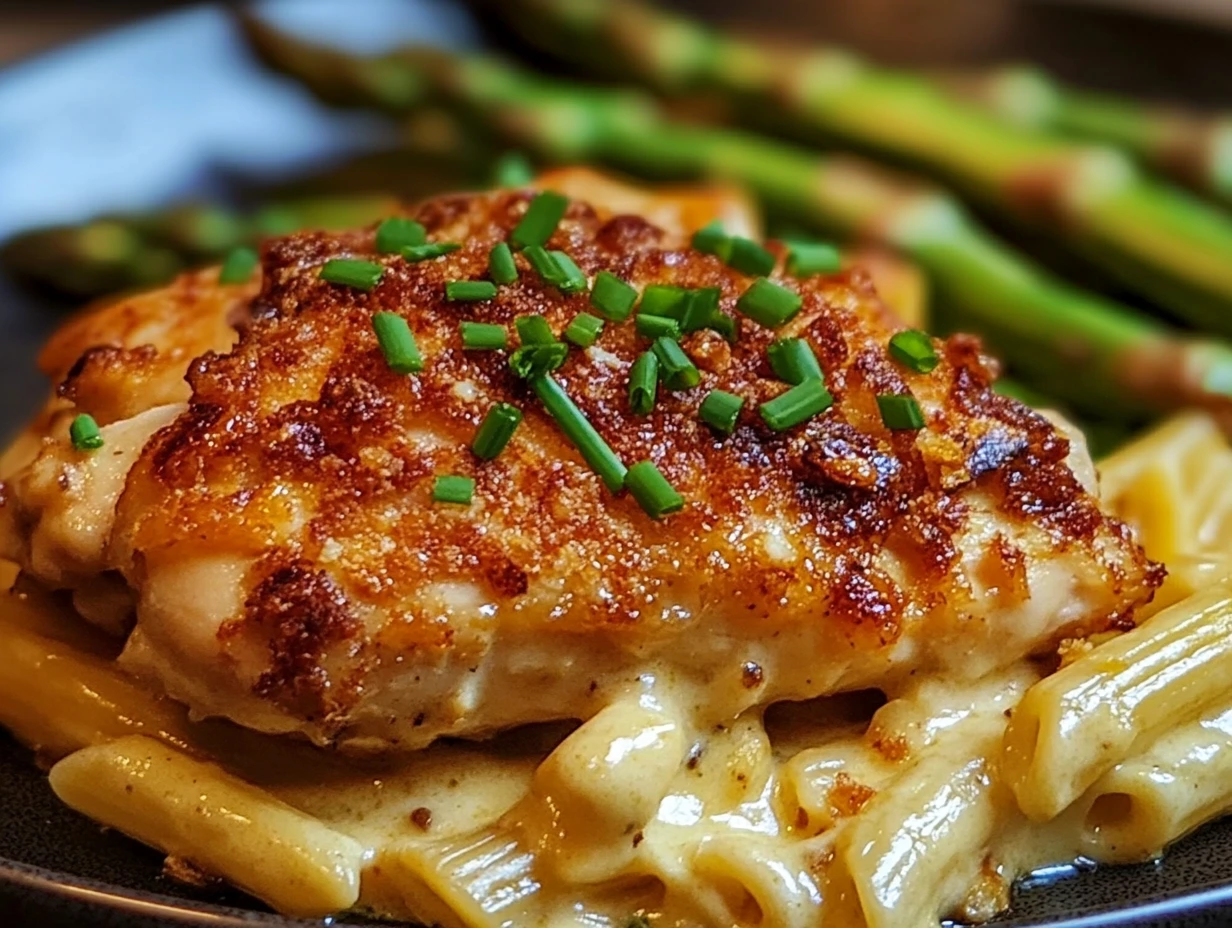
There’s something downright magical about a recipe that checks every box: easy, flavorful, and so good it makes everyone ask for seconds. Enter the Melt-In-Your-Mouth Chicken, a dish that combines rich flavors with a ridiculously creamy topping that turns ordinary chicken breasts into a feast-worthy meal. Trust me, this one’s going to become a staple in your kitchen.
I remember the first time I made this recipe—it was a weeknight, and I needed something quick but comforting. With only a few ingredients and almost zero prep, I was able to whip up a dinner that made everyone at the table feel like royalty. Bonus? The leftovers (if there are any) reheat like a dream, making lunch the next day equally delicious.
Why You’ll Love This Recipe
- Simple Ingredients: No fancy grocery store runs required; you probably have most of these ingredients in your kitchen right now.
- Customizable: Use Greek yogurt for a lighter twist or stick with mayonnaise for that classic creamy goodness.
- Minimal Prep: You’re just minutes away from popping this dish into the oven.
Ingredients You’ll Need
- 4 boneless, skinless chicken breasts (make sure they’re thawed if frozen)
- 1 cup mayonnaise or Greek yogurt (for a lighter option)
- ½ cup freshly grated Parmesan cheese
- 1 teaspoon seasoning salt
- ½ teaspoon freshly ground black pepper
- ½ teaspoon garlic powder
Pro Tip: Always use freshly grated Parmesan for the best flavor. Pre-grated cheese can sometimes lack that fresh, nutty kick!
Step 1: Preheat Your Oven
First things first, set your oven to 375°F (190°C). This gives it enough time to heat up while you prep the chicken. I like to line my baking dish with parchment paper for easier cleanup later, but a light coating of non-stick spray works just as well.
Step 2: Create the Creamy Topping
This step is where the magic begins! In a medium-sized bowl, mix together your mayonnaise or Greek yogurt, Parmesan cheese, seasoning salt, black pepper, and garlic powder. Stir until the mixture is smooth and creamy—almost like frosting for your chicken!
Kitchen Hack: If you’re feeling adventurous, add a dash of smoked paprika or dried thyme for an extra flavor boost.

Step 3: Prep the Chicken
Place your chicken breasts in the prepared baking dish. Make sure they’re evenly spaced, so they cook through perfectly. Generously spread the creamy topping over each piece of chicken. Trust me, don’t skimp here—the topping is what makes this dish so indulgently delicious.
From Oven to Perfection—The Secret to Golden, Juicy Chicken
Now that your chicken breasts are luxuriously coated in the creamy Parmesan mixture, it’s time to let your oven do the heavy lifting. This step is where the magic happens—the creamy topping transforms into a golden, bubbly crust, and the chicken turns irresistibly juicy.
Step 4: Bake to Golden Perfection
Place your baking dish in the oven preheated to 375°F (190°C). Bake for about 45 minutes, or until the chicken is fully cooked through and reaches an internal temperature of 165°F (74°C).
Pro Tip: To check for doneness, use a meat thermometer inserted into the thickest part of the chicken. No thermometer? No problem! Slice into the thickest part of the chicken—it should be white and opaque, with no pink.
As the chicken bakes, your kitchen will fill with the mouthwatering aroma of garlic, Parmesan, and that subtle hint of seasoning salt. It’s the kind of smell that’ll have everyone asking, “When’s dinner?”

Tips for Perfect Baking Every Time
- Uniform Thickness for Even Cooking
If your chicken breasts are uneven in thickness, gently pound them to an even size using a meat mallet. This ensures the chicken cooks evenly, avoiding overcooked edges and undercooked centers. - Prevent Over-Baking
If your chicken tends to dry out in the oven, consider tenting the dish with aluminum foil for the first 20 minutes of baking. Remove the foil for the last 25 minutes to allow the topping to crisp up beautifully. - Alternative Cooking Methods
Want to switch things up? You can try this recipe in an air fryer or on the stovetop using an oven-safe skillet. Simply sear the chicken first, spread the creamy topping, and finish it off in the oven.
Step 5: Rest and Serve
Once your chicken is perfectly cooked, remove it from the oven and let it rest for about 5 minutes before serving. This short resting period allows the juices to redistribute, giving you that incredibly moist, tender bite every single time.
What to Serve with Melt-In-Your-Mouth Chicken
This dish is versatile and pairs beautifully with just about anything. Here are a few serving ideas to make your meal shine:
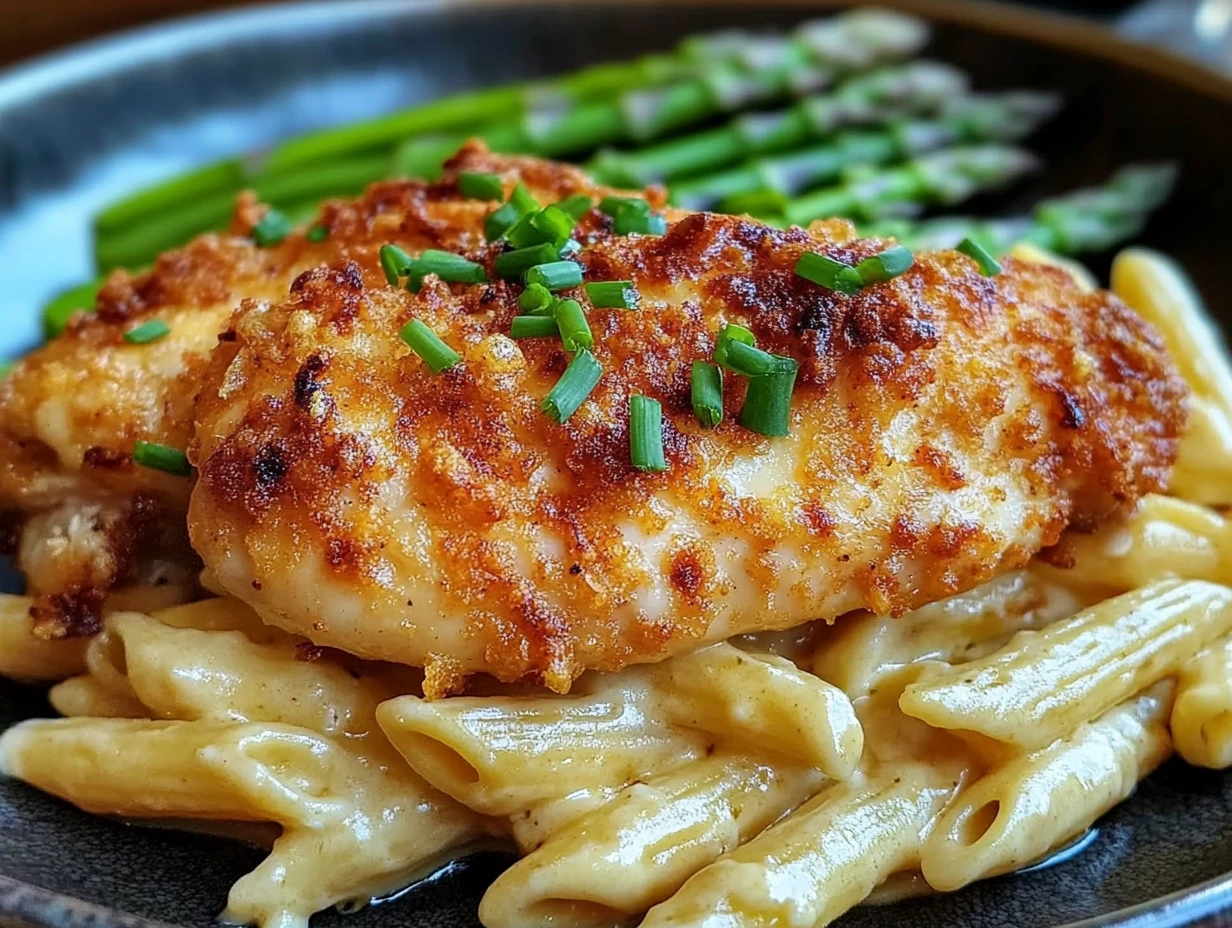
- Veggie Sides:
Roasted asparagus, steamed broccoli, or a fresh garden salad work well to balance the richness of the chicken. - Comfort Classics:
Mashed potatoes or creamy risotto make a perfect pairing for soaking up that golden Parmesan crust. - Light and Fresh:
Serve with a simple cucumber and tomato salad dressed with olive oil and balsamic vinegar for a lighter option.
Pro Tip: If you’re feeling indulgent, drizzle some of the creamy topping from the baking dish over your sides—it’s too delicious to leave behind!
Variations to Try
If you’re loving this recipe but want to experiment, here are a few variations to keep it exciting:
- Add Herbs:
Mix fresh chopped parsley, thyme, or basil into the creamy topping for an herby twist. - Spicy Kick:
Stir in a pinch of cayenne pepper or red chili flakes for a little heat. - Cheesy Upgrade:
Sprinkle some shredded mozzarella or Gruyère on top before baking for extra cheesiness.
Why This Chicken Stands Out
It’s the combination of simplicity and decadence that makes this dish so special. The creamy Parmesan topping not only locks in moisture but also forms a beautiful golden crust that’s loaded with flavor. Plus, the flexibility of using either mayonnaise or Greek yogurt means you can tailor it to your taste or dietary preferences.
FAQ and Final Touches—Your Perfect Chicken, Every Time
By now, your kitchen smells like heaven, and your Melt-In-Your-Mouth Chicken is ready to impress. Before you dive into this deliciousness, let’s answer a few frequently asked questions to help you nail this recipe every single time.
FAQ Section: Answering Your Chicken Queries
1. Can I use chicken thighs instead of chicken breasts?
Absolutely! Chicken thighs work wonderfully in this recipe. They’re naturally juicier and full of flavor. Just keep an eye on the cooking time, as thighs may cook slightly faster than breasts.
2. What’s the best way to store leftovers?
Store any leftover chicken in an airtight container in the refrigerator for up to 3 days. To reheat, place the chicken in a covered dish and warm it in the oven at 300°F (150°C) until heated through. This helps retain the topping’s creaminess.
3. Can I make this dish ahead of time?
Yes! You can prepare the chicken and topping in advance, cover the dish, and refrigerate it for up to 24 hours. When ready to bake, let it sit at room temperature for 15 minutes before popping it into the oven.
4. Can I freeze this recipe?
While it’s best served fresh, you can freeze the cooked chicken. Allow it to cool completely, then wrap each piece in plastic wrap and store in a freezer-safe bag for up to 2 months. Reheat in the oven for the best results.
5. What if I don’t have Parmesan cheese?
If you don’t have Parmesan, you can substitute Pecorino Romano or even grated cheddar. Keep in mind that different cheeses may alter the flavor profile slightly.
6. How do I prevent the topping from becoming too oily?
Using high-quality mayonnaise or Greek yogurt helps minimize excess oil. If you notice too much oil during baking, you can gently dab it away with a paper towel before serving.
7. Can I make this recipe dairy-free?
For a dairy-free version, use a plant-based yogurt and a dairy-free cheese alternative. The texture may vary slightly, but it’ll still be delicious.
Conclusion: Why Melt-In-Your-Mouth Chicken Deserves a Spot on Your Table
This recipe is everything you want in a weeknight dinner: easy, comforting, and bursting with flavor. It’s one of those dishes that brings people together, whether you’re serving it to your family or impressing guests at a dinner party.
The best part? It’s endlessly customizable. From lightening it up with Greek yogurt to experimenting with different cheeses or spices, there’s no wrong way to make this dish your own.
So, what are you waiting for? Gather your ingredients, preheat your oven, and get ready to experience chicken that truly melts in your mouth. And don’t forget to share your success stories—or creative twists—in the comments below. I can’t wait to hear how this recipe becomes a favorite in your home.
Print
Melt-In-Your-Mouth Chicken
- Total Time: 55 minutes
Description
This recipe is the ultimate comfort food! These tender, juicy chicken breasts are smothered in a creamy Parmesan coating, baked to perfection, and guaranteed to melt in your mouth.
Ingredients
- 4 boneless, skinless chicken breasts (fully thawed if frozen)
- 1 cup mayonnaise or Greek yogurt (use mayonnaise for creaminess or Greek yogurt for a lighter option)
- ½ cup Parmesan cheese, freshly grated for best flavor
- 1 tsp seasoning salt (adjust to taste)
- ½ tsp black pepper, freshly ground
- ½ tsp garlic powder
Instructions
1️⃣ Preheat the Oven
Preheat your oven to 375°F (190°C). Lightly grease a baking dish or line it with parchment paper for easy cleanup.
2️⃣ Make the Creamy Topping
In a medium bowl, mix together the mayonnaise or Greek yogurt, Parmesan cheese, seasoning salt, black pepper, and garlic powder until smooth and creamy.
3️⃣ Prepare the Chicken
Place the chicken breasts in the prepared baking dish. Spread the creamy Parmesan mixture evenly over the top of each piece of chicken, ensuring full coverage.
4️⃣ Bake the Chicken
Bake in the preheated oven for 45 minutes, or until the chicken is fully cooked and reaches an internal temperature of 165°F (74°C). The topping should be golden and slightly bubbly.
5️⃣ Rest and Serve
Remove the dish from the oven and let the chicken rest for 5 minutes before serving. This allows the juices to redistribute and ensures maximum tenderness.
Notes
- Customize the Flavor: Add herbs like parsley or thyme for additional flavor.
- Alternative Cheeses: Swap Parmesan for Pecorino Romano for a sharper taste.
- Serving Suggestions: Pair with roasted vegetables, a fresh green salad, or mashed potatoes for a complete meal.
- Storage: Store leftovers in an airtight container in the refrigerator for up to 3 days. Reheat in the oven for best results.
- Prep Time: 10 minutes
- Cook Time: 45 minutes
Nutrition
- Serving Size: 4


")

")


")
