

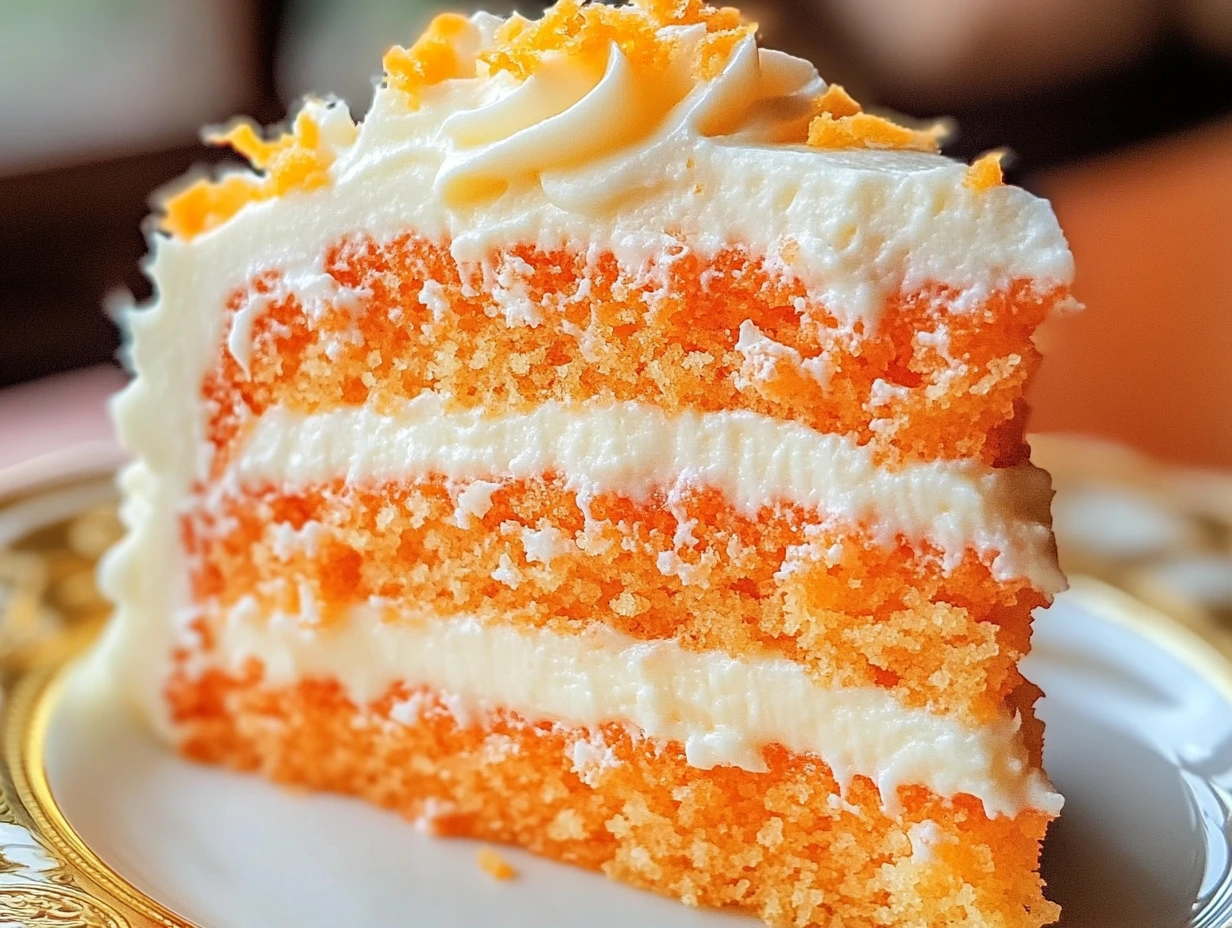
If there’s one dessert that can bring back all the nostalgia of a hot summer day while making your kitchen smell like a citrusy dream, it’s the Orange Creamsicle Cake! Imagine the creamy, tangy flavor of your favorite childhood popsicle, now elevated into a show-stopping cake that’s perfect for any celebration. Today, I’m walking you through how to create this zesty, bright, and utterly delightful dessert. And trust me, it’s easier than you think!
Let’s get started, shall we?
Why You’ll Fall in Love with Orange Creamsicle Cake
Before diving into the recipe, let’s chat about why this cake is so special. First, it’s packed with layers of orange flavor, balanced perfectly by the richness of vanilla and buttery frosting. Whether you’re making it for a birthday, a family gathering, or just because, this cake will steal the spotlight. Plus, the ingredients are super straightforward, so you don’t need to be a master baker to pull it off.
Now that I’ve hyped you up (and probably made you crave a slice), here’s how to make it step by step.
Getting Started: Prepare the Cake
To ensure your cake turns out perfectly, the key is in the prep work. Here’s how to begin:
Ingredients for the Cake:
- 1 box vanilla cake mix
- 1 box (3 oz) orange gelatin mix
- 1 cup orange juice
- ½ cup vegetable oil
- 3 large eggs
- 1 tsp vanilla extract
- 1 tsp orange zest
Step 1: Preheat and Prepare the Pans
Preheat your oven to 350°F (175°C). Grease and flour two 8-inch round cake pans. This step is non-negotiable unless you enjoy the thrill of potentially scraping cake out of a pan (hint: you don’t). The greasing and flouring combo ensures your cake slides out effortlessly later.
Step 2: Mix Dry Ingredients
In a large mixing bowl, combine the vanilla cake mix and orange gelatin mix. The gelatin not only boosts the orange flavor but also gives the cake its signature color and moist texture. Pro tip: Sift these together for an extra smooth batter.

Step 3: Add Wet Ingredients
Next, pour in the orange juice, vegetable oil, eggs, vanilla extract, and orange zest. Using a hand or stand mixer, beat on medium speed until the batter is smooth and lump-free. The aroma of fresh orange zest at this stage? Pure magic!
Step 4: Bake to Perfection
Divide the batter evenly between the prepared pans. Bake for 25–30 minutes, or until a toothpick inserted into the center comes out clean. While your cakes are baking, don’t forget to enjoy the citrusy scent wafting through your kitchen. Once done, let the cakes cool in the pans for 10 minutes before transferring them to a wire rack to cool completely
Now that your cake layers are cooling and the smell of citrus is still lingering in the air, it’s time to move on to my favorite part—the frosting! The buttercream frosting in this recipe is light, creamy, and perfectly sweet with a subtle orange kick. Trust me, this frosting brings everything together into a dreamy Orange Creamsicle experience.
Making the Perfect Orange Creamsicle Frosting
Frosting can make or break a cake, but don’t worry—I’ve got all the tips to make yours absolutely flawless.
Ingredients for the Frosting:
- 1 cup butter, softened
- 4 cups powdered sugar
- 2 tbsp heavy cream
- 2 tbsp orange liqueur (optional but highly recommended)
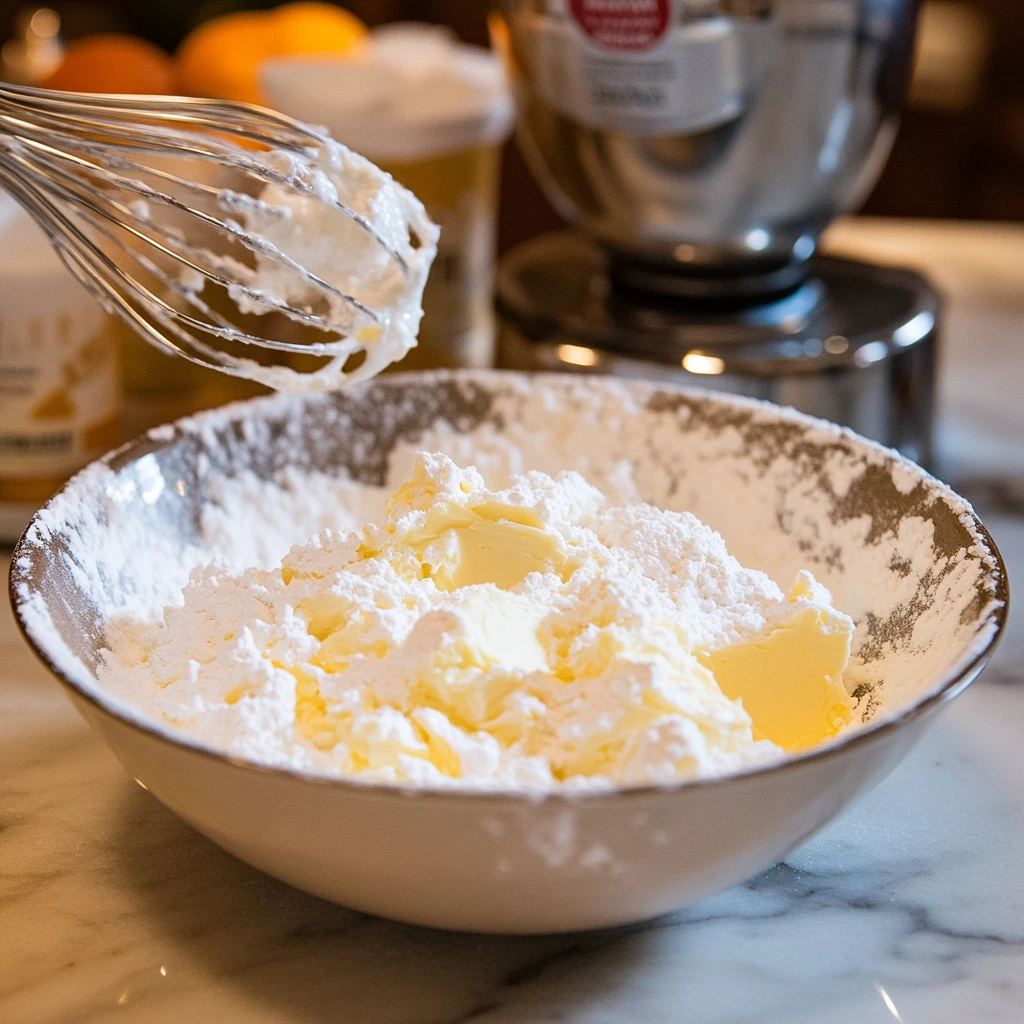
Step 1: Whip the Butter
Start by beating the softened butter on high speed until it’s light and fluffy. This will take about 2–3 minutes. The trick to a velvety frosting is ensuring the butter is properly aerated before adding any other ingredients.
Step 2: Add the Sugar Gradually
Slowly add the powdered sugar, one cup at a time. Beat well after each addition, scraping down the sides of the bowl as needed. This gradual approach prevents a powdered sugar explosion all over your kitchen (been there, done that).
Step 3: Incorporate the Liquid Magic
Once the sugar is fully mixed in, add the heavy cream and orange liqueur. If you’re skipping the liqueur, you can replace it with extra orange juice for a booze-free option. Beat the frosting on high speed until smooth and creamy. If it’s too thick, add a splash more cream; if it’s too thin, add a bit more powdered sugar until you reach your desired consistency.
Assembling the Orange Creamsicle Cake
This is where the magic truly happens! It’s time to take those perfectly baked cake layers and transform them into a masterpiece.
Step 1: Layer the Cake
Place one cake layer on a serving plate or cake stand. Spread a generous layer of frosting across the top, making sure it’s evenly distributed to create a stable base for the next layer.
Step 2: Add the Second Layer
Gently place the second cake layer on top of the frosted one. Press lightly to secure it. At this point, your cake is starting to look like a real showstopper.
Step 3: Frost the Entire Cake
Using a spatula or frosting knife, spread the remaining frosting evenly over the top and sides of the cake. Smooth it out for a polished look, or use the back of a spoon or spatula to create fun swirls and textures for a more playful vibe.
Step 4: Optional Decorations
For an extra pop of flair, you can garnish the cake with a sprinkle of orange zest, candied orange slices, or even white chocolate curls. These little touches make it look as good as it tastes.

Pro Tips for Success
- Chill the Cake Layers: If your cake layers are still a little warm, pop them in the fridge for about 20 minutes before frosting. This prevents the frosting from melting and sliding off.
- Keep It Simple: If decorating intimidates you, don’t stress! A few decorative swirls on top are all you need to make this cake look gorgeous.
- Boost the Orange Flavor: If you’re a fan of bold citrus, consider adding a few drops of orange food coloring to the frosting for a vibrant creamsicle hue.
FAQ and Wrapping It All Up
Congratulations! You’ve successfully baked and frosted your Orange Creamsicle Cake. Before you dive into this zesty masterpiece, let’s tackle some frequently asked questions and share a few parting thoughts to inspire your baking journey.
Frequently Asked Questions About Orange Creamsicle Cake
1. Can I use fresh orange juice instead of store-bought?
Absolutely! Freshly squeezed orange juice gives the cake a natural and bright flavor. Just make sure to strain out any pulp for a smoother batter.
2. What if I don’t have orange liqueur for the frosting?
No worries! You can replace the orange liqueur with more orange juice or even orange extract for a concentrated citrus punch.
3. How can I make this cake ahead of time?
You can bake the cake layers up to two days in advance. Store them tightly wrapped in plastic wrap at room temperature. The frosting can also be made ahead and stored in the refrigerator for up to three days. Let the frosting come to room temperature and re-whip it before assembling the cake.
4. Can I make this cake gluten-free?
Yes! Simply use a gluten-free vanilla cake mix and check that your other ingredients are gluten-free as well. The process remains the same.
5. How should I store leftovers?
Store leftover cake in an airtight container in the refrigerator for up to three days. Before serving, let the slices sit at room temperature for about 20 minutes to soften the frosting.
6. Can I freeze this cake?
Yes! You can freeze the assembled and frosted cake. Wrap it tightly in plastic wrap and aluminum foil to prevent freezer burn. It’ll stay fresh for up to one month. Thaw in the refrigerator overnight before serving.
7. Can I add other flavors to the cake?
Sure! For a tropical twist, you can add a touch of coconut extract to the batter or frosting. You can also experiment with other citrus flavors like lemon or lime.
Conclusion: Your New Favorite Cake Awaits
There you have it—your very own Orange Creamsicle Cake! From the first tangy bite to the creamy, buttery frosting, this dessert is bound to impress anyone lucky enough to try it. Whether you’re serving it at a birthday party, a summer picnic, or just because it’s Tuesday, this cake is the perfect way to brighten any occasion.
Print
Orange Creamsicle Cake
- Author: David
- Total Time: 1 hour 30 minutes
Description
A nostalgic, citrusy delight that tastes just like the classic orange creamsicle treat! This layered cake combines zesty orange flavors with creamy vanilla frosting for a perfect dessert that’s as beautiful as it is delicious.
Ingredients
For the Cake:
- 1 box vanilla cake mix
- 1 box (3 oz) orange gelatin mix
- 1 cup orange juice
- ½ cup vegetable oil
- 3 large eggs
- 1 tsp vanilla extract
- 1 tsp orange zest
For the Frosting:
- 1 cup butter, softened
- 4 cups powdered sugar
- 2 tbsp heavy cream
- 2 tbsp orange liqueur (optional)
Instructions
1️⃣ Prepare the Cake:
Preheat Oven: Preheat your oven to 350°F (175°C). Grease and flour two 8-inch round cake pans for easy release.
Mix Dry Ingredients: In a large mixing bowl, combine the vanilla cake mix and orange gelatin mix.
Add Wet Ingredients: Pour in the orange juice, vegetable oil, eggs, vanilla extract, and orange zest. Beat on medium speed using a hand or stand mixer until the batter is smooth and well combined.
Bake: Divide the batter evenly between the prepared pans. Bake for 25–30 minutes, or until a toothpick inserted in the center comes out clean.
Cool: Allow the cakes to cool in the pans for 10 minutes, then transfer to wire racks to cool completely.
2️⃣ Make the Frosting:
Whip the Butter: Beat the softened butter on high speed until light and fluffy.
Add Sugar Gradually: Gradually mix in the powdered sugar, one cup at a time, beating well after each addition. Scrape down the sides of the bowl to ensure even mixing.
Incorporate Liquid Ingredients: Add the heavy cream and orange liqueur (if using). Beat on high speed until the frosting is smooth and creamy. Adjust the consistency with more cream if necessary.
3️⃣ Assemble the Cake:
Layer the Cake: Once the cakes are fully cooled, spread a generous layer of frosting on the top of one cake. Place the second layer on top.
Frost the Cake: Spread the frosting evenly over the entire cake. Smooth for a polished look or create decorative swirls with a spatula for added texture.
4️⃣ Serve and Enjoy:
Slice the cake and serve as a delightful dessert for any occasion. Store leftovers in an airtight container in the refrigerator for up to 3 days.
Notes
- Extra Orange Flavor: Add a bit more orange zest to the frosting for a stronger citrus punch.
- Decoration: Garnish with candied orange slices or sprinkles for a festive touch.
- Non-Alcoholic Option: Replace orange liqueur with orange juice in the frosting for a family-friendly version.
- Prep Time: 20 minutes
- Cook Time: 30 minutes
Nutrition
- Serving Size: 12 slices


")

")


")
