

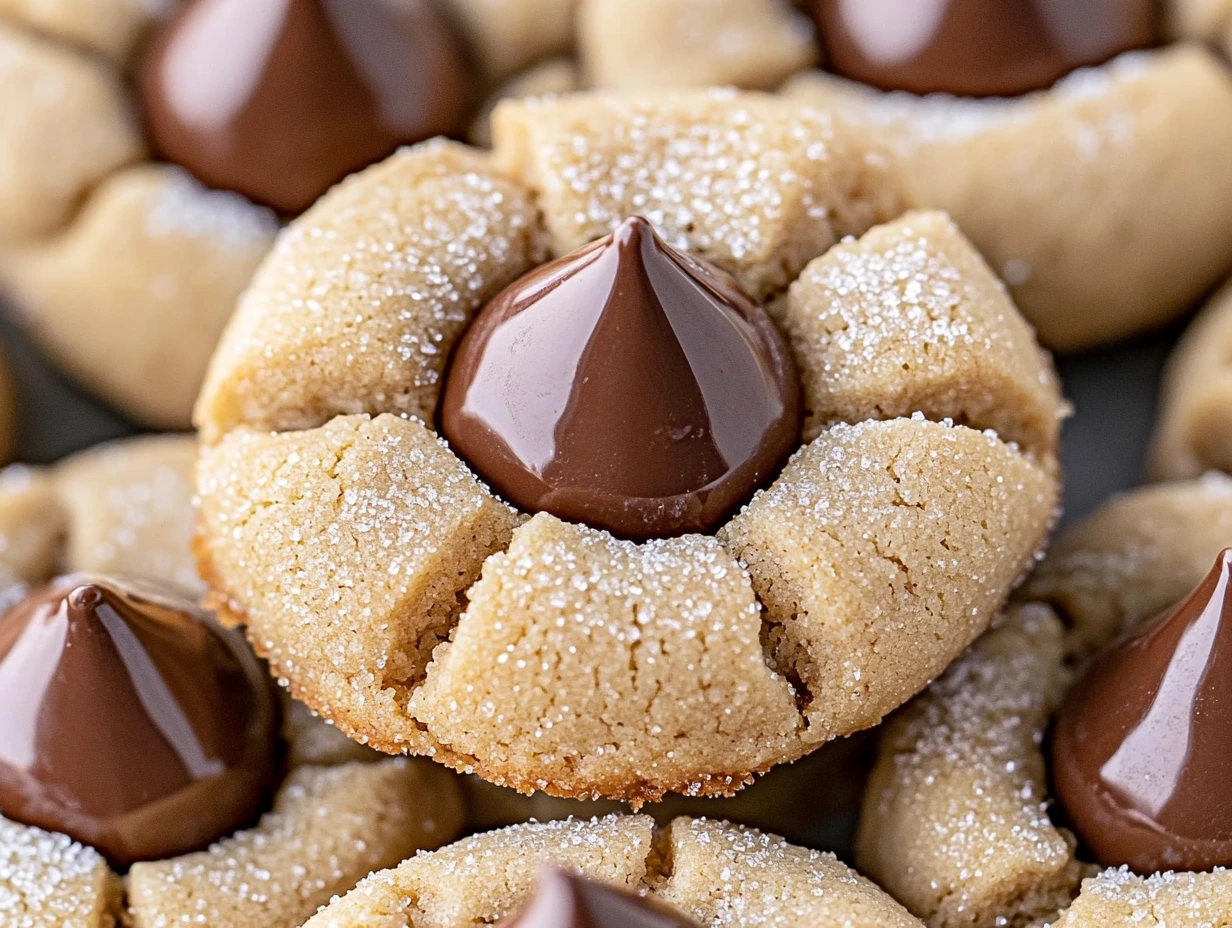
There’s something magical about Peanut Butter Blossoms. Soft, chewy peanut butter cookies with a sugary coating, finished with a melty Hershey’s Kiss on top—what’s not to love? These cookies are a holiday classic, but honestly, they deserve to be made all year round. Whether you’re baking for a party, a cozy weekend treat, or just craving something sweet and nutty, this recipe is guaranteed to hit the spot.
Let’s dive into the best Peanut Butter Blossoms recipe, complete with tips and tricks to make them absolutely perfect.
WHY YOU’LL LOVE THIS RECIPE
- Classic & Timeless: These cookies have been a favorite for decades, bringing nostalgia and sweetness to every bite.
- Soft & Chewy: Thanks to the perfect balance of butter, peanut butter, and brown sugar, these cookies stay moist and tender.
- Simple Ingredients: You probably already have everything you need in your pantry!
- Perfect for Any Occasion: Whether it’s Christmas, a bake sale, or just a regular Tuesday, these cookies always deliver.
INGREDIENTS YOU’LL NEED
Before we start baking, here’s everything you’ll need:
For the Cookies:
- 1 cup salted butter, room temperature (8 ounces)
- 1 cup creamy peanut butter (250 grams)
- 1 cup granulated sugar (200 grams)
- 1 cup light brown sugar (210 grams)
- 1 teaspoon vanilla extract (5 grams)
- 3 large eggs
- 4 cups all-purpose flour (520 grams)
- 2 teaspoons baking soda (12 grams)
- 1/4 teaspoon salt
For Rolling:
- 1/2 cup granulated sugar
For Topping:
- 60 Hershey’s Kiss candies (unwrapped)
STEP-BY-STEP INSTRUCTIONS
Follow these steps for the ultimate Peanut Butter Blossoms.
1️⃣ PREPARE THE COOKIE DOUGH
Start by creaming together the butter, peanut butter, granulated sugar, and brown sugar in a stand mixer with a paddle attachment (or using a hand mixer). Beat on medium speed for 2-3 minutes until the mixture is smooth and fluffy. The secret here is to whip enough air into the mixture so that your cookies come out light and tender.
Once the butter and sugars are fully incorporated, add in the vanilla extract and mix again.

2️⃣ ADD THE EGGS
Next, beat in the eggs one at a time, mixing well after each addition. This ensures that everything is evenly combined. Be sure to scrape down the sides of the bowl to catch any butter or sugar that might be sticking.
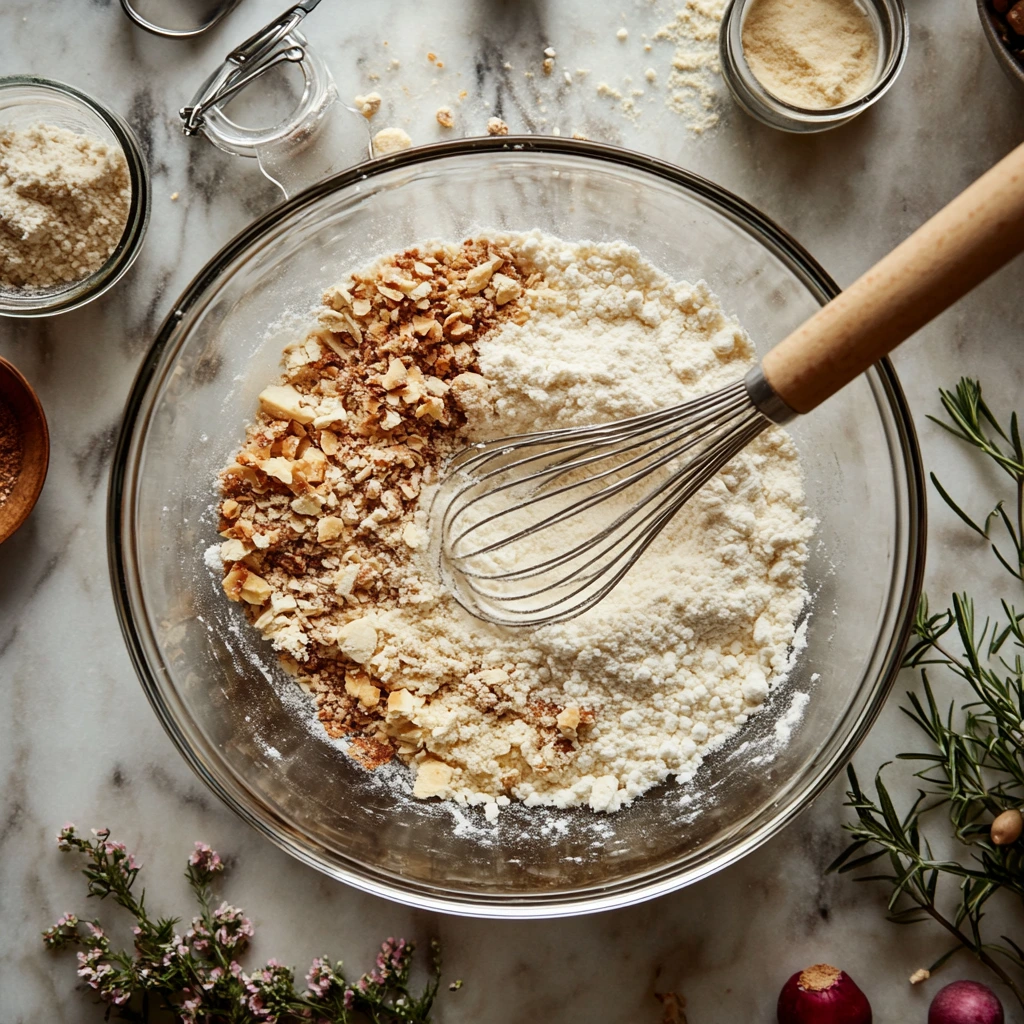
3️⃣ MIX THE DRY INGREDIENTS
In a separate bowl, whisk together the flour, baking soda, and salt. This step ensures that your baking soda is evenly distributed, so your cookies rise properly.
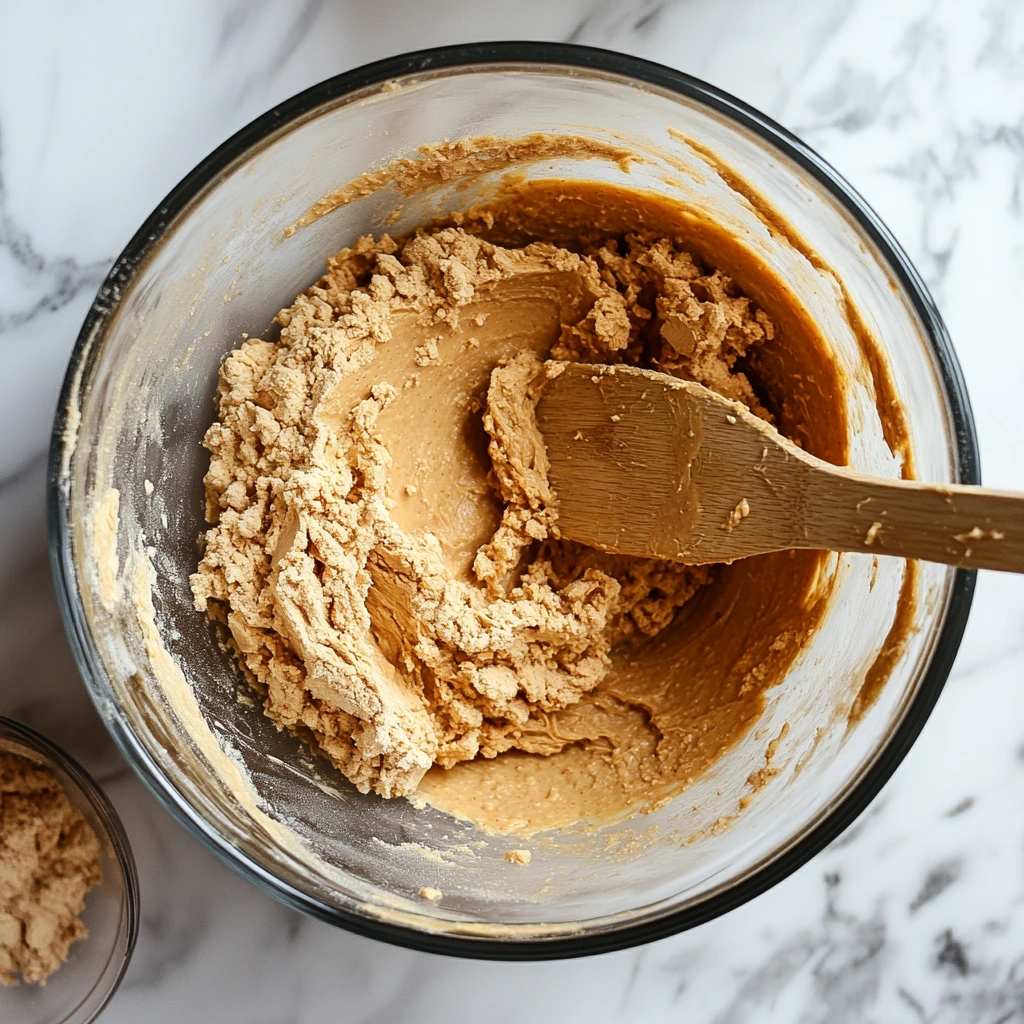
4️⃣ COMBINE WET & DRY INGREDIENTS
Gradually add the dry ingredients into the wet mixture. Mix until just combined—be careful not to overmix, as this can make your cookies tough.
At this point, your dough should be soft, slightly sticky, and absolutely delicious (yes, I’m guilty of sneaking a taste!).
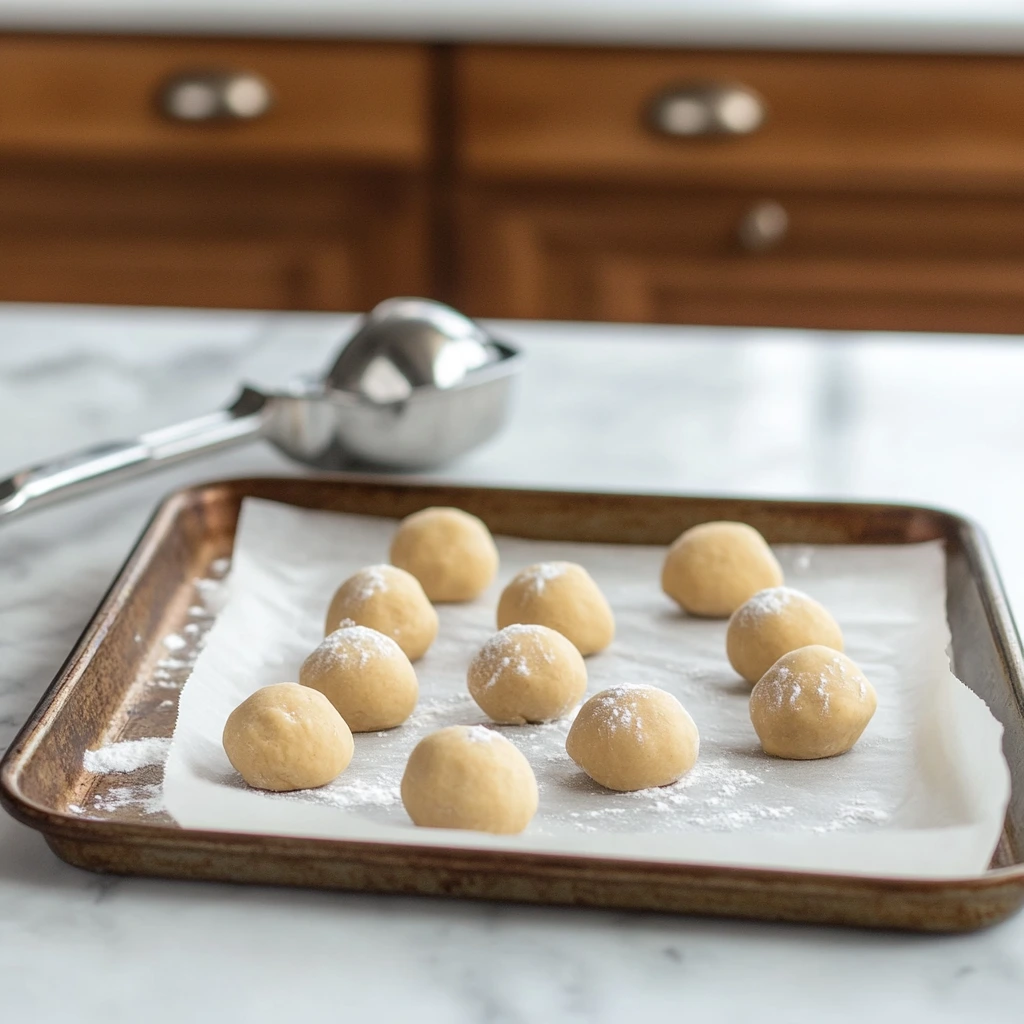
5️⃣ SHAPE & COAT THE COOKIES
Roll the dough into 1-inch balls (about the size of a walnut). If the dough is too sticky, you can lightly dust your hands with flour.
Now for the fun part: rolling the dough balls in granulated sugar. This gives the cookies a slightly crispy exterior while keeping the inside nice and soft.
Place the sugar-coated dough balls onto a parchment-lined baking sheet, making sure to leave about 2 inches between each cookie. These cookies will spread slightly as they bake.
6️⃣ CHILL THE DOUGH
This step is crucial! Pop the baking sheet into the refrigerator for 15 minutes while preheating the oven to 375ºF (190ºC). Chilling the dough helps the cookies maintain their shape and prevents excessive spreading in the oven.
BAKING & ADDING THE HERSHEY’S KISS
Now that your dough is chilled and the oven is ready, it’s time to bake!
7️⃣ BAKE THE COOKIES
Place the cookies in the preheated oven and bake for 8 minutes, or until they have puffed up but are still soft in the center.
⚠️ Pro Tip: Be careful not to overbake! These cookies will continue to cook on the baking sheet after being removed from the oven.
8️⃣ ADD THE HERSHEY’S KISS
As soon as the cookies come out of the oven, quickly press a Hershey’s Kiss into the center of each cookie. The heat will slightly melt the chocolate, making it stick to the cookie without fully melting.
9️⃣ COOL & ENJOY
Let the cookies cool on the baking sheet for 3 minutes, then transfer them to a wire rack to cool completely.
At this point, your kitchen will smell absolutely incredible, and resisting the urge to eat one straight off the rack will be a true test of willpower!

TIPS & TRICKS FOR THE PERFECT PEANUT BUTTER BLOSSOMS
- Use room temperature butter for a smooth and fluffy dough.
- Don’t skip the chilling step! It prevents the cookies from spreading too much.
- Press the Hershey’s Kiss gently—too much force can cause the cookies to crack.
- If the kisses start melting too much, pop the cookies into the fridge to set the chocolate faster.
- For extra flavor, try different Hershey’s Kisses varieties like dark chocolate, caramel-filled, or even peppermint!
Now that you’ve mastered the dough-making process and your cookies are ready to bake, let’s continue with extra baking tips, flavor variations, and storage recommendations to ensure your Peanut Butter Blossoms turn out absolutely perfect every single time.
HOW TO GET PERFECTLY SOFT & CHEWY COOKIES
If you’ve ever had a peanut butter cookie that was dry or crumbly, you know how disappointing that can be. Follow these tips to make sure your cookies stay moist, tender, and irresistible:
- Do not overbake! These cookies bake quickly (around 8 minutes), and they should look slightly underdone when you take them out of the oven. They will continue to set as they cool.
- Use brown sugar for extra moisture. Brown sugar adds a slight chewiness, making these cookies softer for longer.
- Don’t skimp on the peanut butter. Peanut butter is the star ingredient! Make sure to use creamy peanut butter (not natural peanut butter) for the best texture.
- Chill the dough. This step prevents spreading and creates a beautifully round cookie.
- Store properly. More on this later, but storing cookies the right way can keep them fresh for days!
BAKING & TROUBLESHOOTING
Even the best bakers run into problems sometimes! Here’s how to solve common Peanut Butter Blossoms baking issues.
WHY DID MY COOKIES SPREAD TOO MUCH?
This is a common issue and can happen for a few reasons: ✅ The dough wasn’t chilled long enough.
✅ Your butter was too soft or melted. Always use room-temperature butter, not melted butter.
✅ You didn’t measure the flour correctly. Spoon and level your flour instead of scooping it directly from the bag.
💡 Quick Fix: If your first batch spreads too much, refrigerate the remaining dough for another 15-30 minutes before baking the next batch.
WHY DID MY COOKIES CRACK TOO MUCH?
A little cracking is normal and expected, but excessive cracks can happen if: ✅ You pressed the Hershey’s Kiss too hard into the warm cookie. Try a gentler touch next time.
✅ The dough was too dry. Double-check your ingredient measurements.
💡 Quick Fix: If your cookies are still warm, gently press the cracks together to reshape them.
HOW DO I KEEP THE CHOCOLATE FROM MELTING TOO MUCH?
Pressing a Hershey’s Kiss onto a hot cookie will naturally melt the bottom a little. However, if you find the chocolate getting too soft: ✅ Let the cookies cool for 1-2 minutes before adding the Hershey’s Kiss.
✅ Once all kisses are placed, transfer the cookies to the fridge for 10 minutes to set the chocolate quickly.
FUN FLAVOR VARIATIONS
Love the classic Peanut Butter Blossoms but want to change things up? Try these delicious twists on the original recipe:
1️⃣ CHOCOLATE PEANUT BUTTER BLOSSOMS
For a chocolatey twist, replace ½ cup of flour with ½ cup of unsweetened cocoa powder. This gives the cookies a rich, peanut butter + chocolate flavor combo!
2️⃣ REESE’S BLOSSOMS
Instead of using a Hershey’s Kiss, press a mini Reese’s peanut butter cup into the center. The peanut butter-on-peanut butter flavor is heavenly!
3️⃣ CARAMEL BLOSSOMS
Swap out the regular Hershey’s Kiss for a Hershey’s Caramel-Filled Kiss. When you take a bite, you get a gooey caramel surprise!
4️⃣ HOLIDAY BLOSSOMS
Make these cookies festive by rolling them in colored sugar (red and green for Christmas, pink and purple for Easter, etc.).
5️⃣ SPICY CINNAMON BLOSSOMS
If you love a little warmth in your desserts, roll the cookie dough in a mixture of granulated sugar and cinnamon before baking. Then, top with a Hershey’s Hugs (white and milk chocolate swirled kisses).
HOW TO STORE PEANUT BUTTER BLOSSOMS
Since these cookies are so soft and chewy, proper storage is key to keeping them fresh for as long as possible.
AT ROOM TEMPERATURE
Store cookies in an airtight container at room temperature. They will stay fresh and soft for up to 5 days.
💡 Pro Tip: Place a slice of bread in the container with the cookies. The cookies will absorb moisture from the bread, keeping them softer longer!
IN THE FREEZER
Want to make these cookies ahead of time? Freezing is a great option.
✅ Freezing Baked Cookies: Let the cookies cool completely, then place them in a freezer-safe container or zip-top bag. Store for up to 3 months. When ready to eat, thaw at room temperature for 30 minutes.
✅ Freezing Cookie Dough: Roll the dough into balls (before rolling in sugar), place them on a baking sheet, and freeze until solid. Once frozen, transfer them to a zip-top bag and freeze for up to 3 months. When ready to bake, thaw the dough balls slightly, roll them in sugar, and bake as directed.
PERFECT PAIRINGS FOR PEANUT BUTTER BLOSSOMS
These cookies are amazing on their own, but here are some delicious ways to enjoy them:
- With a tall glass of cold milk 🥛 – the classic combo!
- With hot chocolate ☕ for an extra cozy treat.
- As a gift 🎁 – package them in cute tins for a homemade holiday present.
- As a sundae topping 🍨 – crumble them over vanilla ice cream for a peanut butter-chocolate sundae.
FAQ & FINAL THOUGHTS ON PEANUT BUTTER BLOSSOMS
We’ve covered everything from making the perfect peanut butter dough to troubleshooting common baking issues. Now, let’s answer some of the most frequently asked questions about Peanut Butter Blossoms to ensure your cookies turn out flawless every single time.
FREQUENTLY ASKED QUESTIONS (FAQ)
1️⃣ CAN I USE NATURAL PEANUT BUTTER IN THIS RECIPE?
It’s best to use regular creamy peanut butter (like Jif or Skippy) instead of natural peanut butter. Natural peanut butter has more oil and can make the cookies too soft or cause them to spread too much. If you really want to use natural peanut butter, try stirring it well before measuring, and expect slightly different results.
2️⃣ WHY DO MY HERSHEY’S KISSES MELT COMPLETELY?
Hershey’s Kisses will naturally soften when pressed into warm cookies, but they shouldn’t fully melt. If your kisses are melting too much:
✅ Let the cookies cool for 1-2 minutes before pressing in the kisses.
✅ Once you add the kisses, transfer the cookies to the fridge for 10 minutes to help the chocolate set faster.
3️⃣ CAN I MAKE THESE COOKIES GLUTEN-FREE?
Yes! Simply swap the all-purpose flour with a gluten-free 1:1 baking flour (like Bob’s Red Mill or King Arthur). The texture might be slightly different, but they’ll still be delicious!
4️⃣ HOW DO I KNOW WHEN THE COOKIES ARE FULLY BAKED?
The cookies should look puffed and slightly underdone when you take them out of the oven (about 8 minutes of baking). They will continue to cook on the baking sheet after being removed. If you bake them too long, they might turn dry instead of chewy.
5️⃣ CAN I USE DIFFERENT TYPES OF CHOCOLATE?
Absolutely! Try these fun variations:
- Dark Chocolate Kisses 🍫 for a richer flavor
- Caramel-Filled Kisses 🍬 for a gooey surprise
- White Chocolate Hugs 🤍 for a fun swirl effect
- Mini Peanut Butter Cups 🥜 for extra peanut buttery goodness
6️⃣ HOW DO I KEEP MY COOKIES SOFT FOR DAYS?
To keep your cookies fresh and soft:
✅ Store them in an airtight container at room temperature for up to 5 days.
✅ Place a slice of bread in the container—the cookies will absorb moisture from the bread, keeping them softer longer!
7️⃣ CAN I FREEZE PEANUT BUTTER BLOSSOMS?
Yes! You can freeze both baked cookies and cookie dough:
- Baked Cookies: Store in a freezer-safe container for up to 3 months. Thaw at room temperature for 30 minutes before eating.
- Cookie Dough: Roll into balls and freeze on a baking sheet. Once frozen, transfer to a zip-top bag and freeze for up to 3 months. When ready to bake, thaw slightly, roll in sugar, and bake as usual.
FINAL THOUGHTS: WHY YOU NEED TO MAKE PEANUT BUTTER BLOSSOMS
Peanut Butter Blossoms are more than just cookies—they’re a tradition, a childhood memory, and the perfect balance of peanut butter and chocolate in every bite. Whether you’re making them for the holidays, a party, or just to satisfy a craving, these cookies never disappoint.
🔥 Why you’ll love this recipe:
✅ Soft, chewy, and perfectly sweet
✅ Easy to make with simple pantry ingredients
✅ Customizable with different flavors & chocolates
✅ Perfect for gifting, sharing, or enjoying all by yourself!

Peanut Butter Blossoms
- Author: David
- Total Time: 43 minutes
Description
These Peanut Butter Blossoms are soft, chewy peanut butter cookies rolled in sugar and topped with a melty Hershey’s Kiss. A classic favorite for holidays or any time you’re craving something sweet and nutty!
Ingredients
For the Cookies:
- 1 cup salted butter, room temperature (8 ounces)
- 1 cup creamy peanut butter (250 grams)
- 1 cup granulated sugar (200 grams)
- 1 cup light brown sugar (210 grams)
- 1 teaspoon vanilla extract (5 grams)
- 3 large eggs
- 4 cups all-purpose flour (520 grams)
- 2 teaspoons baking soda (12 grams)
- 1/4 teaspoon salt
For Rolling:
- 1/2 cup granulated sugar
For Topping:
- 60 Hershey’s Kiss candies (unwrapped)
Instructions
1️⃣ Prepare the Dough: In a stand mixer with a paddle attachment (or using a hand mixer), cream together the butter, peanut butter, granulated sugar, and brown sugar on medium speed for 2-3 minutes until smooth. Add the vanilla extract and mix again.
2️⃣ Add the Eggs: Beat in the eggs one at a time, mixing well after each addition. Scrape the sides of the bowl as needed.
3️⃣ Mix Dry Ingredients: In a separate bowl, whisk together the flour, baking soda, and salt.
4️⃣ Combine Wet and Dry: Gradually add the dry ingredients into the wet mixture, mixing until a soft dough forms.
5️⃣ Shape and Coat: Roll the dough into 1-inch balls, then roll each ball in granulated sugar. Place them on a parchment-lined baking sheet, leaving about 2 inches between each cookie.
6️⃣ Chill the Dough: Refrigerate the cookie dough balls for 15 minutes while preheating the oven to 375ºF (190ºC).
7️⃣ Bake: Bake for 8 minutes, or until the cookies have puffed up but are still soft. Be careful not to overbake if you want a chewy texture.
8️⃣ Add the Hershey’s Kiss: As soon as the cookies come out of the oven, press a Hershey’s Kiss into the center of each cookie. The heat will slightly melt the chocolate, helping it stick.
9️⃣ Cool: Let the cookies cool on the baking sheet for 3 minutes, then transfer them to a wire rack to cool completely.
Notes
✔️ Chilling the dough helps keep the cookies from spreading too much.
✔️ Use a cookie scoop for evenly sized cookies.
✔️ If you prefer a stronger peanut butter flavor, you can reduce the butter to 3/4 cup and increase the peanut butter to 1 1/4 cups.
✔️ Store cookies in an airtight container at room temperature for up to 5 days.
- Prep Time: 20 minutes
- Cook Time: 15 minutes
Nutrition
- Serving Size: 60 cookies


")

")


")
