

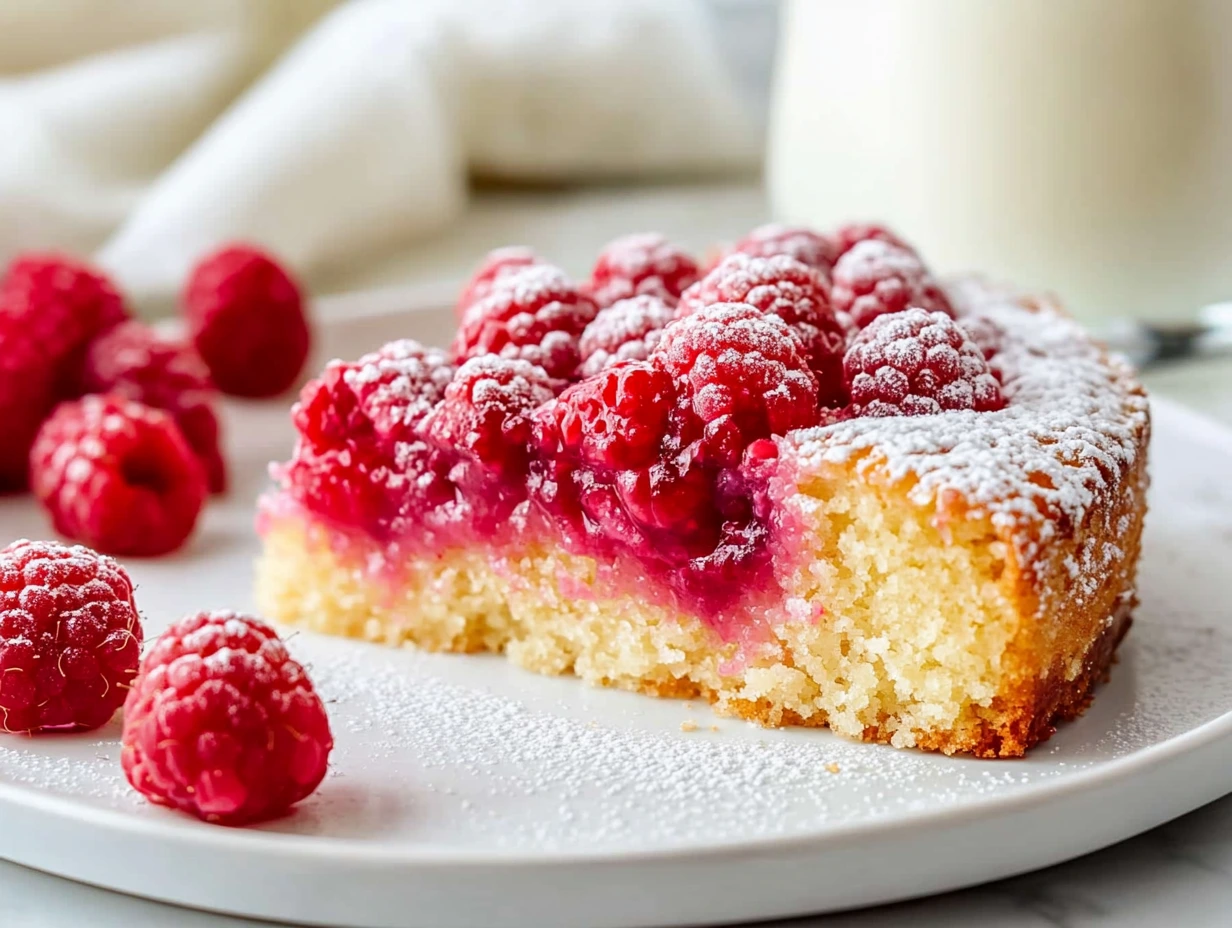
I still remember the first time I spotted this Raspberry Upside-Down Cake on my mother’s kitchen counter. The way those ruby-red berries peeked through a glossy caramel layer—it looked too beautiful to eat. But one bite of that tender, buttery sponge crowned with sweet, juicy raspberries, and I was hooked for life. It quickly became my go-to for weekend brunches and impromptu afternoon teas, and I promise, once you try it, it will be yours, too.
There’s something utterly charming about an upside-down cake. It’s part showstopper, part nostalgia trip—bringing back memories of old-fashioned desserts served warm, straight from the oven. Yet this version feels fresh thanks to the bright pop of raspberries. The berries caramelize under a brown sugar–butter layer, creating a jewel-toned crown that’s both striking and delicious. Best of all, it’s surprisingly simple to make. No fancy equipment, no intimidating techniques—just straightforward steps and ingredients you probably already have on hand.
In this first part, we’ll talk about why this cake works so well for a crowd, share a few pantry-friendly tips, and walk through the initial steps of putting it together. Ready to get started? Let’s dive in.

Why You’ll Love This Cake
Effortless Elegance: The caramelized berry topping does all the heavy lifting in terms of presentation.
Crowd-Pleaser: It feeds a crowd with a single 9″ pan—perfect for potlucks or family gatherings.
Make-Ahead Friendly: You can bake it a day in advance, then simply dust with powdered sugar before serving.
Versatile: Swap raspberries for blackberries, or add a hint of lemon zest to the batter for brightness.

Ingredient Snapshot
Before we jump into the steps, here’s a quick look at what you’ll need:
Topping:
¼ cup unsalted butter, melted
½ cup packed brown sugar
2 heaping cups fresh (or firm frozen) raspberries
Cake Batter:
1⅓ cups all-purpose flour
1 teaspoon baking powder
¼ teaspoon salt
¼ cup unsalted butter, softened
¾ cup granulated sugar
1 large egg
1½ teaspoons vanilla extract
½ cup milk
Keep everything at room temperature, especially the softened butter and the milk. It helps the batter come together smoothly and produces the tender crumb we all crave.
Steps
Preheat & Prep the Pan
Preheat your oven to 350 °F (175 °C).
Generously spray a 9″ high-sided cake pan or springform pan with nonstick spray. If you’re using a springform pan, line the bottom with foil (or set it on a sheet tray) to catch any drips—nothing ruins a good story like a sticky oven!
Make the Caramelized Base
In a medium bowl, whisk the melted butter and brown sugar until they form a smooth, pourable mixture.
Pour and spread it evenly across the bottom of your prepared pan. This layer will bubble up and caramelize around the berries, so don’t worry about making it perfect—rustic is charming here.
Arrange the Raspberries
Gently place 2 heaping cups of raspberries in a single layer over the brown sugar mixture, covering the entire surface.
Tip: If any berries are particularly large, halve them so you end up with uniform coverage and an even dome of fruit.
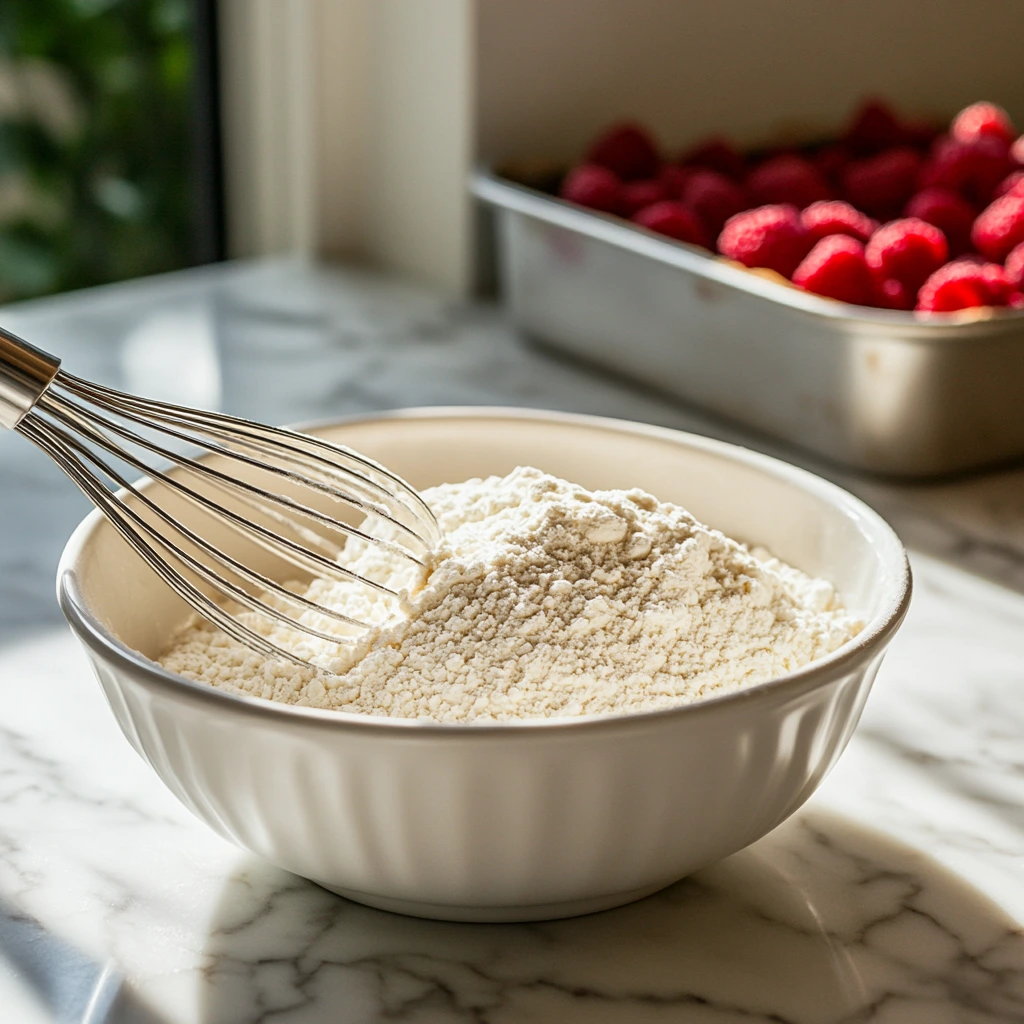
Whisk the Dry Ingredients
In a separate bowl, whisk together 1⅓ cups flour, 1 teaspoon baking powder, and ¼ teaspoon salt.
Set this aside. Having the dry mix ready ensures you can move smoothly into the batter without over-mixing later on.
Welcome back! Now that your pan is lined with caramelized brown sugar and a glistening layer of raspberries, it’s time to whip up the tender sponge that will crown our cake. In this section, we’ll walk through making the batter, assembling the cake, and share a few of my favorite “life-saver” tips—those little tricks that turn a good cake into a great one.
Cream the Butter & Sugar
In the bowl of a stand mixer (or using hand-held beaters), combine ¼ cup softened butter with ¾ cup granulated sugar.
Beat on medium speed for about 2–3 minutes, until the mixture is pale, light, and fluffy. This aeration is what gives your cake a tender crumb.
Tip: Scrape down the sides of the bowl halfway through to ensure even mixing.
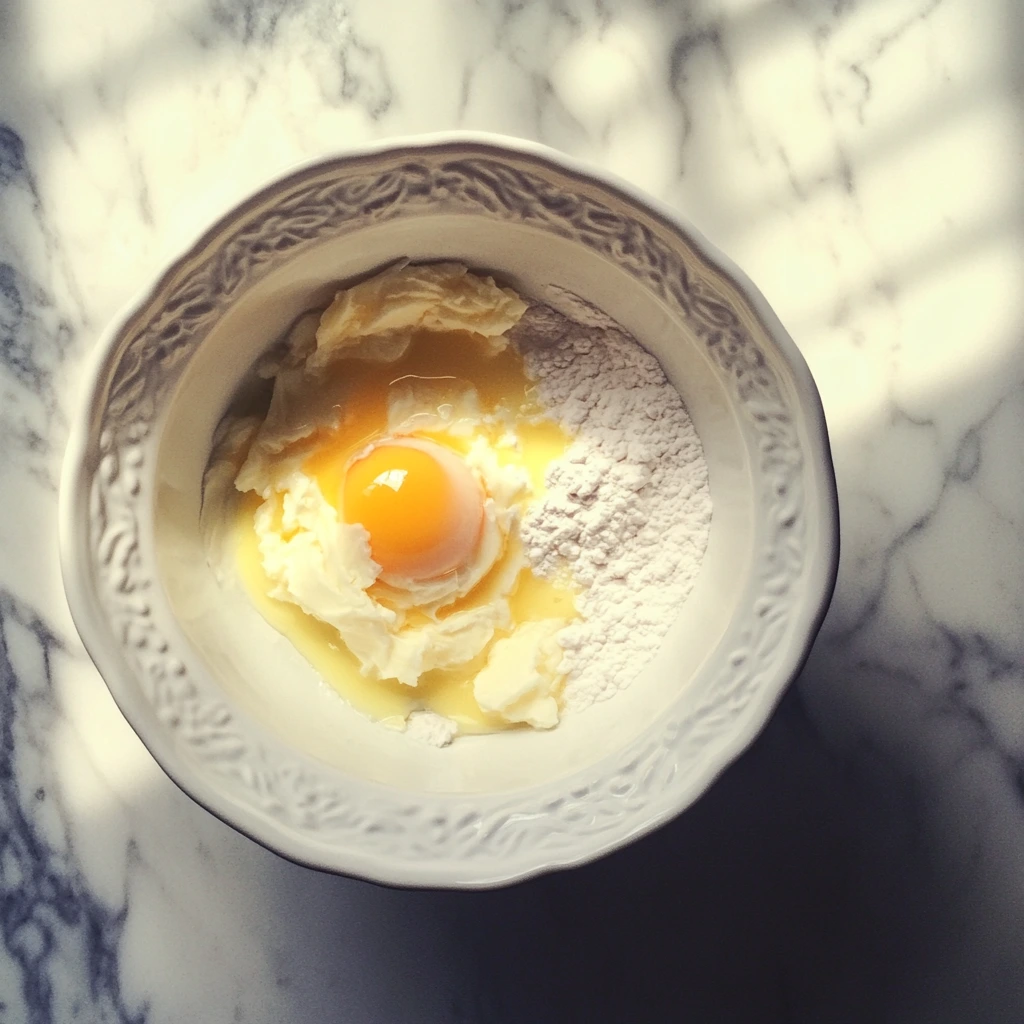
Incorporate the Egg & Vanilla
Crack in 1 large egg and pour in 1½ teaspoons vanilla extract.
Continue beating on medium speed until the egg is fully incorporated and the batter looks smooth—about 30–45 seconds.
Quick Note: If your egg is cold, give it a gentle whisk in a small bowl first—this helps maintain the batter’s temperature and prevents it from breaking.
Combine Dry Ingredients
With the mixer on low, slowly add the flour mixture (the flour, baking powder, and salt you whisked together in Part 1).
Beat just until you no longer see streaks of flour—avoid over-mixing, or the cake may become dense.
Add the Milk
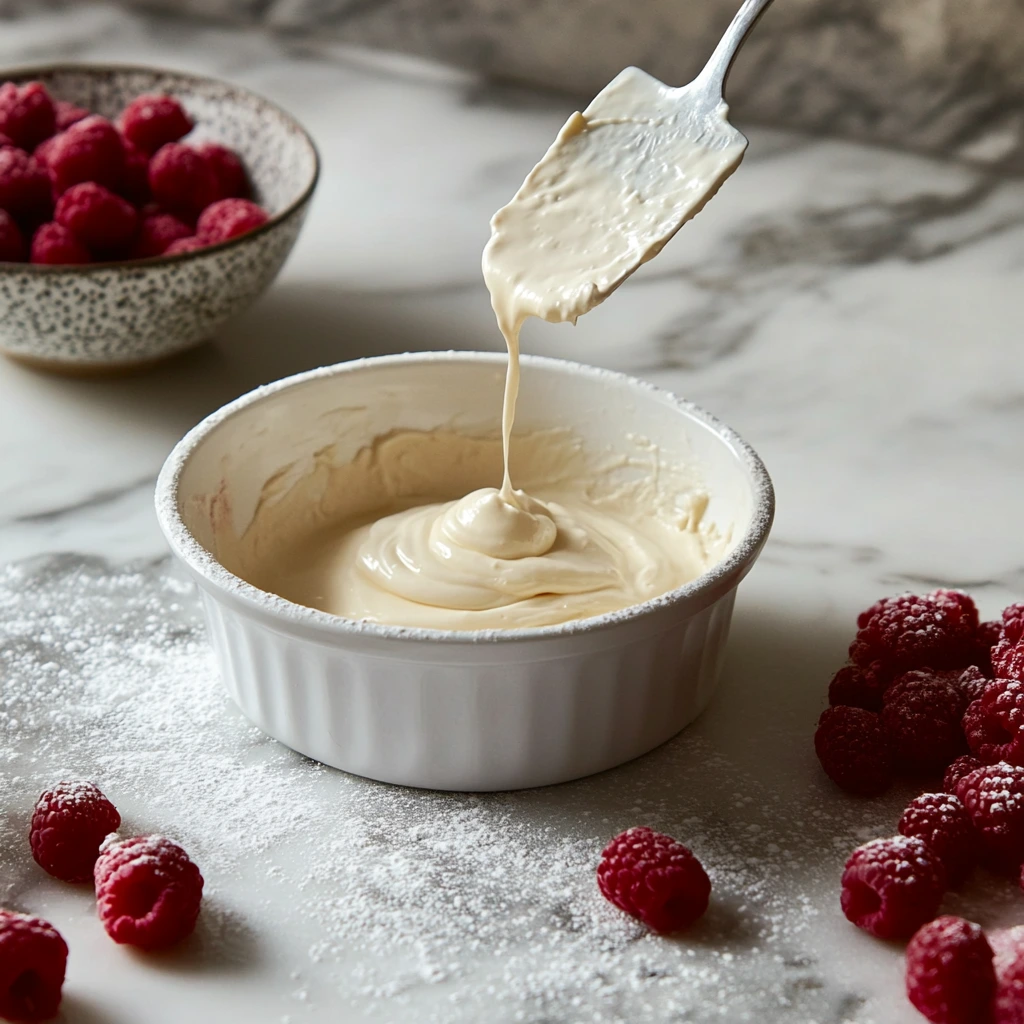
Pour in ½ cup of milk and continue mixing on low until the batter is smooth and just combined.
The batter will be slightly thick but still pourable.
Assemble in the Pan
Using a large spoon or an ice-cream scoop, dollop the batter evenly over the raspberry layer in your pan.
Gently spread with an offset spatula into an even layer, covering all the fruit pockets. Don’t worry if you see a few raspberry tips poking through—it only adds to that charming, rustic look.
Bake to Perfection
Place the cake in the preheated 350 °F oven on the center rack.
Bake 35–40 minutes, or until the top turns golden-brown and a toothpick inserted into the center emerges clean (start testing at 30 minutes to avoid overbaking).
Pro Tip: If the cake is browning too quickly on top but still underdone in the center, loosely tent a piece of foil over the pan for the remaining bake time.
Cool & Invert
Once baked, remove the pan from the oven and let it rest on a wire rack for 10 minutes.
Run a thin knife around the edges to loosen. Place a serving platter upside-down on top of the pan, then carefully invert both together. Lift off the pan to reveal your caramel-kissed raspberry crown.
Baker’s Tips & Variations
Prevent Soggy Edges: If you’re a crisp-edge fan, after inverting, return the cake (fruit-side up) to the warm oven for 3–5 minutes. The extra heat helps caramelize those edges.
Add Zing with Citrus: Stir 1 teaspoon of lemon or orange zest into the batter for a bright, fragrant lift.
Mix-and-Match Berries: Half raspberries, half blackberries—no one will complain. Just be sure your berries are firm (or well-drained if previously frozen) to prevent excess moisture.
Make It Gluten-Free: Swap the all-purpose flour for your favorite 1:1 gluten-free baking blend. The structure may be slightly different, but the flavor is just as delightful.
Serving Suggestion: A dollop of whipped cream or a scoop of vanilla ice cream turns this brunch cake into a dreamy dessert.
1. Can I use frozen raspberries?
Absolutely! Just be sure to thaw them first and pat them dry on a paper towel to remove excess moisture. Too much liquid can prevent the brown sugar layer from caramelizing properly.
2. My cake stuck to the pan—how can I prevent this?
Two tricks: first, spray the pan liberally with nonstick spray, and if you’re using a springform, line the bottom with foil. Second, let the cake cool for the full 10 minutes before inverting—it needs that time for the caramel to set around the fruit.
3. Can I make this dairy-free?
Yes. Swap the butter for a plant-based stick margarine and use your favorite non-dairy milk (almond, oat, or soy). You may notice a slight textural change, but the flavor will still shine through.
4. How do I store leftovers?
Once completely cooled, cover the cake with a loose tent of foil or transfer slices to an airtight container. It will keep at room temperature for up to 2 days. To refresh the texture, pop individual slices in a 300 °F oven for 5 minutes before serving.
5. My cake came out dense—what went wrong?
Over-mixing is the most common culprit. Be gentle when combining the flour with the creamed butter and sugar, and stop as soon as the streaks of flour disappear. Also, ensure your baking powder is fresh—older leavening agents lose their potency.
6. Can I prepare this in advance?
Totally! Bake and cool the cake, then keep it covered at room temperature for up to one day. Just dust with powdered sugar right before serving to restore that fresh-baked look.
7. Any variations for extra flavor?
Try adding a teaspoon of ground cardamom or a splash of almond extract to the batter for a subtle twist. You can also swap in mixed berries—strawberries, blackberries, or even halved blueberries work beautifully.
Conclusion
There you have it—our showstopping Raspberry Upside-Down Cake, complete with caramelized sugar, tender sponge, and that pop of ruby-red fruit. This cake isn’t just a dessert; it’s a centerpiece for lazy weekend mornings, festive brunches, and those moments when you need a little homemade magic. I’ve served it alongside mugs of steaming tea, passed it around picnic blankets in the park, and even brought it to potlucks where it vanished within minutes.
Whether you stick to the classic version or experiment with citrus zest, gluten-free flour, or mixed berries, the core of this recipe remains the same: simple ingredients, straightforward steps, and a stunning result. So preheat your oven, sift your flour, and gather your berries—you’re just a few steps away from a cake that tastes as wonderful as it looks.
Print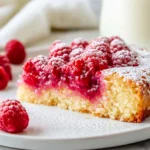
RASPBERRY UPSIDE DOWN CAKE
- Author: David
Description
A tender, buttery cake baked atop a layer of sweet brown sugar–raspberry topping that caramelizes as it bakes. When inverted, it reveals a jewel-toned crown of juicy raspberries beneath a golden sponge—perfect for brunch, afternoon tea, or a light dessert dusted with powdered sugar.
Ingredients
¼ cup unsalted butter, melted
½ cup packed brown sugar
2 heaping cups raspberries (fresh or firm frozen, enough to cover the pan)
1⅓ cups all-purpose flour
1 teaspoon baking powder
¼ teaspoon salt
¼ cup unsalted butter, softened to room temperature
¾ cup granulated sugar
1 large egg
1½ teaspoons vanilla extract
½ cup milk
Powdered sugar, for dusting (optional)
Instructions
1️⃣ Preheat the oven to 350 °F. Spray a 9″ high-sided cake pan or springform pan with nonstick spray. If using springform, line the bottom with foil or set it on a sheet tray to catch any drips.
2️⃣ In a medium bowl, whisk together the melted butter and brown sugar until combined. Spread this mixture evenly across the bottom of the prepared pan.
3️⃣ Arrange the raspberries in a single layer over the brown sugar, covering the entire surface. Set aside.
4️⃣ In a separate bowl, whisk the flour, baking powder, and salt. Set aside.
5️⃣ In a large mixing bowl, beat the softened butter and granulated sugar until light and fluffy. Add the egg and vanilla extract and continue beating until smooth.
6️⃣ Add the dry ingredients to the butter mixture and beat just until no streaks of flour remain—it will look slightly crumbly.
7️⃣ Pour in the milk and beat until the batter is smooth and just combined.
8️⃣ Spoon the batter over the raspberries in dollops, then gently spread with an offset spatula to cover them completely.
9️⃣ Bake for 35–40 minutes, or until the top is golden and a toothpick inserted into the center comes out clean. Ovens vary, so begin checking at 30 minutes.
🔟 Remove from the oven and let cool in the pan for 10 minutes. Run a knife around the edges to loosen, then carefully invert onto a serving platter.
1️⃣1️⃣ Allow the cake to cool slightly before dusting with powdered sugar, if desired, then slice and serve.
Notes
Make-ahead: Bake the cake, cool, and invert. Cover and store at room temperature for up to one day; dust with powdered sugar just before serving.
Storage: Leftovers keep in an airtight container at room temperature for up to 2 days. Rewarm individual slices briefly in a low-heat oven to refresh the cake’s texture.
Variations: Stir a teaspoon of lemon zest into the batter for brightness, or swap half the raspberries for thawed blackberries for a mixed-berry version. Top each slice with a dollop of whipped cream or a scoop of vanilla ice cream for extra indulgence.


")

")


")
