

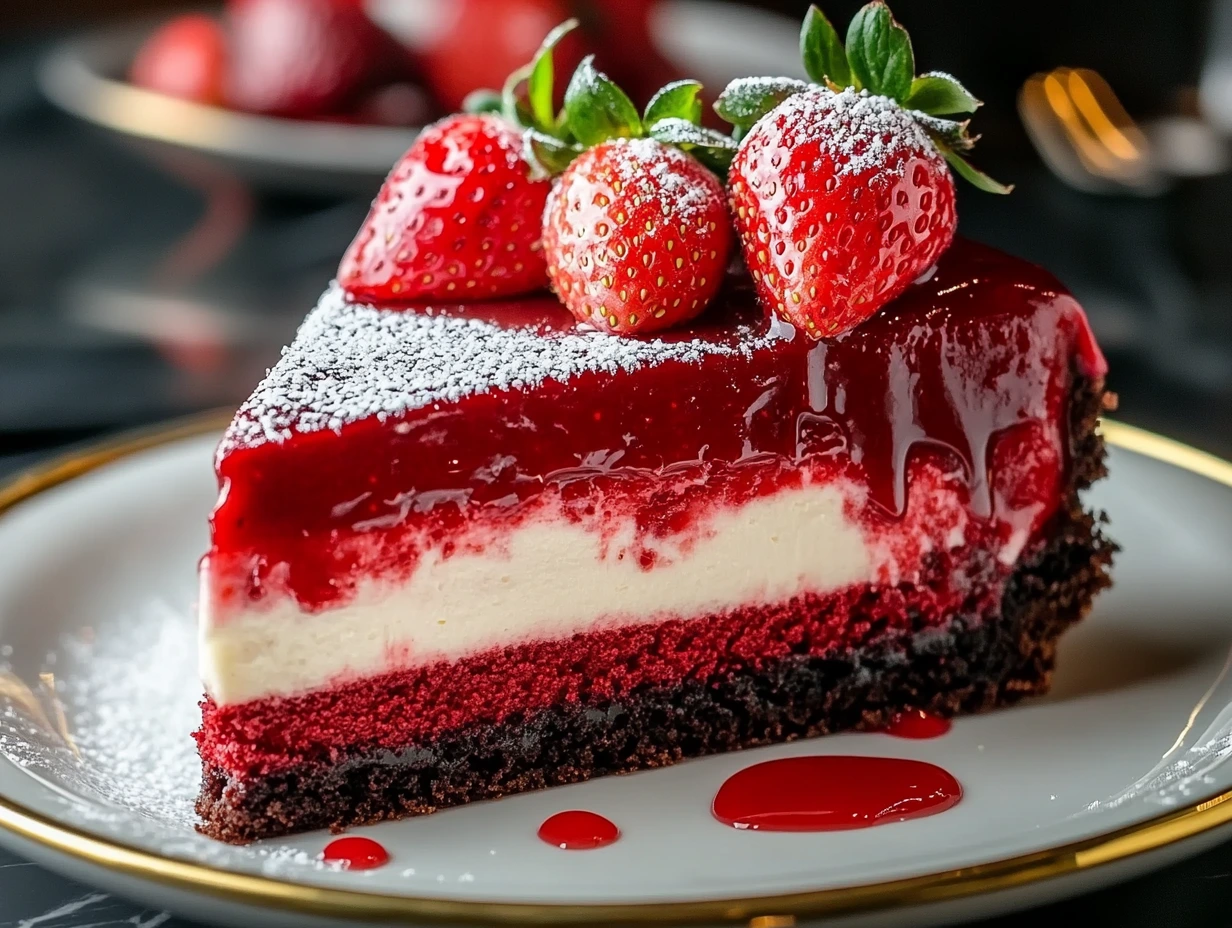
When it comes to desserts that steal the show, a Red Velvet Strawberry Cheesecake is in a league of its own. This luxurious treat combines the rich, velvety texture of red velvet cake with the creamy sweetness of strawberry cheesecake. It’s not just a dessert; it’s a statement, a celebration, and a guaranteed crowd-pleaser. Whether you’re baking for a special occasion or simply treating yourself, this recipe will make you look (and feel) like a baking superstar.
I’ll never forget the first time I made this masterpiece. It was a last-minute addition to a family celebration, and let me tell you—it was love at first bite. That vivid red velvet base paired with the luscious strawberry-infused cheesecake had everyone reaching for seconds (and asking for the recipe).
Why You’ll Love This Recipe
- Visually Stunning: The striking red and creamy pink layers make it as gorgeous as it is delicious.
- Perfect for Any Occasion: Birthdays, anniversaries, or just a weekend treat—it fits every celebration.
- Easy to Follow: Despite its fancy appearance, this recipe is surprisingly straightforward.
Now, let’s dive into the first step—creating that irresistible red velvet cake base.
Step 1: Preheat the Oven
Before you even think about mixing ingredients, start by preheating your oven to 350°F (175°C). This ensures your cake bakes evenly, giving you a moist and perfectly risen base. Grease a 9-inch springform pan and line it with parchment paper for easy release later.
Step 2: Mix the Dry Ingredients
Grab a large mixing bowl and sift together these pantry staples:
- 1 ½ cups of all-purpose flour
- 1 cup of granulated sugar
- 1 tsp each of baking powder and baking soda
- ½ tsp salt
- 1 tbsp cocoa powder
Sifting these ingredients ensures a light, lump-free mixture that will make your red velvet cake truly shine.

Step 3: Combine the Wet Ingredients
In a separate bowl, whisk together:
- 1 cup of vegetable oil (adds moisture and richness)
- 1 cup of buttermilk (room temperature, for tang and tenderness)
- 2 large eggs (room temperature, for structure and binding)
- 2 tbsp red food coloring (for that iconic vibrant hue)
- 1 tsp vanilla extract
- 1 tsp white vinegar (helps activate the baking soda for a fluffy texture)
Pro Tip: Use gel food coloring for a more intense color with less liquid.
Step 4: Combine Wet and Dry Ingredients
Gradually add the dry mixture to the wet ingredients, stirring gently to combine. The key here is to avoid overmixing. Stir just until you no longer see streaks of flour; this keeps the cake tender and soft.
Step 5: Bake the Cake
Pour the batter into your prepared springform pan, smoothing the surface with a spatula. Bake for 25-30 minutes, or until a toothpick inserted into the center comes out clean. Once done, let the cake cool completely in the pan.
Pro Tip: Resist the temptation to open the oven door while the cake bakes. This could cause your cake to deflate or bake unevenly.
Crafting the Strawberry Cheesecake Filling and Assembling the Masterpiece
Now that your red velvet cake base has cooled and is ready to shine, it’s time to take this dessert to the next level. The strawberry cheesecake filling is where the magic happens—it’s light, creamy, and packed with the fresh flavor of strawberries. Paired with the vibrant red velvet cake, it creates a dessert that’s as stunning to look at as it is to taste.
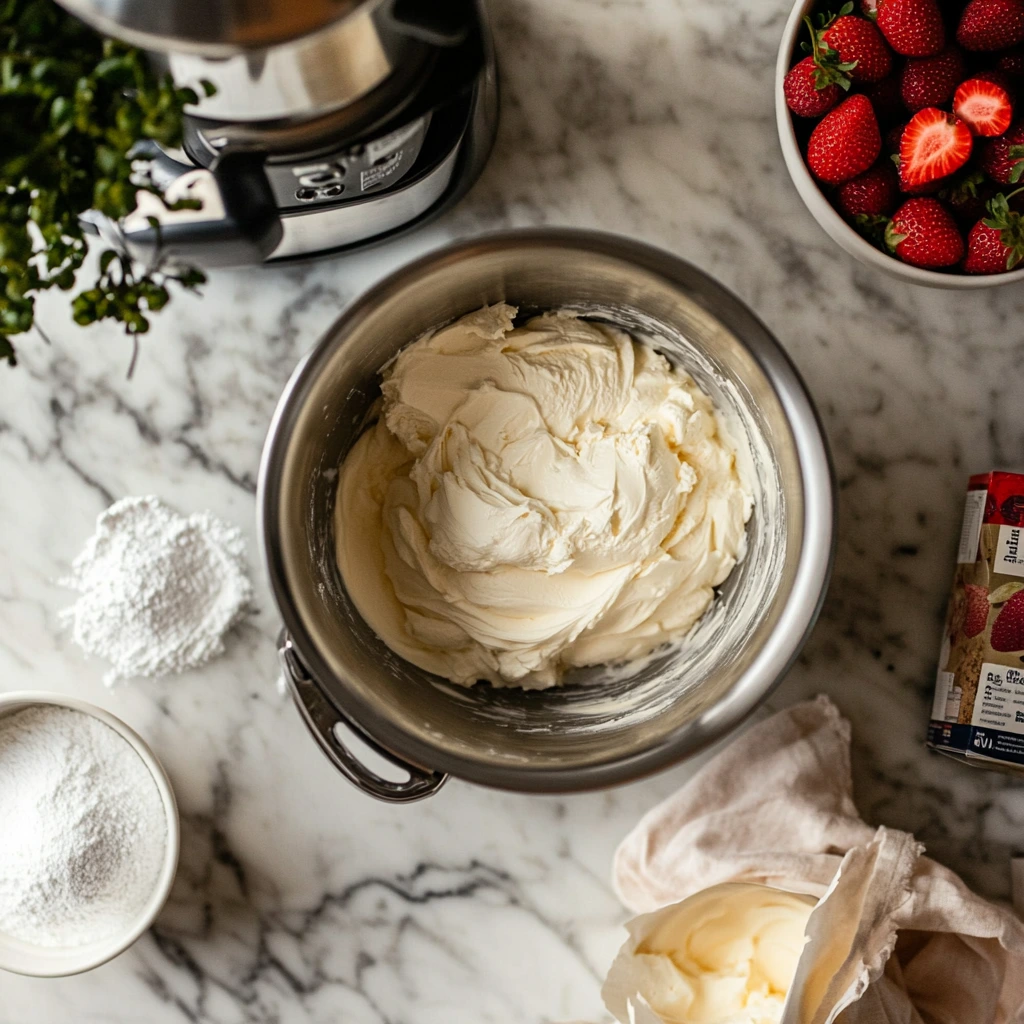
Step 6: Make the Strawberry Cheesecake Filling
The secret to an unforgettable cheesecake layer is balancing creaminess with just the right amount of fruity freshness. Follow these steps to whip up the perfect filling:
Ingredients You’ll Need
- 16 oz cream cheese, softened (room temperature ensures smooth mixing)
- 1 cup powdered sugar (for just the right sweetness)
- 1 tsp vanilla extract (a subtle hint of warmth)
- 1 cup fresh strawberries, pureed (about 8-10 medium strawberries)
- 1 cup heavy whipping cream (whipped to stiff peaks for that airy texture)
Step 6.1: Beat the Cream Cheese In a large mixing bowl, use an electric mixer to beat the softened cream cheese until it’s completely smooth and creamy. This step is essential for avoiding lumps in your cheesecake filling.
Step 6.2: Add Sweetness and Flavor Gradually mix in the powdered sugar and vanilla extract, ensuring everything is well combined. The filling should now be velvety smooth.
Step 6.3: Incorporate the Strawberries Stir in the pureed strawberries until the mixture is evenly pink and full of fruity flavor. Make sure the puree is smooth—this will keep your filling light and silky.
Pro Tip: For extra vibrant strawberry flavor, consider adding a teaspoon of strawberry extract.
Step 6.4: Fold in the Whipped Cream In a separate bowl, whip the heavy cream to stiff peaks. Gently fold it into the strawberry cream cheese mixture using a spatula. Folding (rather than mixing) keeps the filling light and fluffy, which is essential for that melt-in-your-mouth texture.
Step 7: Assemble the Cheesecake
With the filling ready to go, it’s time to assemble your Red Velvet Strawberry Cheesecake. This is where the layers come together for a visually stunning and irresistibly delicious dessert.
Step 7.1: Prepare the Cake Base Carefully remove the cooled red velvet cake from the springform pan and place it on a serving plate. If the cake has domed slightly during baking, level it with a serrated knife for an even surface.
Step 7.2: Add the Cheesecake Layer Spread the strawberry cheesecake filling evenly over the red velvet base, smoothing the top with a spatula. Be generous—you want every bite to be bursting with cheesecake goodness!
Step 7.3: Chill to Set Refrigerate the assembled cheesecake for at least 4 hours, or overnight if possible. This allows the cheesecake layer to firm up, making it easier to slice and serve.
Pro Tip: Cover the cheesecake loosely with plastic wrap while chilling to prevent it from absorbing any fridge odors.
Step 8: Decorate and Serve
You’re almost there! The final touches will make your cheesecake as visually stunning as it is delicious.
Topping Ideas
- Fresh Strawberries: Halve some fresh strawberries and arrange them artfully on top of the cheesecake for a classic, elegant look.
- Whipped Cream: Add dollops of whipped cream for extra indulgence.
- Drizzle of Strawberry Sauce: For a pro-level finish, drizzle a bit of strawberry puree or sauce over the top.
Once decorated, your Red Velvet Strawberry Cheesecake is ready to be the centerpiece of any celebration—or the star of your dessert cravings!
FAQ and Conclusion
Congratulations! You’ve now crafted a stunning Red Velvet Strawberry Cheesecake that’s sure to wow anyone lucky enough to share a slice. But before we wrap up, let’s tackle some common questions to ensure your dessert-making experience is seamless and enjoyable.
FAQ: Your Red Velvet Strawberry Cheesecake Questions Answered
1. Can I use frozen strawberries for the cheesecake filling?
Yes, you can! If fresh strawberries aren’t available, frozen ones work just fine. Just make sure to thaw them completely and drain any excess liquid before pureeing. This will help maintain the right consistency for your cheesecake filling.
2. What’s the best way to cut clean slices?
For neat and tidy slices, use a sharp knife dipped in warm water. Wipe the blade clean between cuts to keep the layers looking picture-perfect.
3. Can I make this cheesecake ahead of time?
Absolutely! This cheesecake is even better when made a day ahead. The extra time allows the flavors to meld beautifully and the cheesecake layer to fully set.
4. What if I don’t have a springform pan?
While a springform pan is ideal for easy removal, you can use a regular 9-inch round cake pan. Just line it with parchment paper, leaving extra overhang for lifting the cake out after chilling.
5. How long can I store the cheesecake?
Store your cheesecake in the refrigerator for up to 5 days, covered with plastic wrap or in an airtight container. For longer storage, you can freeze it for up to 2 months. Thaw overnight in the fridge before serving.
6. Can I customize the recipe?
Of course! You can swap the strawberries for other fruits like raspberries or mangoes for a different flavor twist. You could also drizzle the top with chocolate ganache for added decadence.
7. Why is my cheesecake layer not setting properly?
If your cheesecake filling isn’t setting, it may not have been chilled long enough. Ensure it’s in the fridge for at least 4 hours. Also, double-check that you whipped the heavy cream to stiff peaks before folding it into the filling.
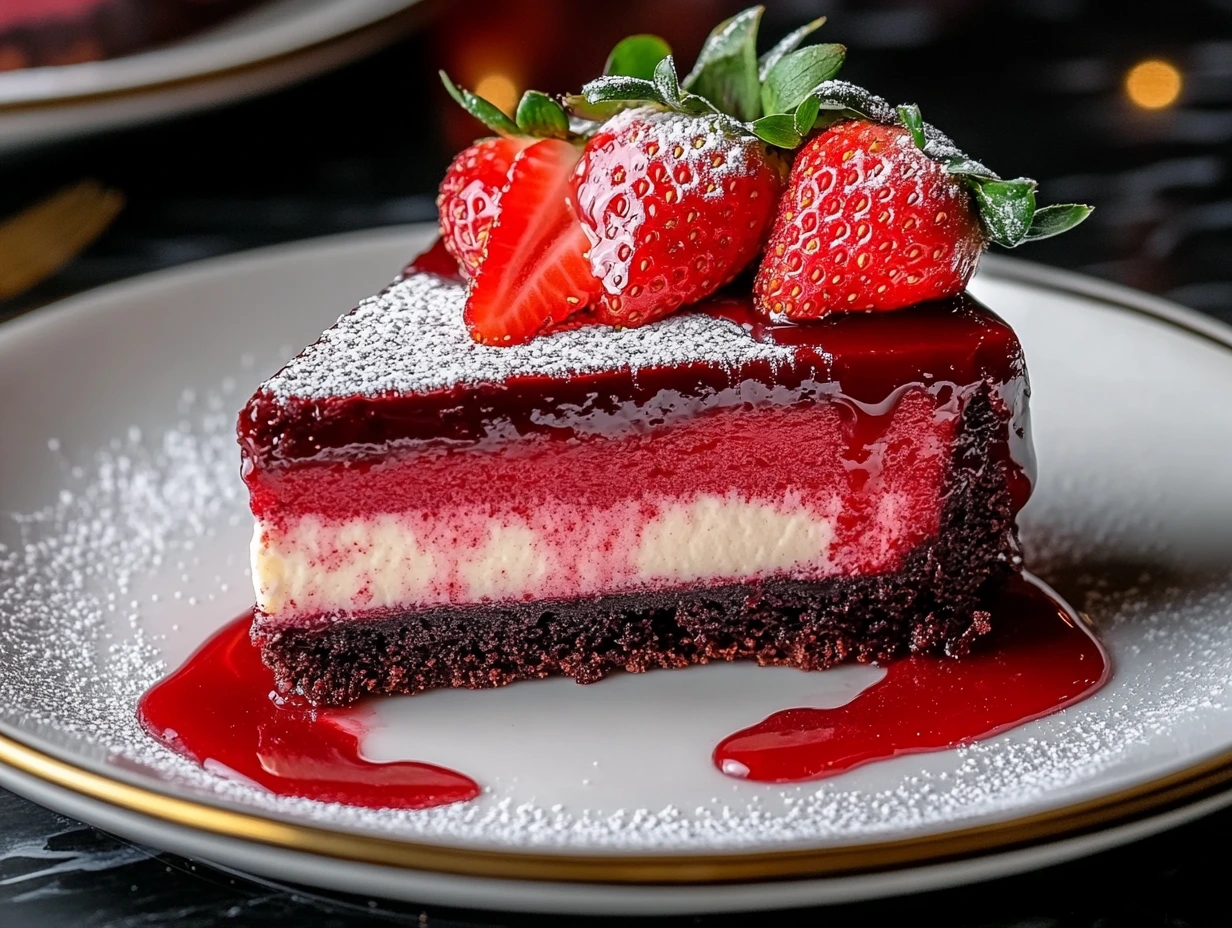
Conclusion: A Dessert Worth Celebrating
There you have it—your Red Velvet Strawberry Cheesecake is ready to take center stage! With its velvety red cake base, dreamy strawberry cheesecake filling, and beautiful garnish, this dessert is as delightful to look at as it is to eat. Whether you’re celebrating a special occasion or indulging in a weekend baking adventure, this recipe is a guaranteed hit.
I’d love to hear how your cheesecake turned out! Did you add any creative twists? Share your results in the comments below, or tag me on social media to show off your masterpiece. Let’s spread the joy of baking one slice at a time!
Print
Red Velvet Strawberry Cheesecake
- Total Time: 5 hours
Description
This stunning Red Velvet Strawberry Cheesecake is a show-stopping dessert, perfect for special occasions. A moist red velvet cake base pairs beautifully with a creamy, strawberry-infused cheesecake filling, creating a sweet and tangy masterpiece.
Ingredients
For the Red Velvet Cake Base:
- 1 ½ cups all-purpose flour
- 1 cup granulated sugar
- 1 tsp baking powder
- 1 tsp baking soda
- ½ tsp salt
- 1 tbsp cocoa powder
- 1 cup vegetable oil
- 1 cup buttermilk, room temperature
- 2 large eggs, room temperature
- 2 tbsp red food coloring
- 1 tsp vanilla extract
- 1 tsp white vinegar
For the Strawberry Cheesecake Filling:
- 16 oz cream cheese, softened
- 1 cup powdered sugar
- 1 tsp vanilla extract
- 1 cup fresh strawberries, pureed (about 8–10 strawberries)
- 1 cup heavy whipping cream
For the Topping:
- Fresh strawberries, halved
- Whipped cream (optional)
Instructions
1️⃣ Preheat the Oven
Preheat your oven to 350°F (175°C). Grease and line a 9-inch springform pan with parchment paper.
2️⃣ Make the Red Velvet Cake Base
In a large bowl, sift together the flour, sugar, baking powder, baking soda, salt, and cocoa powder.
In a separate bowl, whisk the vegetable oil, buttermilk, eggs, red food coloring, vanilla extract, and white vinegar until smooth.
Gradually add the dry ingredients to the wet mixture, stirring until just combined. Do not overmix.
Pour the batter into the prepared springform pan and smooth the surface with a spatula.
Bake for 25-30 minutes, or until a toothpick inserted in the center comes out clean. Allow the cake to cool completely in the pan before proceeding.
3️⃣ Prepare the Strawberry Cheesecake Filling
In a large mixing bowl, beat the softened cream cheese until smooth and creamy.
Gradually add the powdered sugar and vanilla extract, mixing until fully combined.
Stir in the pureed strawberries, ensuring the mixture is even.
In another bowl, whip the heavy cream until stiff peaks form. Gently fold the whipped cream into the strawberry cheesecake mixture to create a light, airy texture.
4️⃣ Assemble the Cheesecake
Once the red velvet cake has cooled, carefully remove it from the springform pan and place it on a serving dish.
Spread the strawberry cheesecake filling evenly over the red velvet cake base.
Refrigerate for at least 4 hours, or until the cheesecake filling is fully set.
5️⃣ Serve and Garnish
Before serving, top the cheesecake with fresh strawberry halves for a decorative and flavorful touch. Add a dollop of whipped cream for added indulgence, if desired.
Notes
- For a more intense strawberry flavor, consider adding a teaspoon of strawberry extract to the cheesecake filling.
- To make slicing easier, dip your knife in warm water and wipe it clean between cuts.
- This dessert keeps well in the refrigerator for up to 3 days.
- Prep Time: 30 minutes
- Cook Time: 30 minutes
Nutrition
- Serving Size: 10


")

")


")
