

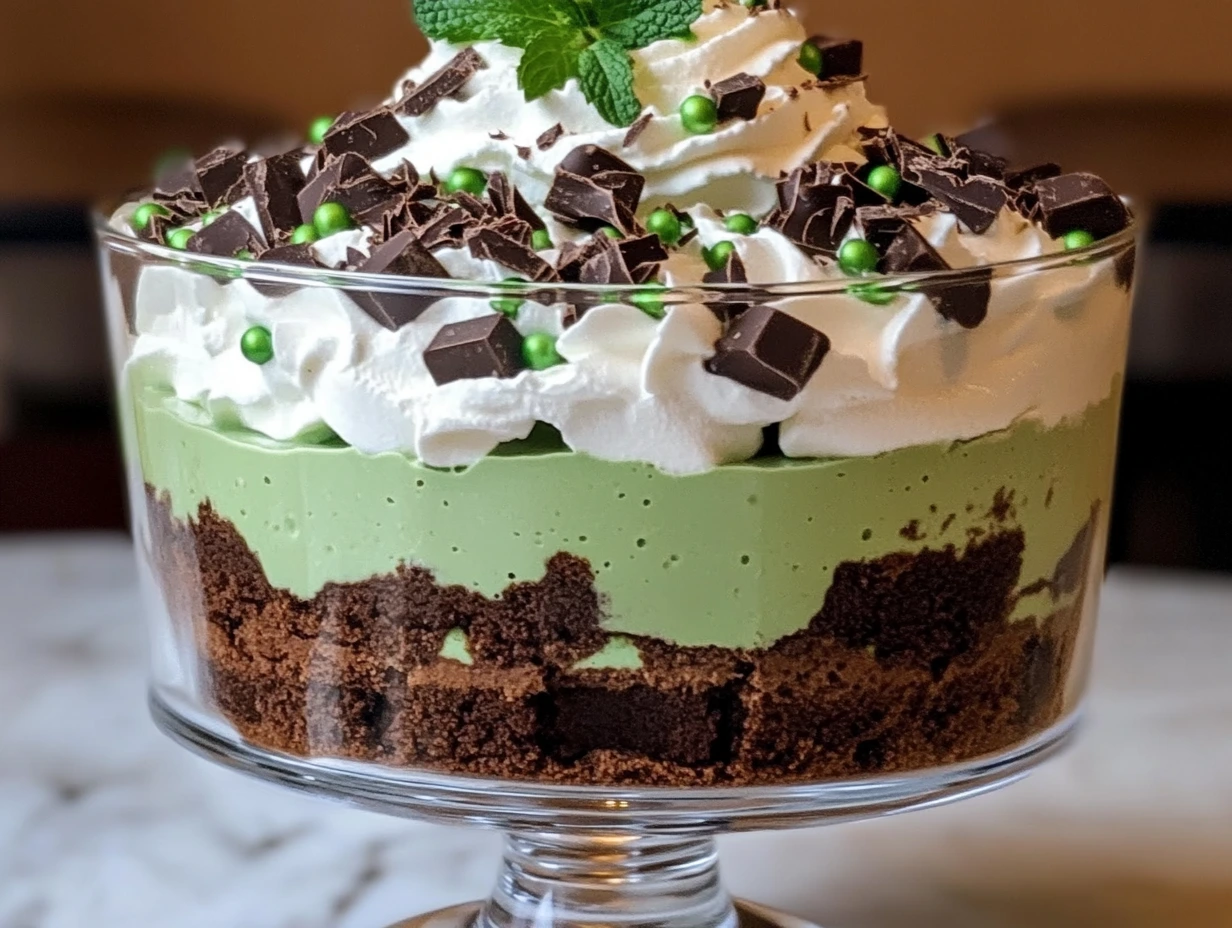
St. Patrick’s Day is all about celebrating with good food, fun decorations, and, of course, a little bit of luck. If you’re looking for a dessert that will steal the show at your gathering, this St. Patrick’s Day Brownie Trifle is your answer. Picture this: rich, fudgy brownie cubes layered with smooth chocolate pudding, fluffy mint cream, and a decadent whipped topping, all coming together in a beautifully festive dessert.
Not only does it taste incredible, but it’s also easy to put together. The bright green mint cream adds a fun twist that’s perfect for the occasion, while the chocolate and brownie layers make it indulgent enough to keep everyone coming back for more. Whether you’re hosting a large celebration or just making something sweet for your family, this trifle is sure to be a crowd-pleaser.
In this article, I’ll guide you through every step of the recipe—from making the layers to assembling the trifle and adding those perfect finishing touches. Let’s get started!
Step 1: Prepare the Brownies
The base of this St. Patrick’s Day Brownie Trifle is the delicious brownie layer. You can either use a homemade brownie recipe or opt for store-bought brownies, depending on how much time you want to spend in the kitchen. Personally, I love the idea of using a homemade recipe, but there’s absolutely no shame in using a store-bought mix when you need something quick and easy.
Once your brownies are baked and cooled, cut them into small cubes. If you’re feeling extra festive, you can even add a few drops of green food coloring to the brownie batter before baking to give them a St. Patrick’s Day twist. This adds an extra layer of fun and flair to the dessert, though it’s completely optional.
Now, set the brownie cubes aside while you prepare the other layers. It’s all about creating that perfect balance between the rich chocolate brownie and the other creamy components!

Step 2: Make the Mint Cream Layer
This mint cream layer is what gives the trifle its signature St. Patrick’s Day vibe. It’s light, fluffy, and has just the right amount of mint flavor to complement the richness of the brownies and pudding.
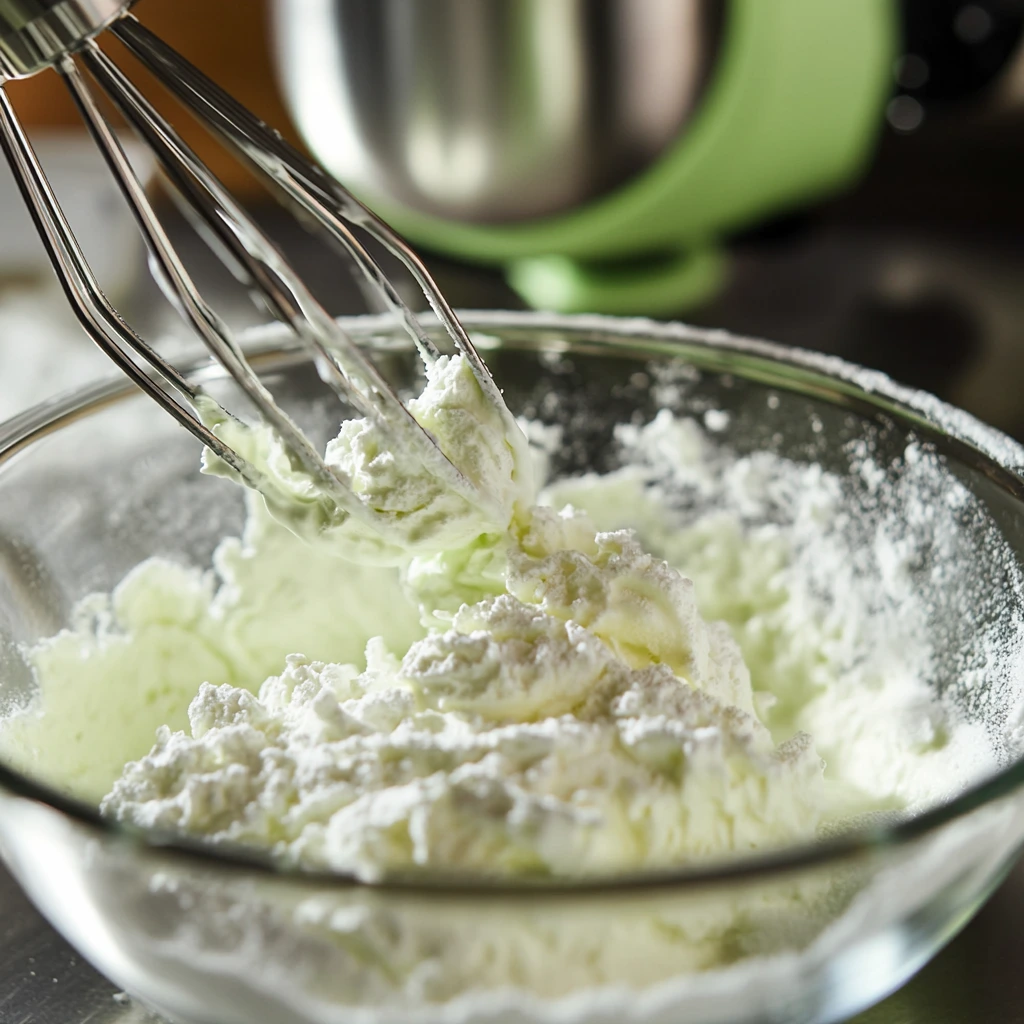
To start, you’ll want to grab a mixing bowl and your heavy whipping cream. Beat the cream with the powdered sugar and peppermint extract until stiff peaks form. This means the cream should hold its shape when you lift the beaters, but still be soft and airy. The peppermint extract brings a fresh minty flavor, which is perfect for the theme.
Once your mint cream is ready, feel free to add a few drops of green food coloring for that classic St. Patrick’s Day look. It’s optional, but it definitely adds a festive touch to the dessert. Gently fold the food coloring into the cream until you achieve a pale, minty green color. You want to keep the cream light and airy, so don’t overmix.
This mint cream layer will provide a refreshing contrast to the richness of the brownies and chocolate pudding, making it one of the best parts of the trifle!
Step 3: Prepare the Chocolate Pudding
Now, for the indulgent chocolate pudding layer. This step is quick and easy, especially if you’re using instant pudding mix. Simply whisk the instant chocolate pudding mix with cold milk in a separate bowl until the mixture thickens. It will only take 2-3 minutes for the pudding to reach the right consistency.
Once the pudding is ready, refrigerate it for about 5 minutes to let it set a little more. This will help the pudding maintain its structure when layered in the trifle. You want it to be thick and creamy, but not too runny.
The chocolate pudding layer adds such a smooth, velvety texture to the trifle that pairs perfectly with the other ingredients. When you take a bite of this trifle, the combination of chocolate and mint is absolutely divine.
![]()
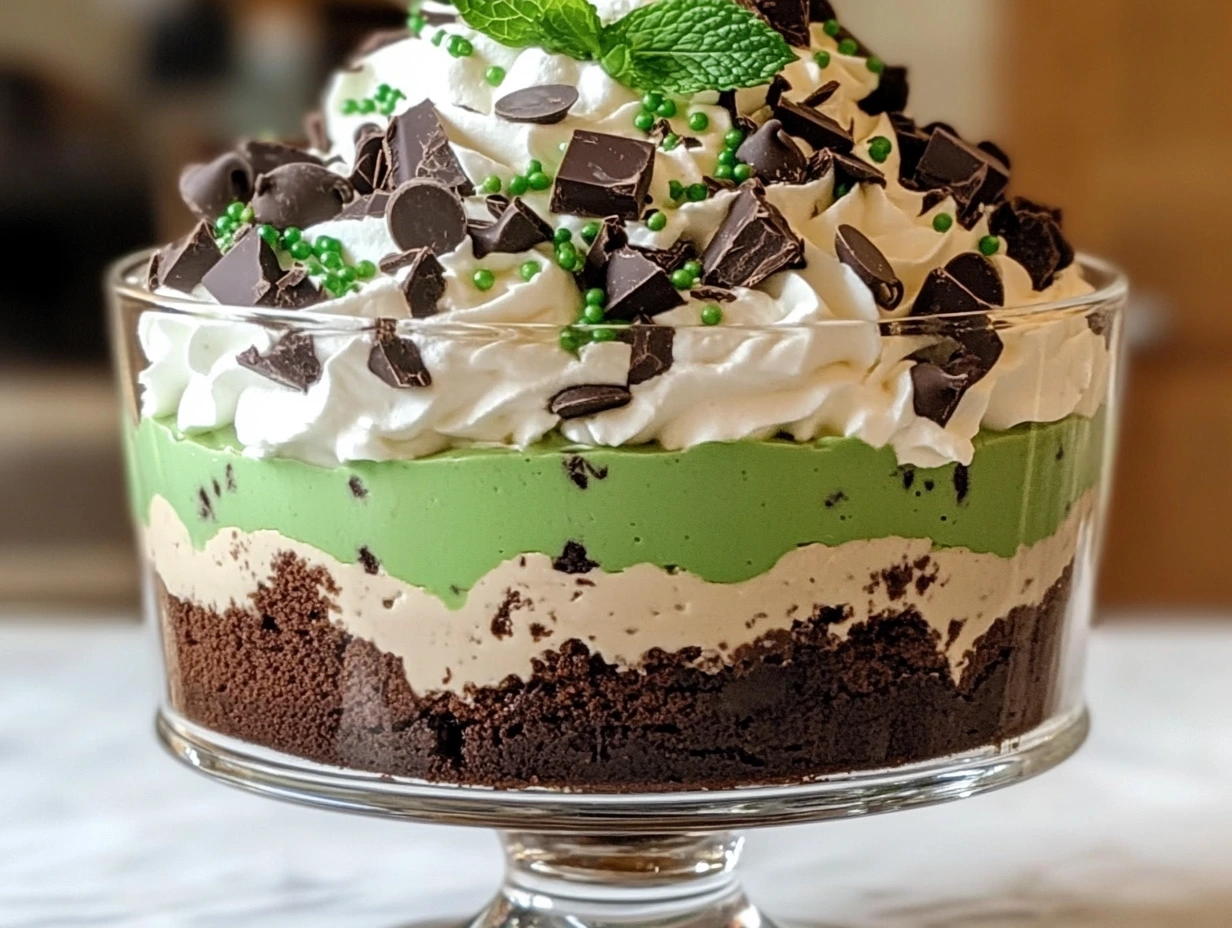
Assembling the St. Patrick’s Day Brownie Trifle: Layer by Layer Deliciousness
Now that we’ve got our layers prepared—brownies, mint cream, and chocolate pudding—it’s time to bring everything together into one delicious, festive trifle. The beauty of this dessert is not only in the taste but also in how it looks as the layers come together in your trifle dish (or individual cups, if you prefer). Let’s dive into the next steps!
Step 4: Assemble the Trifle
The fun part begins! Start with your trifle dish or individual glass jars. If you’re using a large trifle dish, you’ll want to layer everything evenly to ensure that each spoonful has a bit of everything.
Begin by adding a layer of your brownie cubes at the bottom of the dish. Make sure the brownies are spread out evenly, creating a solid base for the next layers. You can be a bit generous with the brownie cubes since they’re the heart of the trifle.
Next, add a layer of chocolate pudding over the brownies. Spread it out gently with a spoon or spatula so that it covers the brownies evenly. The rich, smooth pudding will blend perfectly with the brownies and provide a lovely contrast to the minty cream that’s coming next.
Now comes the mint cream layer. Spoon or pipe the whipped mint cream over the chocolate pudding, spreading it evenly across the top. This layer should be light and fluffy, creating a beautiful contrast against the dark pudding and brownies. The vibrant green color of the mint cream makes this trifle look so festive—perfect for St. Patrick’s Day!
Repeat these layers—brownies, pudding, mint cream—until your dish is full. Finish with a generous dollop of mint cream on top. This top layer will be the star, so make sure it’s nice and fluffy.
Step 5: Make the Whipped Cream Topping
What’s a trifle without a fluffy whipped cream topping? To make it, take your heavy whipping cream, powdered sugar, and vanilla extract, and beat them together until stiff peaks form. This whipped cream will be light and airy, adding a rich, smooth finish to the trifle.
Once your whipped cream is ready, you can either pipe it onto the top of the trifle for a fun, decorative touch, or simply spread it over the mint cream layer with a spatula. Either way, it will add the perfect finishing touch to this dessert.
If you want to take it a step further, you can decorate the whipped cream with a little extra flair—think green sprinkles, or maybe some chocolate shavings or mini chocolate coins.
Step 6: Garnish & Chill
We’re almost there! Now it’s time to make this trifle look extra special. Garnish it with crushed chocolate cookies, chocolate shavings, sprinkles, or mini chocolate coins. These toppings not only add a pop of color and texture but also elevate the flavor of the trifle with a little extra chocolate crunch.
Once the trifle is garnished, it’s time to chill. Refrigerate the trifle for at least 1-2 hours before serving. This allows the layers to set and the flavors to meld together, making each bite even more delicious.
If you have the time, you can even assemble this dessert the night before your St. Patrick’s Day celebration. Letting it sit overnight in the fridge will give it a little more time for all the flavors to come together, and it will make your day-of preparation a lot easier!
Tips for Success
Make-Ahead: One of the best things about this dessert is how easy it is to make ahead. You can prepare it the day before and store it in the fridge, letting the layers meld together overnight. This way, you won’t have to rush around on St. Patrick’s Day itself—just take it out, garnish, and serve!
Customize Garnishes: While the recipe suggests chocolate coins or crushed chocolate cookies, you can get creative with your toppings. Add green sprinkles, edible glitter, or even some fresh mint leaves for an extra touch of St. Patrick’s Day charm. This is your chance to make the dessert truly your own.
Individual Servings: If you want to make serving even easier (and a little more personal), consider serving this trifle in individual glass jars or cups. Not only does this look adorable, but it makes portioning out the dessert a breeze at parties or family gatherings.
St. Patrick’s Day Brownie Trifle: FAQ and Final Thoughts
Now that you have all the steps and tips for creating your very own St. Patrick’s Day Brownie Trifle, let’s go over some of the most common questions you might have before you dive in. I’ve gathered a few helpful tips to make sure your trifle turns out just right and answers some of the questions I’ve received about this delicious dessert.
FAQ Section
1. Can I use store-bought brownies for this recipe?
Yes! Using store-bought brownies is a great time-saver, and they’ll still taste delicious in the trifle. Just bake them according to the package instructions, let them cool completely, and cut them into cubes. If you’re short on time or don’t feel like baking from scratch, store-bought brownies will work perfectly.
2. Can I make the trifle in individual servings instead of one large dish?
Absolutely! In fact, individual servings in small jars or cups are a fun and festive way to serve this dessert. It makes portioning out the trifle much easier and adds a charming touch to your presentation. Plus, it’s great for parties since everyone can grab their own portion without needing to scoop from a large dish.
3. How long should I chill the trifle before serving?
For the best results, you’ll want to chill the trifle for at least 1-2 hours before serving. This allows all the layers to set and the flavors to meld together. If you can, let it sit in the fridge overnight. The trifle will taste even better the next day, as the flavors will have had time to blend.
4. Can I make the mint cream without peppermint extract?
Yes! If you don’t have peppermint extract on hand, you can swap it for vanilla extract for a more subtle flavor. You could also experiment with other extracts like almond or coconut, but keep in mind that it will change the overall flavor profile of the trifle. The mint cream is delicious either way, so feel free to get creative!
5. How can I make this trifle gluten-free?
To make the trifle gluten-free, simply swap out the brownies for a gluten-free brownie mix or a homemade gluten-free brownie recipe. You can easily find gluten-free brownie mixes at most grocery stores. Just make sure to double-check the ingredients in all your other layers to ensure they are also gluten-free, although most of the ingredients in this recipe are naturally gluten-free.
6. Can I use homemade chocolate pudding instead of the instant mix?
Of course! If you prefer to make your own chocolate pudding from scratch, feel free to do so. Just keep in mind that the instant pudding mix makes things a lot quicker and easier. If you go the homemade route, just ensure the pudding is fully cooled and thickened before layering it in the trifle.
7. How can I make the trifle more minty without overwhelming the flavor?
If you love mint and want a more pronounced mint flavor, try adding a bit more peppermint extract to the mint cream layer. You can also sprinkle some crushed mint chocolate candies or mint chips between the layers for an extra burst of minty goodness. Just be careful not to overdo it, as you still want the chocolate and brownie flavors to shine through!
Conclusion: Enjoy the Magic of St. Patrick’s Day Brownie Trifle!
There you have it—the perfect St. Patrick’s Day dessert that’s sure to impress your guests! The St. Patrick’s Day Brownie Trifle is a fun, indulgent treat that combines all the best elements of a dessert: rich brownies, velvety chocolate pudding, refreshing mint cream, and a fluffy whipped topping. The best part is that it’s super easy to put together, and with a few simple tweaks, you can customize it to suit your preferences.
Whether you decide to make it a day in advance or serve it in individual cups for a more personal touch, this trifle will be the star of your celebration. I promise, the combination of flavors and textures will have everyone coming back for seconds (or thirds).
So, gather your ingredients, get ready to assemble, and enjoy the process of creating a dessert that will bring joy to your St. Patrick’s Day festivities. Don’t forget to garnish with some festive decorations like chocolate coins or green sprinkles for that extra bit of flair!
I’d love to hear how your St. Patrick’s Day Brownie Trifle turns out! Share your experiences, any fun twists you added, or just let me know how much you enjoyed it in the comments below. Happy St. Patrick’s Day, and enjoy your delicious dessert!
Print
St. Patrick’s Day Brownie Trifle
- Author: David
Description
Celebrate St. Patrick’s Day with this festive and decadent Brownie Trifle! Layers of rich brownie cubes, creamy chocolate pudding, refreshing mint cream, and whipped topping come together to create a dessert that’s as delicious as it is festive. A perfect treat for your celebration, complete with fun garnishes like chocolate shavings and mini chocolate coins.
Ingredients
For the Brownie Layer:
- 1 batch homemade or store-bought brownies (cut into small cubes)
- Optional: Add green food coloring to the brownie batter for extra festivity.
For the Mint Cream Layer:
- 1 cup heavy whipping cream
- ¼ cup powdered sugar
- ½ tsp peppermint extract
- Green food coloring (optional)
For the Chocolate Pudding Layer:
- 1 package (3.9 oz) instant chocolate pudding mix
- 2 cups cold milk
For the Whipped Cream Topping:
- 1 cup heavy whipping cream
- 2 tbsp powdered sugar
- ½ tsp vanilla extract
For Garnish:
- Crushed chocolate cookies (like Oreos or chocolate graham crackers)
- Chocolate shavings or sprinkles
- Mini chocolate coins or shamrock candies (optional)
Instructions
Step 1: Prepare the Brownies
Bake the brownies according to the package or recipe instructions. Once baked, let them cool completely, then cut into bite-sized cubes.
Step 2: Make the Mint Cream Layer
In a mixing bowl, beat the heavy whipping cream, powdered sugar, and peppermint extract until stiff peaks form.
Add a few drops of green food coloring (if desired) and gently fold it into the mixture to create a light green tint.
Step 3: Prepare the Chocolate Pudding
In a separate bowl, whisk together the instant chocolate pudding mix and cold milk until the mixture thickens (about 2-3 minutes).
Refrigerate for 5 minutes to allow it to set further.
Step 4: Assemble the Trifle
In a large trifle dish or individual glasses, start by adding a layer of brownie cubes at the bottom.
Next, add a layer of chocolate pudding over the brownies.
Spoon the mint whipped cream on top of the pudding layer.
Repeat the layers—brownies, pudding, and mint cream—until the dish is full, finishing with a dollop of mint cream on top.
Step 5: Make the Whipped Cream Topping
In a clean mixing bowl, beat the heavy whipping cream, powdered sugar, and vanilla extract until stiff peaks form.
Pipe or spread the whipped cream over the top layer of the trifle.
Step 6: Garnish & Chill
Sprinkle crushed chocolate cookies, chocolate shavings, sprinkles, or mini chocolate coins on top for decoration.
Chill the trifle in the fridge for at least 1-2 hours before serving to allow the flavors to meld.
Notes
Make-Ahead: This trifle can be assembled the day before your St. Patrick’s Day celebration and refrigerated overnight. This gives the layers time to set and the flavors to blend even more.
Customize Garnishes: Get creative with your garnishes—add some green sprinkles or even green-tinted whipped cream for extra St. Patrick’s Day flair!
Trifle Glasses: For a more personal touch, you can serve this dessert in individual glass jars or cups for easy serving at parties.


")

")


")
