

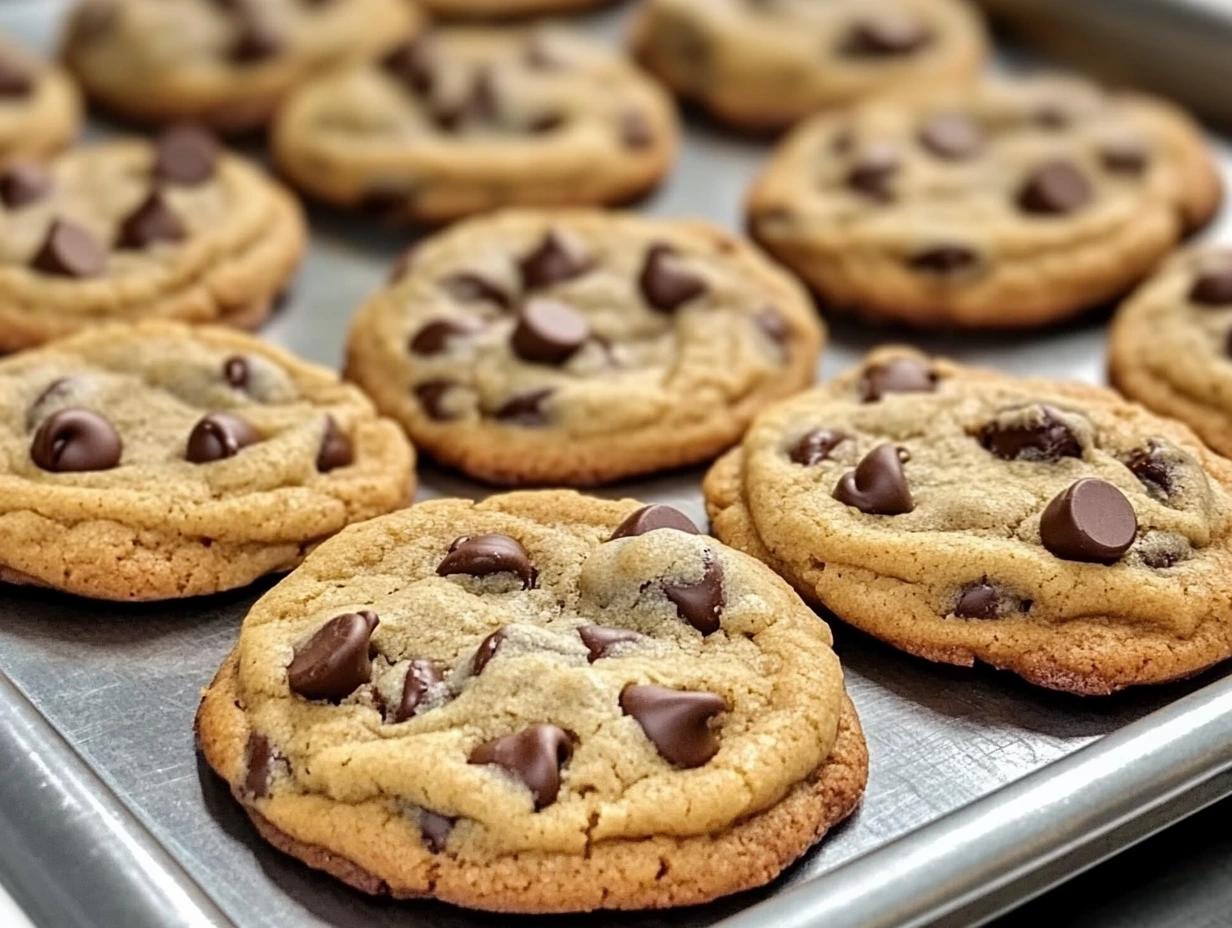
If you’re anything like me, you’ve probably tried your fair share of chocolate chip cookie recipes—some too cakey, others too crispy, and a few that fall flat in flavor. But after years of testing, tweaking, and a few cookie dough disasters, I’ve landed on what I truly believe is the best chocolate chip cookie recipe ever. These cookies have the perfect balance: crisp golden edges, chewy centers, and just the right amount of rich, gooey chocolate.
Now, I know that’s a big claim. But I promise you, these cookies deliver every single time. Whether you’re baking for your family, bringing a batch to a potluck, or just need something sweet to go with your afternoon coffee, these chocolate chip cookies are the kind you’ll come back to again and again.
So let’s dive into what makes them so special—and how you can whip them up in your own kitchen.
Why This Chocolate Chip Cookie Recipe Stands Out
There are three things that make this recipe a total knockout:
The butter-to-sugar ratio is spot-on, giving you that dreamy chewy texture with a slight crisp on the edges.
Two types of sugar (brown and granulated) work together to bring both sweetness and moisture.
Chilling the dough (even just 30 minutes) makes a world of difference. It’s optional, but trust me—it’s worth the wait.
Oh, and let’s not forget the mix-in possibilities. Want to toss in some walnuts? Go for it. Feeling fancy with white chocolate chunks and a pinch of espresso powder? You’re in the right place.
Ingredients You’ll Need
Here’s everything you’ll need to make a batch of these epic cookies:
For the Cookies:
2 ¼ cups all-purpose flour
1 teaspoon baking soda
½ teaspoon salt
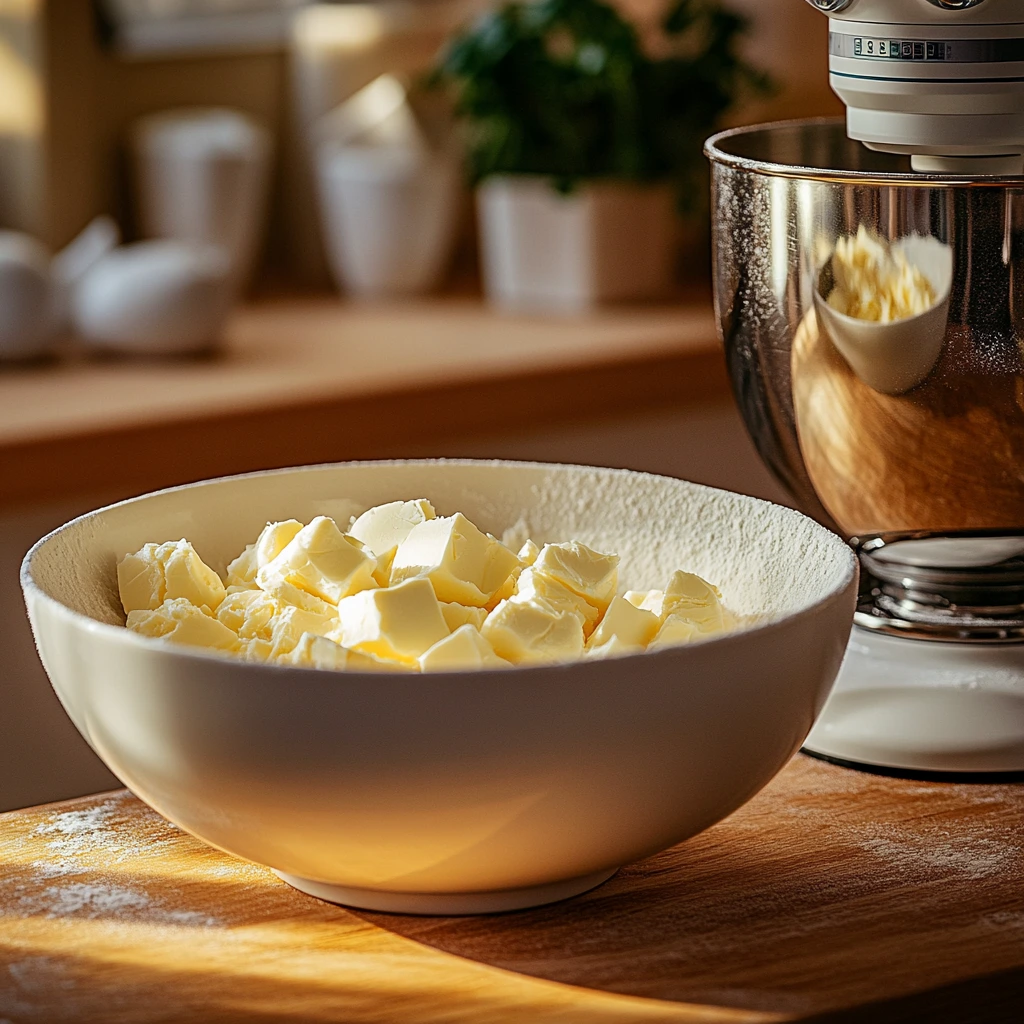
1 cup unsalted butter (softened to room temperature)
¾ cup granulated sugar
¾ cup packed brown sugar
2 large eggs (room temperature)
2 teaspoons vanilla extract
2 cups semi-sweet chocolate chips (or your favorite chocolate chunks)
Optional Add-Ins:
1 cup chopped walnuts or pecans
1 cup white chocolate chips or dark chocolate chunks
1 teaspoon instant espresso powder (to enhance the chocolate flavor)
Step-by-Step Instructions
Let’s get started with the first few steps. You’ll be amazed at how simple it is to create something so delicious from scratch.
Step 1: Preheat Your Oven
Preheat your oven to 375°F (190°C). Line your baking sheet with parchment paper or a silicone baking mat. This helps keep the cookies from sticking and makes cleanup a breeze.

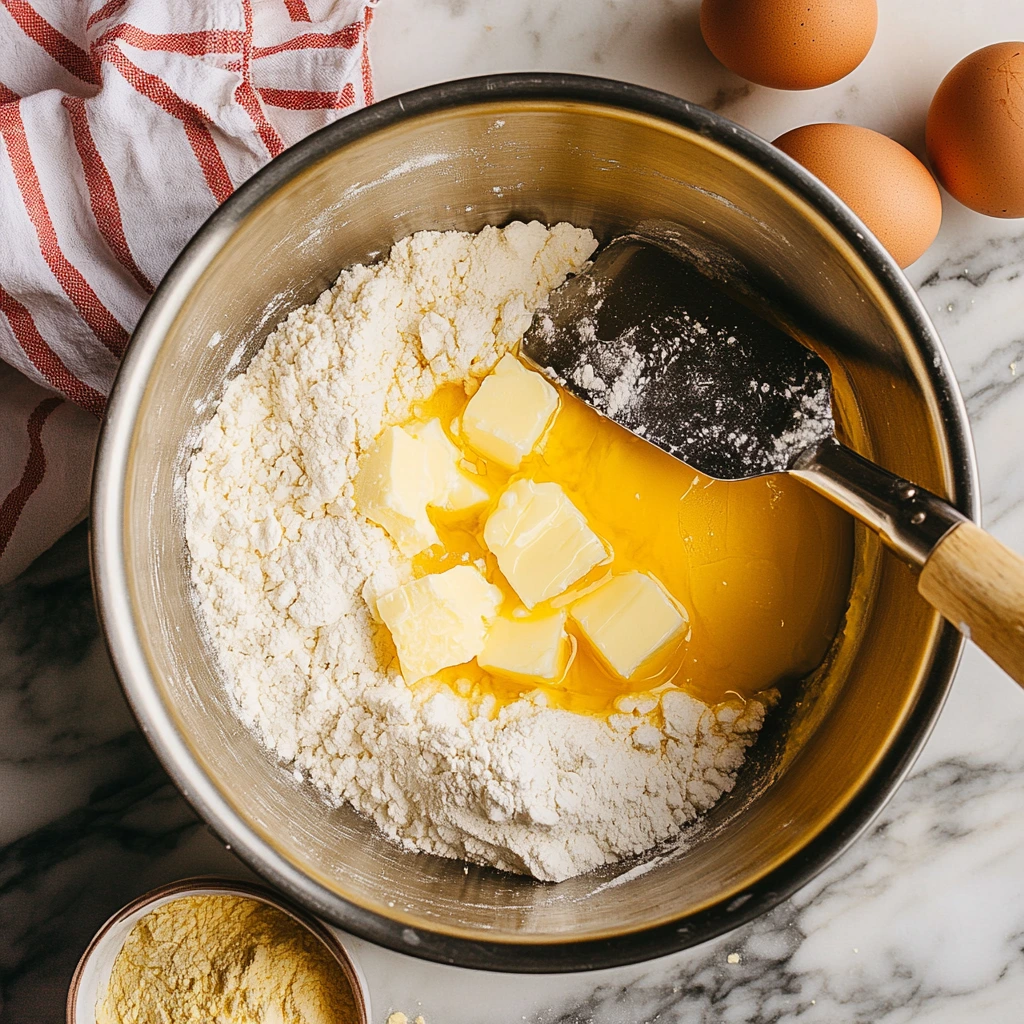
Step 2: Mix the Dry Ingredients
In a medium-sized bowl, whisk together the flour, baking soda, and salt. This helps evenly distribute the leavening agent (baking soda) and ensures your cookies rise properly.
Step 3: Cream the Butter and Sugars
In a large mixing bowl, cream together the softened butter, granulated sugar, and brown sugar using a hand mixer or stand mixer. You’re aiming for a light and fluffy texture here—this should take about 2 to 3 minutes. Then, add in the eggs one at a time, mixing well after each. Don’t forget the vanilla extract—it brings all the flavors together with that warm, cozy aroma.
Step 4: Combine Wet and Dry Ingredients
Gradually add the dry ingredients to the wet mixture. I usually switch my mixer to low speed here and go slow to avoid overmixing. Once the dough starts coming together, fold in the chocolate chips (and any optional add-ins you’re using) with a spatula or wooden spoon. The dough will be soft, rich, and slightly lumpy—and that’s exactly what you want.
Baking, Chilling, and Expert Tips for Cookie Perfection
Now that you’ve got your cookie dough mixed and ready, it’s time to get into the part where the magic really happens—baking! This next set of steps will walk you through how to properly chill, scoop, and bake your cookies so they come out just the way you like them: perfectly golden on the outside, soft and gooey in the middle, and packed with flavor in every bite.
The beautiful thing about this recipe is that it’s flexible. Want your cookies a little softer and puffier? Chill the dough longer. Love a crispier cookie? Shorten the chill time or flatten the dough slightly before baking. Let’s get into the details so you can customize them to your cookie style.
Why Chilling Your Dough Matters
Okay, I know what you’re thinking—is chilling the dough really necessary? And while you can bake the cookies right away, giving the dough a rest in the fridge even for 30 minutes makes a noticeable difference. Here’s why:
It solidifies the butter, which helps the cookies hold their shape.
It gives the flour time to hydrate, creating a chewier texture.
It lets the flavors meld together for a richer, deeper taste.
So if you’ve got the time, I highly recommend chilling it. Even just half an hour can level up your cookies.
Let’s Keep Baking!
You’ve mixed your dough, you’ve maybe snuck a bite (or two), and now we’re heading into the home stretch. Here’s how to bake them to golden-brown perfection.
Step 5: Chill the Dough (Optional but Recommended)
Transfer your cookie dough to the fridge and cover it with plastic wrap. Let it chill for at least 30 minutes, or up to 2 days. If you’re planning to freeze it for later, go ahead and scoop the dough into balls now and place them on a tray to freeze before storing in a zip-top bag.
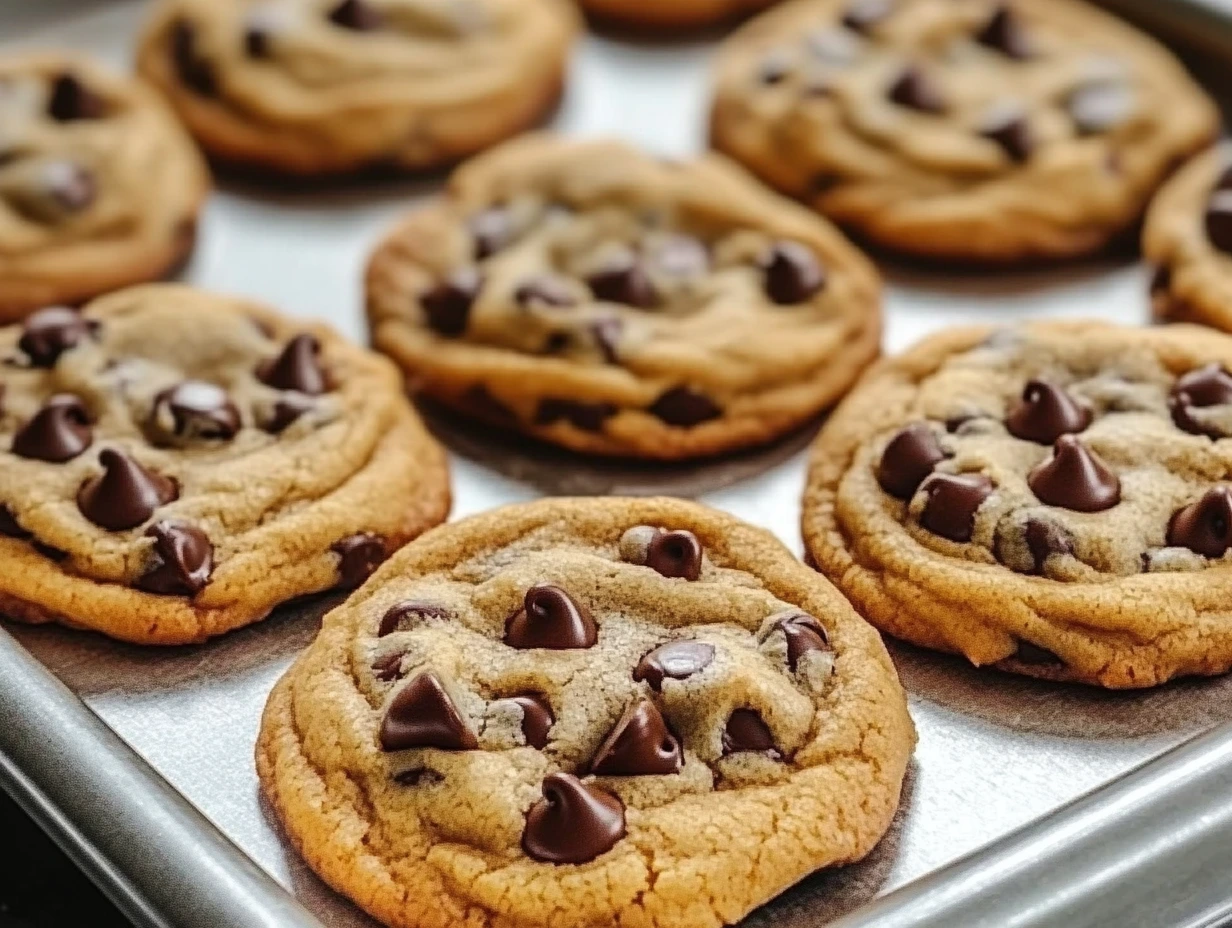
Step 6: Scoop and Bake
Once your dough is chilled and ready to go, preheat your oven again if needed (375°F / 190°C). Using a cookie scoop or tablespoon, scoop out rounded balls of dough and place them on your prepared baking sheet, spacing them about 2 inches apart. This gives them room to spread without running into each other.
Bake the cookies for 8 to 10 minutes, keeping a close eye on them. You’ll know they’re ready when the edges are golden brown, but the centers still look just a touch underbaked—that’s the sweet spot! They’ll firm up as they cool.
Step 7: Cool and Enjoy
Let the cookies cool on the baking sheet for 5 minutes before transferring them to a wire rack to finish cooling. This helps them set without becoming too firm.
Now comes the best part: serve them up with a cold glass of milk, pack them into lunchboxes, or wrap them in a cute box for gifting. These cookies also freeze beautifully, so don’t be shy about making a double batch!
Optional Add-Ins: Make It Your Own
One of the best things about this recipe is how easy it is to customize. Here are a few of my favorite ways to switch it up:
White Chocolate + Macadamia Nuts: A classic combo that works beautifully here.
Dark Chocolate + Espresso Powder: Add a teaspoon of instant espresso powder to the dough to deepen the chocolate flavor—perfect for grown-up palates.
Toasted Pecans or Walnuts: Mix in 1 cup of chopped nuts for added crunch and flavor.
Sea Salt Finish: Sprinkle a pinch of flaky sea salt on top right before baking for that sweet-and-salty contrast.
Tips for the Best Chocolate Chip Cookies
Let me share a few tricks I’ve picked up over the years that make a big difference in how these cookies turn out:
Room Temperature Butter and Eggs: This helps the ingredients blend smoothly and evenly.
Don’t Overmix the Dough: Once the flour is added, mix just until the dough comes together. Overmixing can lead to tough cookies.
Rotate Your Pan Halfway Through: If your oven has hot spots, turn the pan 180° halfway through baking to ensure even browning.
Bake One Sheet at a Time: For the most consistent results, avoid crowding the oven.
FAQ and Final Thoughts on the Best Chocolate Chip Cookies
We’ve walked through the ingredients, the method, and all the little secrets that make these chocolate chip cookies truly unforgettable. But before we wrap things up, let’s take a moment to answer some of the most common questions I get about this recipe. Whether you’re a seasoned baker or just getting started, these quick tips will help you feel confident and ready to bake up a perfect batch every time.
Frequently Asked Questions
1. Can I use salted butter instead of unsalted?
Yes, you can! Just reduce the added salt in the recipe to about ¼ teaspoon if you’re using salted butter. Keep in mind that different brands of salted butter have varying salt levels, so results may vary slightly.
2. What’s the best way to store these cookies?
Once completely cooled, store the cookies in an airtight container at room temperature. They’ll stay fresh and soft for up to 5 days. For longer storage, you can freeze them.
3. Can I freeze the dough for later?
Absolutely! Scoop the dough into balls and freeze them on a baking sheet. Once solid, transfer to a freezer-safe bag or container. When you’re ready to bake, pop them straight into the oven—just add 1–2 minutes to the baking time.
4. Why did my cookies come out flat?
This could be due to a few things: your butter might have been too soft, you skipped the chilling step, or the dough was overmixed. Chilling the dough and measuring your ingredients carefully will help keep your cookies thick and chewy.
5. Can I make these cookies gluten-free?
Yes! You can substitute the all-purpose flour with a 1:1 gluten-free baking flour. Just make sure your blend contains xanthan gum or another binder to help the cookies hold their shape.
6. What kind of chocolate chips work best?
Semi-sweet is the classic choice, but feel free to experiment with milk chocolate, dark chocolate chunks, or even a mix of all three. You can also chop up a high-quality chocolate bar for bigger pools of melted chocolate in every bite.
7. Do I have to chill the dough every time?
No, but chilling really does help with texture and flavor. If you’re in a hurry, go ahead and bake them right away—they’ll still be delicious, just a little flatter and softer.
Final Thoughts: Bake, Share, and Enjoy
There’s something undeniably comforting about a warm, homemade chocolate chip cookie. Maybe it’s the smell that fills your kitchen while they bake, or that first bite when the chocolate is still melty and the cookie is perfectly soft in the center. Whatever it is, these cookies are the kind that bring people together—whether it’s around the kitchen table or at a holiday gathering.
I’ve made this recipe more times than I can count, and every batch reminds me why I love baking. It’s simple, satisfying, and always brings a little joy. Whether you’re baking for a crowd or just treating yourself to something sweet, this is the kind of go-to cookie recipe that belongs in every home baker’s back pocket.
So grab your mixing bowl, turn on the oven, and bake up a batch. And don’t forget to get creative with the add-ins! I’d love to hear how you make these your own—drop a comment, share your favorite variations, or let me know how they turned out. Happy baking!
Print
The Best Chocolate Chip Cookie Recipe Ever
- Author: David
Description
Description: These chocolate chip cookies are everything you could want in a cookie—crispy on the edges, chewy in the center, and packed with gooey chocolate chips. The secret lies in the perfect balance of butter, sugar, and a dash of vanilla, along with the option to add your favorite mix-ins. Whether you prefer classic chocolate chips or want to get creative with white chocolate, nuts, or espresso powder, these cookies are sure to be a hit!
Ingredients
For the Cookies:
2 ¼ cups all-purpose flour
1 teaspoon baking soda
½ teaspoon salt
1 cup unsalted butter (softened to room temperature)
¾ cup granulated sugar
¾ cup packed brown sugar
2 large eggs (room temperature)
2 teaspoons vanilla extract
2 cups semi-sweet chocolate chips (or your favorite chocolate chunks)
Optional Add-Ins:
1 cup chopped walnuts or pecans
1 cup white chocolate chips or dark chocolate chunks
1 teaspoon instant espresso powder (enhances chocolate flavor)
Instructions
Step 1: Preheat Your Oven
Preheat your oven to 375°F (190°C). Line a baking sheet with parchment paper or a silicone baking mat to make cleanup easy.
Step 2: Mix the Dry Ingredients
In a medium bowl, whisk together the flour, baking soda, and salt. Set aside.
Step 3: Cream the Butter and Sugars
In a large mixing bowl, use a hand mixer or stand mixer to cream the softened butter, granulated sugar, and brown sugar together until light and fluffy, about 2–3 minutes. Add the eggs one at a time, beating well after each addition. Mix in the vanilla extract.
Step 4: Combine Wet and Dry Ingredients
Gradually add the dry ingredients to the wet ingredients, mixing on low speed just until combined. Be careful not to overmix—the dough should still be slightly lumpy. Fold in the chocolate chips (and any optional add-ins) using a spatula or wooden spoon.
Step 5: Chill the Dough (Optional but Recommended)
For thicker, chewier cookies, cover the dough and chill it in the refrigerator for at least 30 minutes (or up to 2 days). Chilling helps prevent the cookies from spreading too much during baking.
Step 6: Scoop and Bake
Use a cookie scoop or tablespoon to drop rounded balls of dough onto the prepared baking sheet, spacing them about 2 inches apart. Bake in the preheated oven for 8–10 minutes or until the edges are golden brown and the centers are just set. The cookies will continue to firm up as they cool.
Step 7: Cool and Enjoy
Allow the cookies to cool on the baking sheet for 5 minutes before transferring them to a wire rack to cool completely. Serve warm with a glass of milk or pack them up for gifting.
Prep Time: 15 minutes
Cooking Time: 8–10 minutes
Total Time: 25 minutes (plus chilling time if applicable)
Servings: 24 cookies
Kcal: Approximately 200 kcal per cookie
Notes
If you want an extra chewy texture, chill the dough for longer (up to 2 days).
The dough can be made ahead of time and frozen for up to 3 months. Simply scoop the dough into balls and freeze them on a baking sheet before transferring them to a freezer bag. When ready to bake, you can bake from frozen (just add a couple of extra minutes to the baking time).
Feel free to get creative with the add-ins! If you’re a fan of dark chocolate, swap out the semi-sweet chips for a higher cocoa percentage.


")

")


")
