S’mores have always had a special place in my heart. There’s just something so nostalgic about the combo of melted chocolate, gooey marshmallows, and crunchy graham crackers—it instantly takes me back to camping trips, bonfires, and sticky fingers under the stars. But what if I told you that you could enjoy all that goodness without the campfire, without the mess, and without even turning on the oven?
Enter: Walking S’mores.
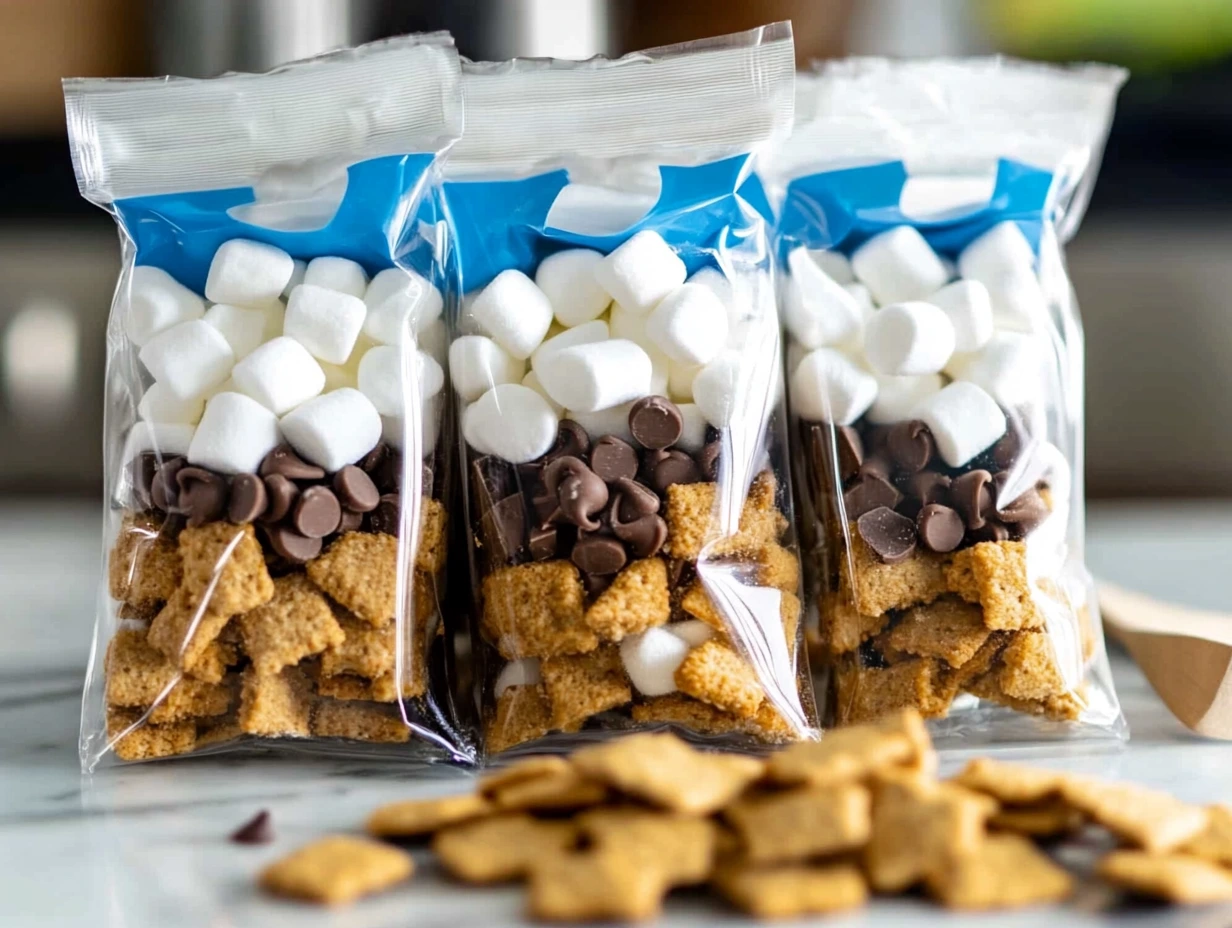
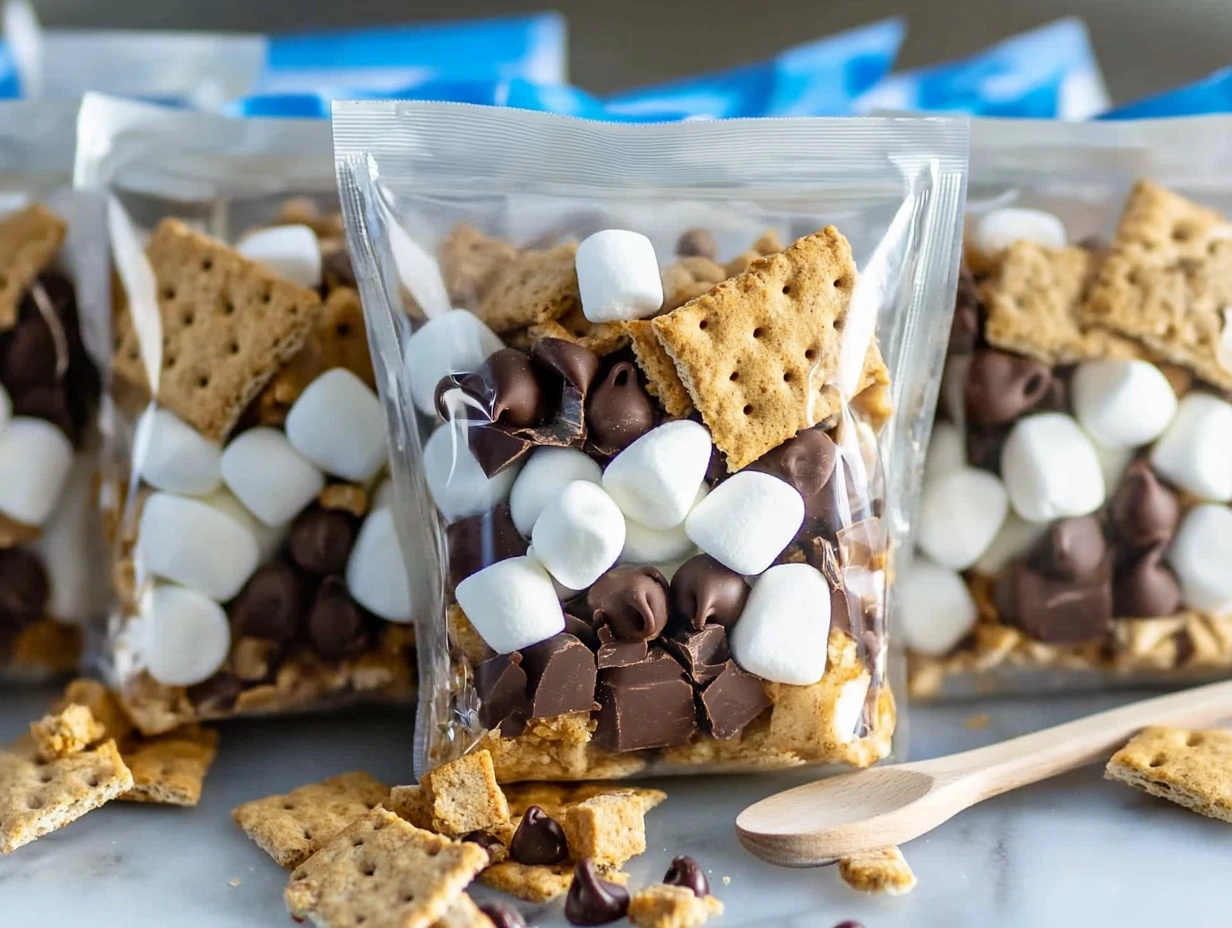
These are the perfect solution for when you want that classic flavor but need something quick, portable, and kid-friendly. Think “walking tacos,” but dessert-style! Everything goes right into a little snack-size bag, and you can enjoy it with a spoon as you stroll through the backyard or hang out at a picnic. No firepit? No problem.
I love making these for birthday parties and family get-togethers. They’re always a hit, and the best part? You don’t have to stand over a flame trying to roast the perfect marshmallow. Let’s dive into how easy these are to make!
Why You’ll Love This Recipe
No baking required: These come together in just minutes.
Portable and mess-free: Built right in the bag!
Kid-approved: Great for birthday parties, playdates, and sleepovers.
Customizable: Add your favorite toppings or try different flavored graham snacks.
Ingredients You’ll Need
Here’s what you’ll want to have on hand to make a batch of these gooey, crunchy, chocolatey delights:
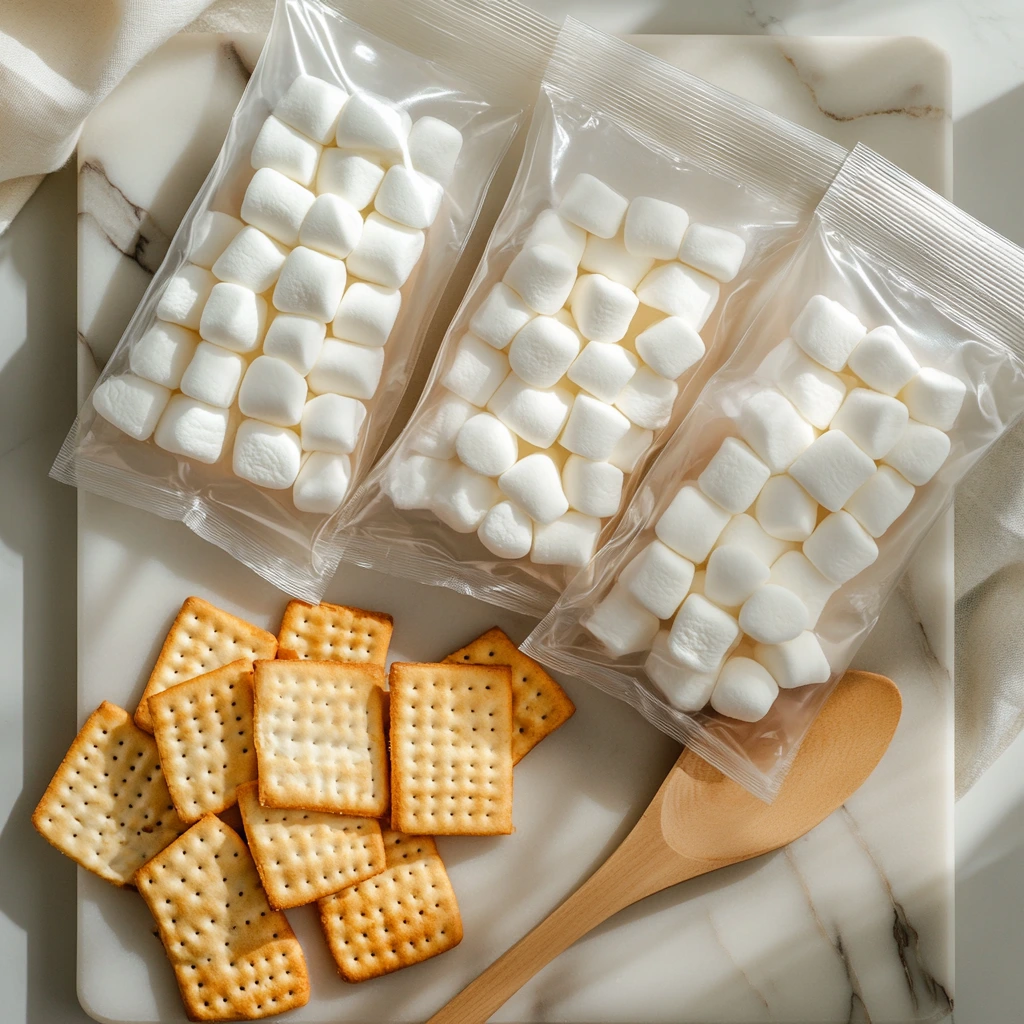
6 snack-size bags of graham cracker cookies (Teddy Grahams work great)
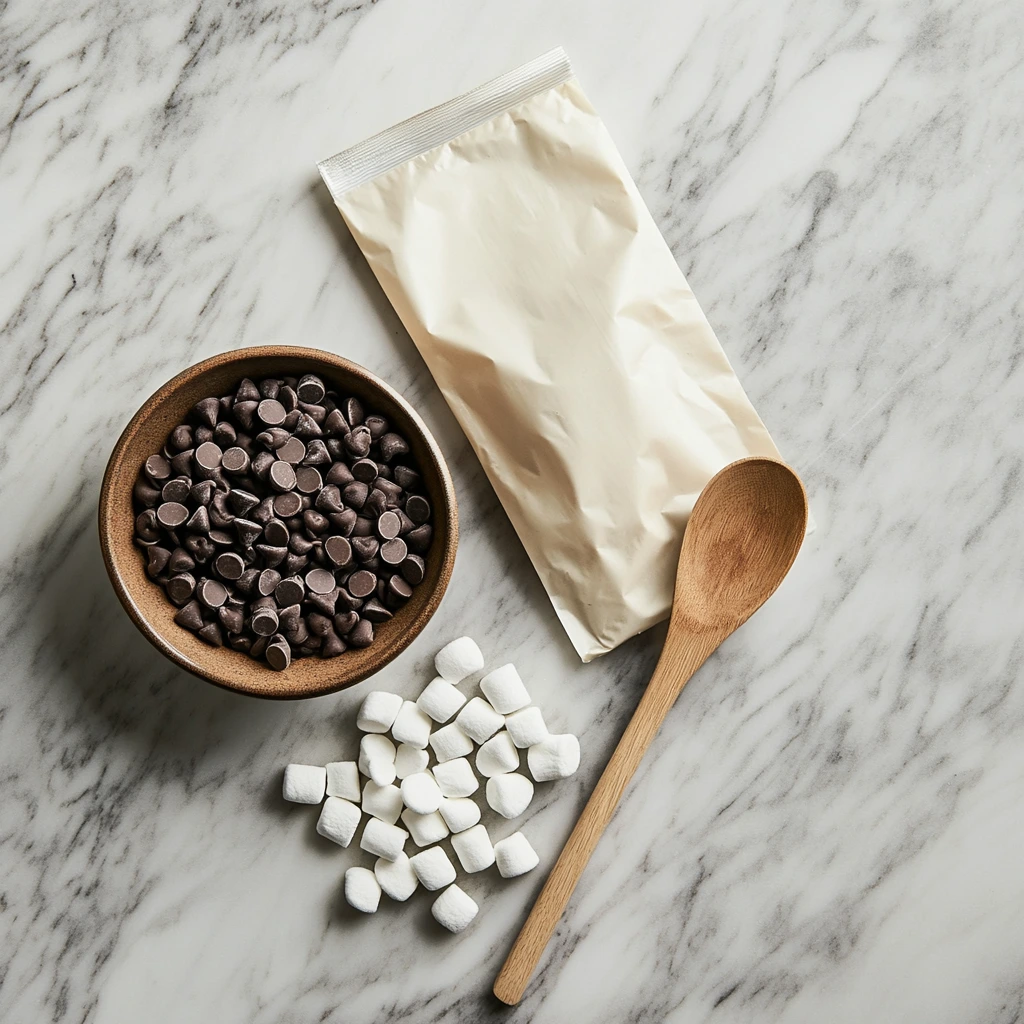
1 1/2 cups mini marshmallows
1 1/2 cups chocolate chips or chunks
1/2 cup mini marshmallow creme or fluff (optional but adds great gooeyness)
Optional toppings: crushed graham crackers, mini chocolate chips, or sprinkles
STEPS
Step 1: Prep the Snack Bags
Start by opening each of your snack-size graham cracker cookie bags. You don’t want to rip the bags completely—just enough to access the inside. Once opened, gently crush the graham cookies inside using your hands. You’re aiming for bite-sized chunks here—not powder, just smaller pieces that are easy to eat with a spoon.
I like to give the bag a little roll between my palms. It keeps the crumbs contained and gives you that nice crushed texture without turning it into dust.

Step 2: Add the Marshmallows and Chocolate
Next, drop in about 1/4 cup of mini marshmallows into each bag. Follow that up with 1/4 cup of chocolate chips or chunks. If you’re feeling indulgent (and why not?), you can go half-and-half with milk and semi-sweet chips for a little variety.
These two ingredients are the soul of any s’more, and when they start to melt a bit into the crushed grahams—magic happens.
Step 3: Optional Marshmallow Creme
If you want that extra gooey bite—almost like pulling apart a real campfire s’more—add a spoonful of marshmallow fluff or creme right into the bag. You don’t need much, just a dab. Use a clean spoon or even a craft stick to swirl it around a little so it mixes in.
This is totally optional, but it makes the whole treat feel a little more melty and authentic, especially if you’re not microwaving them.
How to Finish Your Walking S’mores and Add Fun Custom Twists
Now that you’ve got the basic layers down—crushed graham crackers, mini marshmallows, and chocolate chips—it’s time to bring everything together. This is the part where you can really make the treat your own, whether you like it more gooey, more crunchy, or with a colorful twist for parties.
What I love about this recipe is how adaptable it is. You can prep everything ahead of time, then just lay out the bags and let everyone customize their own walking s’more. It’s interactive, it’s fun, and there’s hardly any cleanup involved. Sounds like a win to me!
Let’s wrap up the assembly and go over some of my favorite topping ideas and flavor variations.
Step 4: Mix and Stir
After all your main ingredients are in the bag, it’s time to mix them up. Use a spoon, a small fork, or even a popsicle stick to give everything a gentle stir. You want the marshmallows and chocolate to mix in with the crushed cookies so that every bite has a little bit of everything.
If you added marshmallow fluff in the last step, this part might get a little sticky—but in the best way. Just stir carefully so you don’t crush the bag, especially if it’s one of the flimsier plastic ones. If you’re making these for kids, it might be helpful to dump the contents into a small paper cup or bowl to mix and eat.
Step 5: Optional Warming
Now, this is totally optional, but if you want your chocolate to get just a bit melty and your marshmallows to soften, you can transfer the contents to a microwave-safe bowl and warm it for about 8–10 seconds. Just a few seconds is all it takes. Be sure to remove everything from the plastic bag before microwaving—it’s not safe to heat them directly in the packaging.
This little warming step adds a touch of that melted s’mores texture we all love. It also makes the chocolate a little runnier, which helps bind everything together.

Topping Ideas to Make Them Your Own
Once everything is mixed up, it’s time to add some fun toppings! Here are a few of my go-to ideas:
Crushed graham crackers – For extra crunch and a little texture on top.
Mini chocolate chips – Because there’s no such thing as too much chocolate.
Sprinkles – Perfect for birthdays or themed parties.
Peanut butter chips – Adds a salty-sweet combo that’s irresistible.
Toasted coconut – For a slightly tropical twist.
Mini M&Ms – Adds color and a candy crunch that kids love.
You can even set up a topping bar and let everyone go wild. Trust me, this is a hit at summer barbecues and backyard parties.
Flavor Variations You’ll Want to Try
Here’s where things get really fun. The base recipe is classic, but you can swap ingredients to create totally new combinations. Here are a few ideas:
Chocolate Lovers’ Walking S’mores: Use chocolate-flavored Teddy Grahams or chocolate graham crackers, dark chocolate chunks, and chocolate marshmallows.
Cinnamon S’mores: Use cinnamon graham snacks, white chocolate chips, and a sprinkle of cinnamon sugar on top.
Peanut Butter S’mores: Add peanut butter chips and a drizzle of peanut butter sauce into the mix. So good!
Mint Chocolate S’mores: Try adding Andes mint chips or a drizzle of mint syrup with your chocolate.
S’mores Sundae Style: Scoop your walking s’mores mixture over a scoop of vanilla ice cream and serve it in a bowl—great for dessert nights!
Walking S’mores FAQs and Final Thoughts
By now, you’ve seen how incredibly easy and fun these Walking S’mores are to make. But if you’re like me, you might still have a few questions before diving in—especially if you’re planning to make these for a crowd or want to prep them ahead of time. Below, I’ve rounded up some of the most common questions I’ve heard about this recipe, along with helpful answers so you can feel confident making them anytime.
FAQs About Walking S’mores
1. Can I make Walking S’mores ahead of time?
Yes, you can prep the crushed graham bags and have the marshmallows and chocolate chips measured out ahead of time. Just wait to mix everything until right before serving so the grahams don’t get soft or stale.
2. What type of graham snacks work best?
Snack-size bags of Teddy Grahams (original or flavored) work great, but you can also use mini graham cracker bites or even break full-size graham crackers into chunks and portion them into small sandwich bags.
3. Can I microwave them inside the bag?
No, you should never microwave the original snack bags—they’re not microwave-safe. If you want to warm them up, transfer the contents to a microwave-safe bowl or cup and heat for 8–10 seconds.
4. Are there allergy-friendly alternatives?
Definitely! Use dairy-free chocolate chips and vegan marshmallows if needed. For gluten-free versions, look for certified gluten-free graham snacks. You can adjust the ingredients to suit most dietary needs.
5. How many servings does this recipe make?
This recipe makes 6 individual Walking S’mores, each made in its own snack-size bag. You can easily double or triple the recipe depending on how many people you’re serving.
6. Can I make a large batch instead of individual bags?
Absolutely. Just mix the ingredients in a big bowl and serve it in cups or bowls with spoons. It’s a great option for buffet-style dessert tables.
7. How long will leftovers last?
While these are best eaten right away, leftovers can be stored in an airtight container for a day or two. Just note that the graham crackers may soften over time from the marshmallows.
Final Thoughts: A Sweet Treat Everyone Will Love
There’s something so fun and freeing about a dessert that doesn’t require a stove, oven, or even a plate. Walking S’mores are everything I love in a treat—nostalgic, easy, and customizable. Whether you’re planning a party, a sleepover, or just want to surprise your kids with a weekday dessert, these little bags of goodness hit the spot every single time.
They’re also a lifesaver for those times when you want to serve something special but don’t have the time (or energy) for baking. Plus, the clean-up? Pretty much nonexistent. Just toss the bags when you’re done and call it a night.
Print
Walking S’mores
- Author: David
Description
Walking S’mores are a fun, portable twist on the classic campfire treat, combining all the delicious flavors of s’mores—graham crackers, chocolate, and marshmallows—served in a snack-size bag for on-the-go indulgence. Perfect for parties, picnics, or camping, these no-bake treats are easy to assemble and loved by all ages.
Ingredients
6 snack-size bags of graham cracker cookies or Teddy Grahams
1 1/2 cups mini marshmallows
1 1/2 cups chocolate chips or chunks
1/2 cup mini marshmallow creme or fluff (optional for gooey texture)
Crushed graham crackers or sprinkles (optional topping)
Instructions
Open each snack-size bag of graham crackers and gently crush the contents to create bite-sized pieces while keeping them in the bag.
Add about 1/4 cup of mini marshmallows and 1/4 cup of chocolate chips into each bag.
For extra gooeyness, spoon in a bit of marshmallow creme if desired. Stir gently using a spoon or stick.
Optional: Top with extra crushed graham crackers, mini chocolate chips, or sprinkles for added texture.
Serve immediately and enjoy with a spoon—no fire needed.
Notes
Use flavored graham snacks like chocolate or cinnamon for variety. You can slightly warm the bag contents in a microwave-safe bowl (removed from the bag) for a melted, authentic s’mores effect. These are great for kids’ parties, outdoor events, or late-night sweet cravings.


