

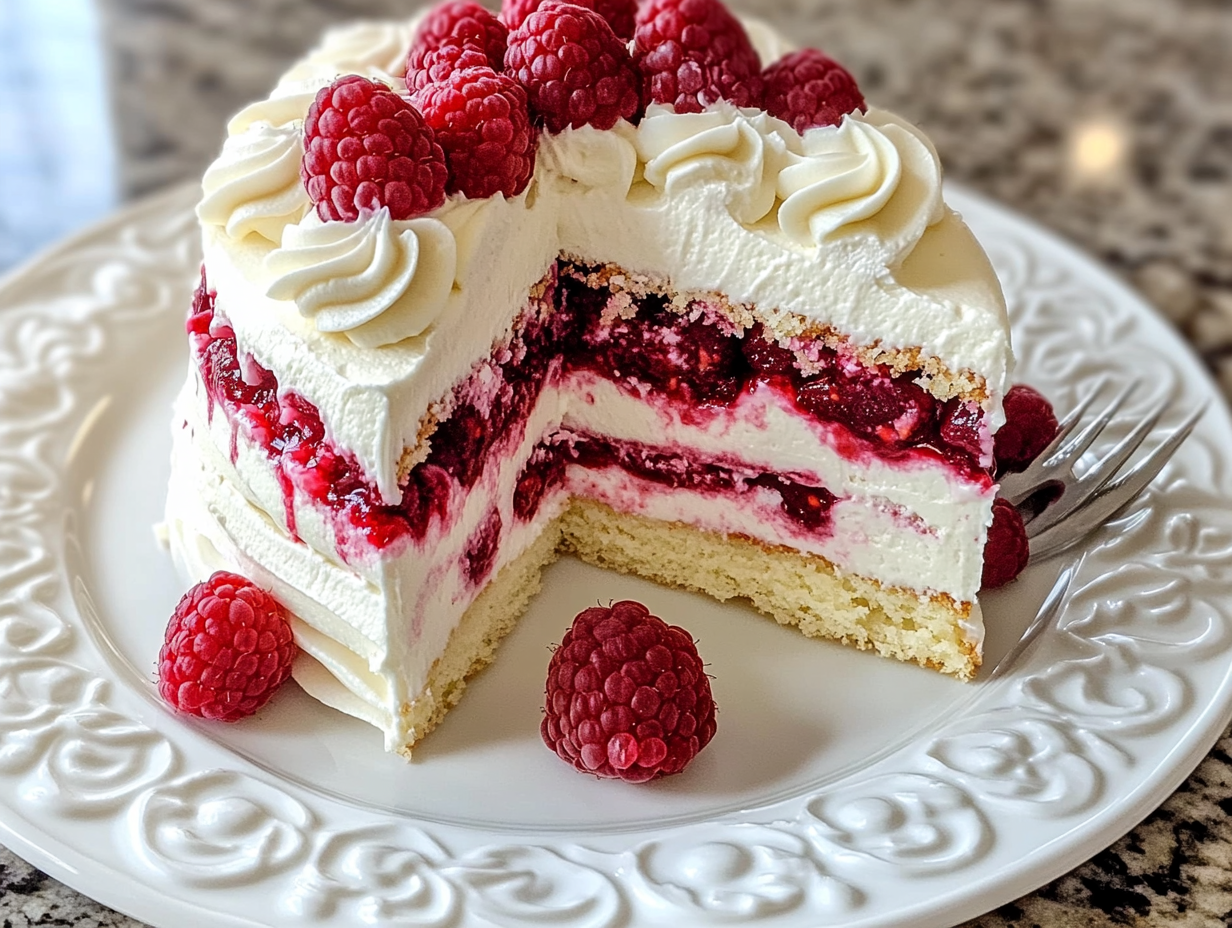
There’s something undeniably magical about the combination of white chocolate, fresh raspberries, and soft layers of moist cake. It’s the kind of dessert that feels as luxurious as it looks, yet it’s entirely achievable to create at home. Let me introduce you to the White Chocolate Raspberry Dream Cake—a showstopper that tastes as good as it sounds. Whether it’s for a birthday, a family gathering, or a cozy celebration at home, this cake delivers layers of creamy sweetness balanced by a tart raspberry zing. Trust me, your friends and family will be raving about it long after the last crumb has disappeared!
But before we dive into the recipe, let me share a quick backstory. I first stumbled across a version of this cake at a quaint little bakery. It was love at first bite—every layer perfectly balanced with rich, creamy white chocolate and pops of fresh raspberry flavor. I couldn’t resist recreating it at home, and with a bit of trial and error, I crafted this recipe. It’s been a favorite ever since!
So, roll up your sleeves, preheat that oven, and let’s get started on this dreamy cake.
Step 1: Prepping the Essentials
As with any baking adventure, the first step is setting the stage. Preheat your oven to 350°F (175°C) and prepare three 9-inch cake pans by greasing and lightly flouring them. This little step ensures your cakes pop out cleanly without any sticking drama.

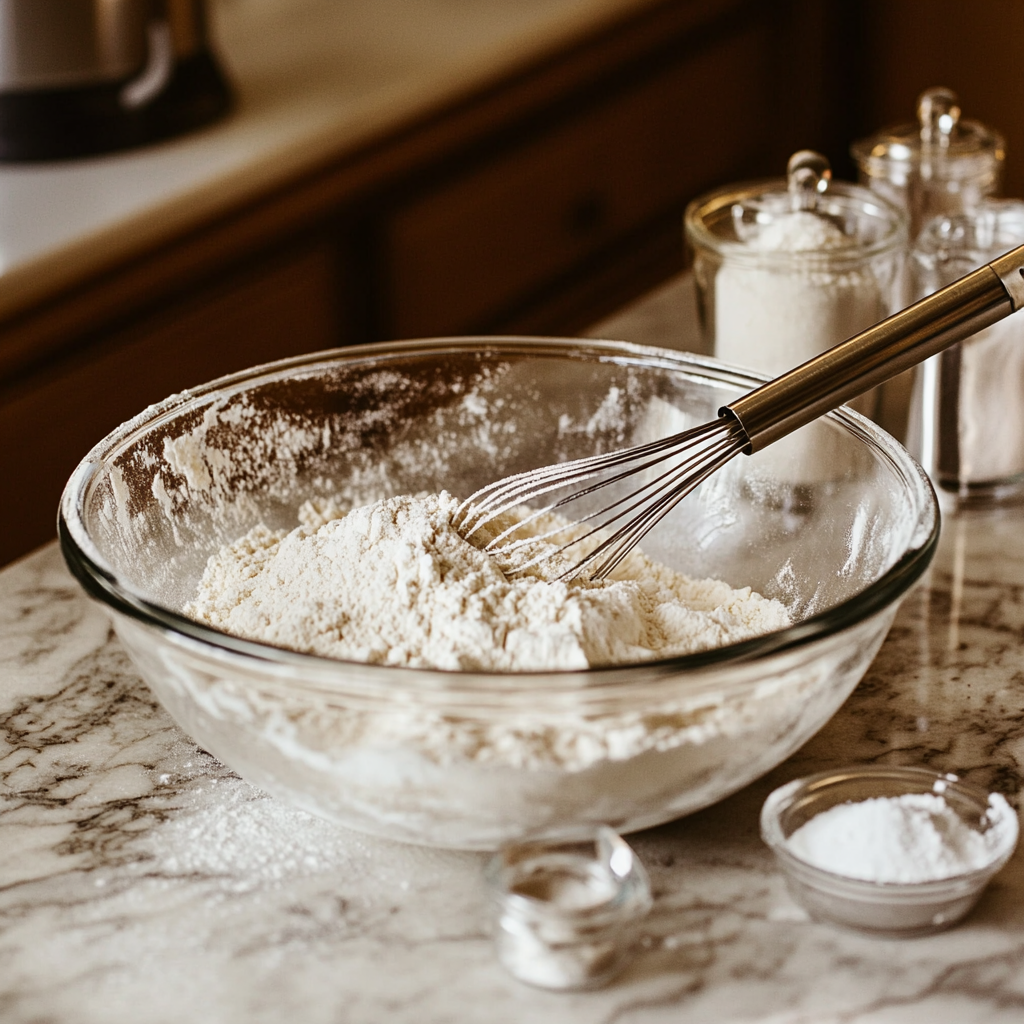
Step 2: The Dry Ingredients
In a large mixing bowl, whisk together the dry ingredients: 2 ½ cups of all-purpose flour, 2 cups of granulated sugar, 1 tablespoon of baking powder, and ½ teaspoon of salt. This combination will give your cake that perfect light and fluffy structure. Think of this as the backbone of your masterpiece.
Step 3: Creaming It Up
Now comes the fun part—incorporating the wet ingredients. Add 1 cup of softened unsalted butter, 4 large eggs, and 1 tablespoon of vanilla extract to the bowl with your dry ingredients. Using a hand mixer or stand mixer, beat the mixture on medium speed until it’s smooth, creamy, and oh-so-tempting. At this stage, your kitchen will already start smelling divine, but hold tight—we’re just getting started.

Step 4: Divide and Conquer
Once your batter is ready, divide it evenly among the prepared pans. A little pro tip: Use a kitchen scale if you want perfect, even layers (it’s worth the extra step). Bake the cakes for 25–30 minutes, or until a toothpick inserted in the center comes out clean. Let the cakes cool in their pans for about 10 minutes, then transfer them to wire racks to cool completely. Patience is key here—warm cakes and frosting don’t play well together.
Alright, now that your cake layers are cooling and your kitchen is filled with the sweet aroma of freshly baked cake, it’s time to move on to the creamy, dreamy filling that ties this whole masterpiece together: white chocolate cream. This step is where the magic really happens—it’s light, luscious, and perfectly complements the tartness of those fresh raspberries.
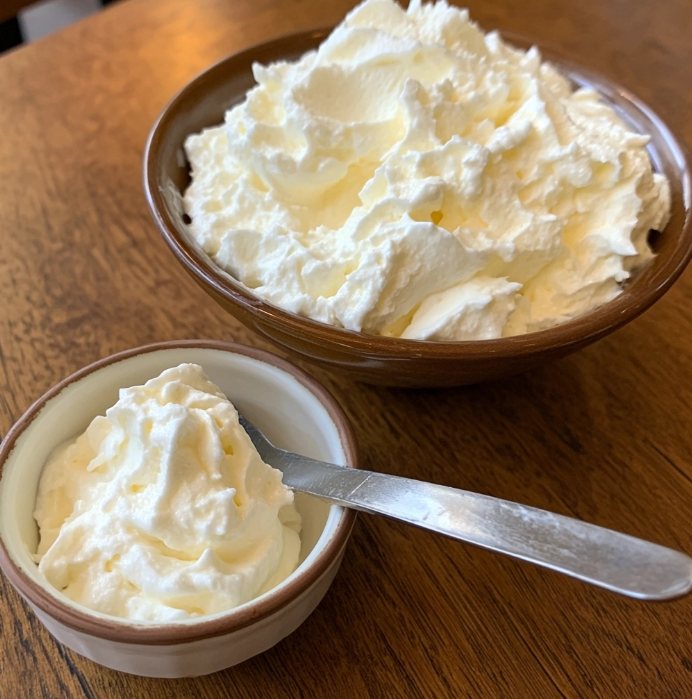
Step 5: Making the White Chocolate Cream
Let’s talk about white chocolate for a moment. Not all white chocolate is created equal, so you’ll want to use a high-quality one for this recipe. Trust me, it’s worth it for that smooth, creamy texture and rich flavor. You’ll need 8 ounces of white chocolate, chopped into small pieces, and 1 cup of heavy cream.
Start by melting the white chocolate. If you’ve never done this before, don’t worry—it’s easier than it sounds. Use a double boiler or microwave to gently melt the chocolate. If using the microwave, go in short intervals (about 20 seconds), stirring in between to avoid scorching. Once the chocolate is melted and silky, set it aside to cool slightly.
Meanwhile, whip your heavy cream in a separate bowl. Use a hand mixer or stand mixer to beat the cream until it forms soft peaks. You don’t want to overwhip it here; we’re going for light and airy, not stiff and chunky. Once the whipped cream is ready, gently fold in the cooled white chocolate. Use a spatula and take your time—folding rather than mixing ensures the cream stays fluffy.
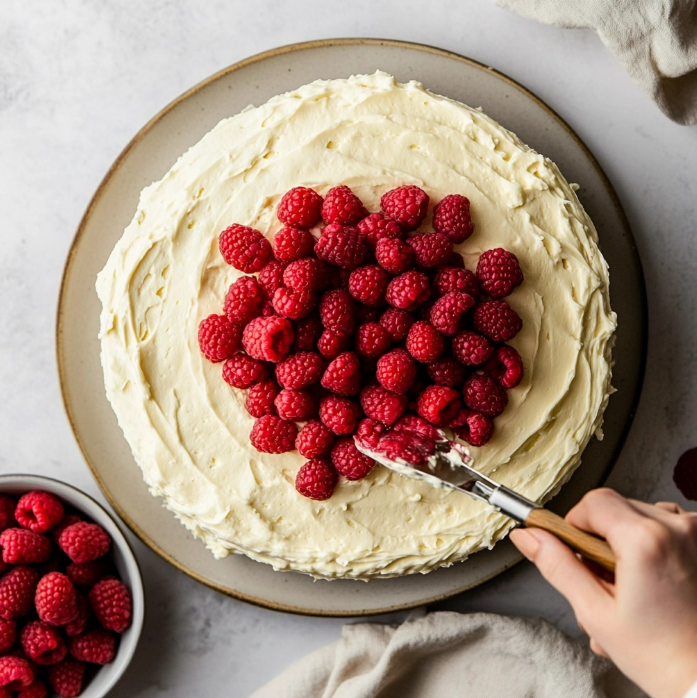
Step 6: Assembling the Cake
Now comes the part that turns your individual cake layers into a showstopping dessert: assembly. Start by placing one cake layer on a serving plate or cake stand. Spread a generous layer of your white chocolate cream on top, smoothing it out with an offset spatula. Then, add a layer of mashed raspberries or sprinkle fresh ones right over the cream. The tartness of the raspberries perfectly balances the sweetness of the white chocolate, creating a flavor combination that’s pure bliss.
Repeat this process with the second cake layer—cream, raspberries, and all. Finally, place your third cake layer on top. Don’t worry if it’s not perfectly aligned; the frosting will hide any imperfections.
Step 7: Frosting and Decorating
With your layers stacked, it’s time to frost the entire cake with the remaining white chocolate cream. Start by applying a thin crumb coat—a light layer of frosting that traps any loose crumbs. Chill the cake in the fridge for about 15 minutes to set the crumb coat, then add the final layer of frosting. Use a spatula to smooth it out or create decorative swirls—it’s your cake, so have fun with it!
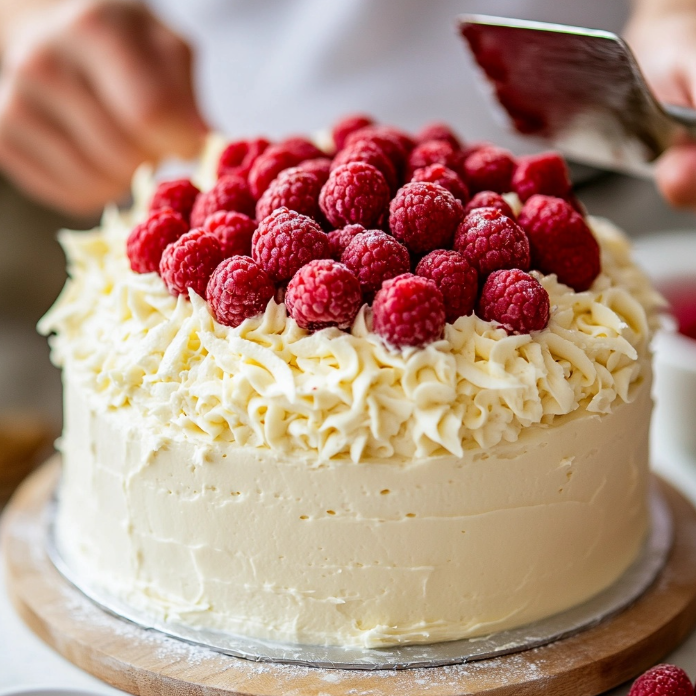
For the finishing touch, decorate the top with fresh raspberries. You can arrange them in a neat circle or scatter them for a more casual look. Want to get extra fancy? Shave some white chocolate over the top or add a dusting of powdered sugar for that picture-perfect finish.
Tips for Success
Now that the cake is assembled and ready to impress, here are a few tips to ensure everything goes smoothly:
- Plan Ahead: This cake is best when the layers are completely cool, so don’t rush the cooling process. If needed, you can bake the layers the day before and store them in the fridge, tightly wrapped in plastic wrap.
- Stabilizing the Cream: If you’re worried about the white chocolate cream being too soft to hold its shape, you can add a teaspoon of powdered gelatin dissolved in water to the whipped cream before folding in the chocolate. This will help stabilize the frosting.
- Perfectly Even Layers: For perfectly flat cake layers, use a serrated knife to level off the tops before assembling. This step ensures your cake stacks beautifully without leaning or wobbling.
- Transporting the Cake: If you need to take this cake to an event, chill it in the fridge for at least an hour before transporting. This firms up the frosting and keeps everything in place.
FAQ Section and Conclusion
You’ve done it! You’ve baked the layers, whipped the luscious white chocolate cream, and stacked and frosted your way to a picture-perfect dessert. Before we wrap up, let’s tackle some common questions about this dreamy cake to ensure your baking experience is smooth and stress-free. Then, we’ll conclude with a few final tips to inspire you to try this recipe and share it with loved ones.
Frequently Asked Questions
1. Can I make this cake in advance?
Absolutely! This cake is perfect for prepping ahead. You can bake the layers a day or two in advance and store them tightly wrapped in plastic wrap at room temperature or in the fridge. Once frosted, the cake can be refrigerated for up to 2 days. Just wait to add the fresh raspberries until the day of serving for the best presentation.
2. Can I use frozen raspberries instead of fresh ones?
Yes, you can! If fresh raspberries aren’t in season or readily available, frozen raspberries work well. Let them thaw and drain any excess liquid before using them to avoid making the cake soggy.
3. How do I prevent the white chocolate from seizing while melting?
White chocolate can be finicky, but melting it slowly over low heat will reduce the risk of seizing. If using a microwave, heat in 20-second increments, stirring between each round. If it does seize, you can try adding a small amount of vegetable oil or cream and whisking gently to smooth it out.
4. Can I make the white chocolate cream without heavy cream?
If you don’t have heavy cream, you can use full-fat coconut cream as a substitute for a dairy-free option. Just be sure to chill it beforehand to whip it properly. The flavor will have a subtle coconut hint, but it pairs beautifully with the raspberries.
5. Can I use this recipe for cupcakes instead of a layered cake?
Yes, this recipe works wonderfully for cupcakes. Simply divide the batter into lined cupcake tins, filling each about 2/3 full. Bake at 350°F (175°C) for about 18-22 minutes. Top each cupcake with a dollop of white chocolate cream and a fresh raspberry for a mini version of this dreamy dessert.
6. How do I store leftovers?
Store leftover cake in an airtight container in the refrigerator for up to 3 days. If possible, keep it on a flat surface to avoid smushing the frosting. Bring it to room temperature before serving for the best flavor and texture.
7. Can I add other flavors to the cake?
Certainly! A splash of almond or raspberry extract in the batter or frosting can enhance the flavor profile. You can also layer the cake with raspberry jam or add a sprinkle of chopped pistachios for a delightful crunch.
Conclusion
There you have it—the White Chocolate Raspberry Dream Cake is complete and ready to dazzle. Whether it’s a special occasion or just an excuse to treat yourself, this cake is sure to impress with its vibrant flavors and elegant presentation. From the moist, fluffy layers of vanilla cake to the creamy white chocolate frosting and pops of tart raspberries, every bite is pure dessert heaven.
This cake isn’t just a recipe—it’s an experience. It’s the kind of dessert that brings people together, inspires compliments, and makes you feel like a pro in the kitchen. So go ahead, give it a try! And if you do, I’d love to hear how it turned out for you. Did you add your own twist? Did it steal the show at your gathering? Share your thoughts in the comments below and let me know.
Now, grab a fork and dig in—you’ve earned it! Happy baking, and don’t forget to share this recipe with your friends and family. After all, good cake is meant to be shared!
Print
White Chocolate Raspberry Dream Cake
- Total Time: 1 hour
Description
This elegant and indulgent dessert combines the rich creaminess of white chocolate with the tangy sweetness of fresh raspberries. Perfect for celebrations, this cake is a true crowd-pleaser that looks as amazing as it tastes.
Ingredients
For the Cake:
- 2 ½ cups all-purpose flour
- 2 cups granulated sugar
- 1 tablespoon baking powder
- ½ teaspoon salt
- 1 cup unsalted butter, softened
- 4 large eggs
- 1 tablespoon vanilla extract
For the White Chocolate Cream:
- 1 cup heavy cream
- 8 oz high-quality white chocolate, chopped
For Assembly and Decoration:
- 2 cups fresh raspberries
Instructions
1️⃣ Prepare the pans: Preheat the oven to 350°F (175°C). Grease and flour three 9-inch cake pans to prevent sticking.
2️⃣ Mix dry ingredients: In a large mixing bowl, whisk together the flour, sugar, baking powder, and salt.
3️⃣ Cream the wet ingredients: Add the softened butter, eggs, and vanilla extract to the dry ingredients. Beat on medium speed until the mixture is creamy and smooth.
4️⃣ Divide and bake: Evenly divide the batter among the three prepared cake pans. Bake for 25-30 minutes, or until a toothpick inserted into the center comes out clean. Let the cakes cool in the pans for 10 minutes, then transfer them to wire racks to cool completely.
5️⃣ Make the white chocolate cream: While the cakes cool, melt the white chocolate using a double boiler or microwave in short intervals, stirring until smooth. Let it cool slightly. Whip the heavy cream in a separate bowl until soft peaks form. Gently fold the cooled white chocolate into the whipped cream until combined.
6️⃣ Assemble the cake: Place the first cake layer on a serving plate. Spread a thin layer of white chocolate cream on top, then add a layer of mashed raspberries or sprinkle fresh ones. Repeat with the second layer. Top with the final cake layer.
7️⃣ Frost and decorate: Spread the remaining white chocolate cream over the top and sides of the cake. Decorate with the remaining fresh raspberries for a stunning finish.
Notes
- White Chocolate Tip: Use high-quality white chocolate for the best flavor and smooth texture.
- Make Ahead: The cake layers can be baked a day in advance and stored tightly wrapped in plastic at room temperature.
- Storage: Store leftovers in the refrigerator for up to 3 days. Let it sit at room temperature for 15-20 minutes before serving.
- Prep Time: 30 minutes
- Cook Time: 25-30 minutes
Nutrition
- Serving Size: 12


")

")


")
